

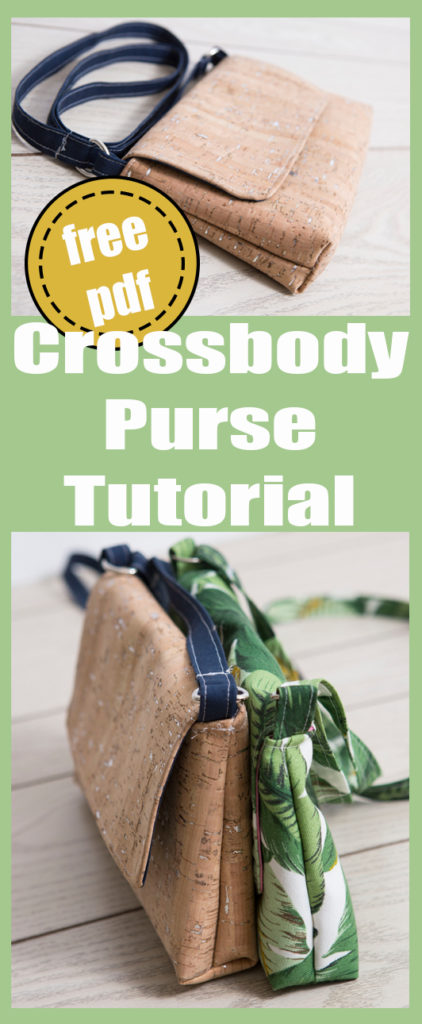
The weekender bag!
Welcome to the Crossbody Weekender bag tutorial! This is a Free pattern! To keep this pattern free please Pin this tutorial and Share with your friends!
Please note this is not the entire tutorial, photographs will help you get started but to learn how to make this purse from start to finish watch the Video tutorial linked below!
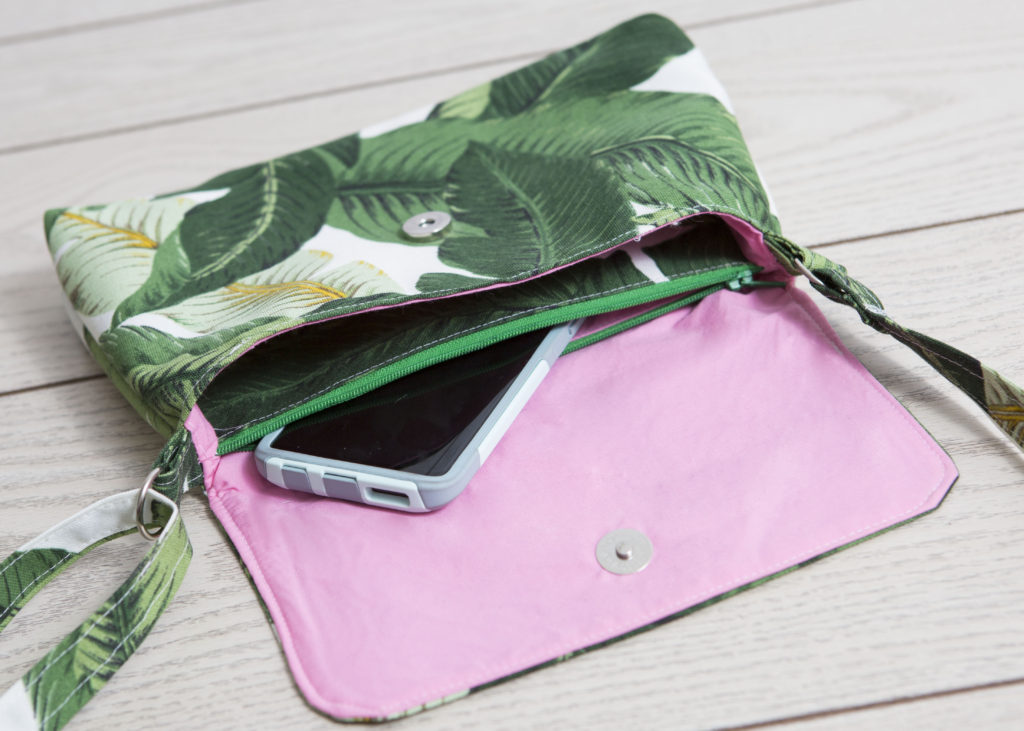
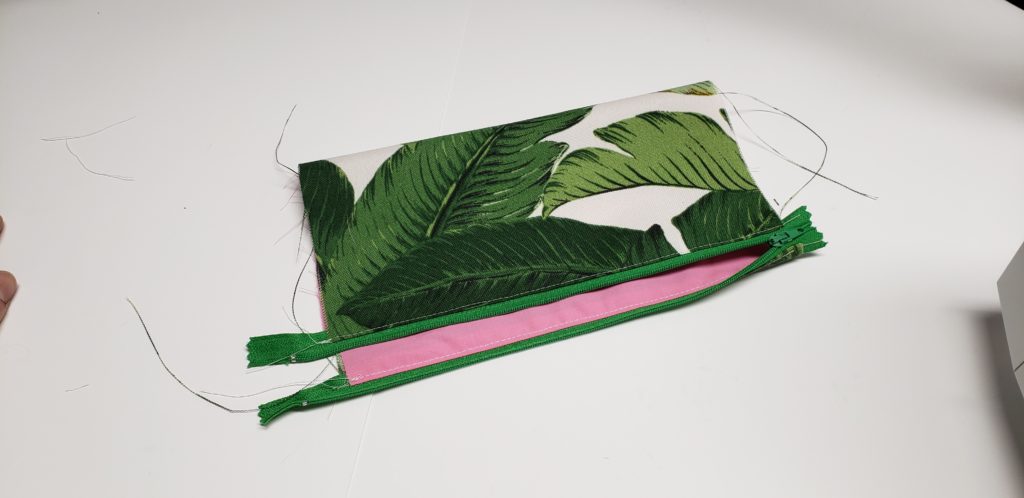
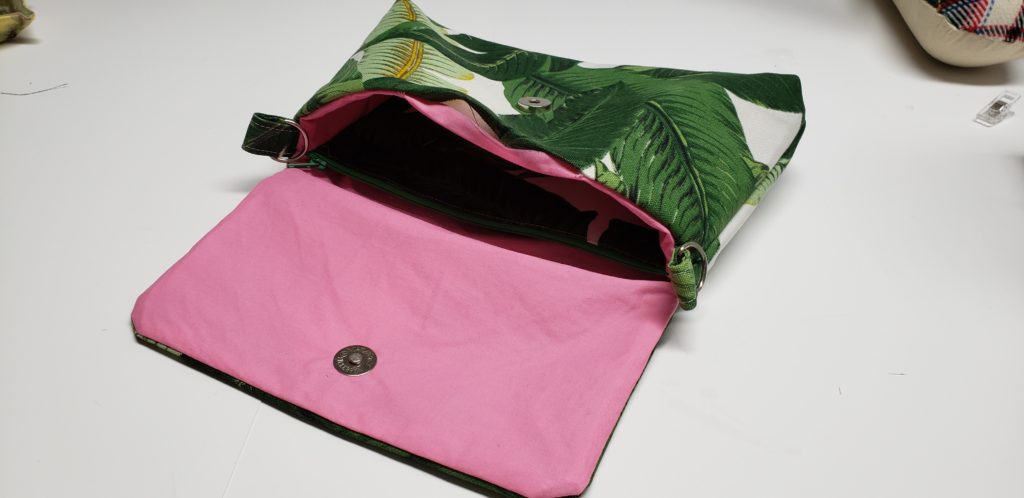
This purse has a floating zipper pouch in the centre to create two seperate compartments.
![]()
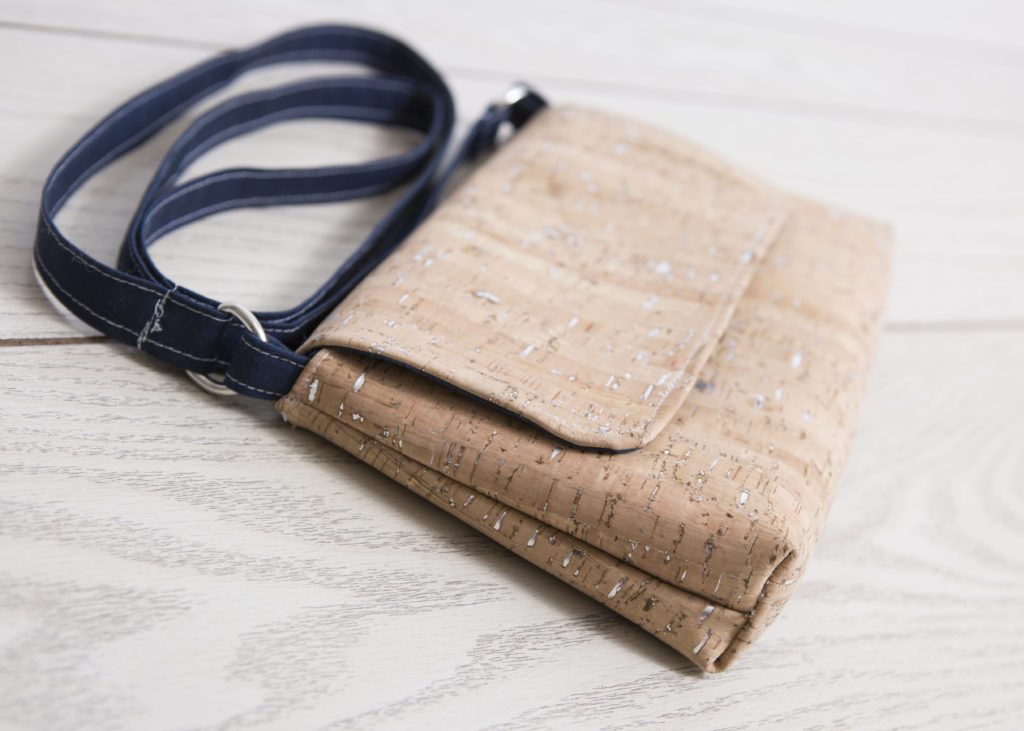
This is a great purse made out of Cork fabric too! the Palm fabric is a Canvas fabric.
Materials
Outer fabric – Recommendations – Cotton, Canvas, Leather, Faux Leather, Cork Fabric.
Lining – Cotton
Interfacing, depending on the fabric you chose will depend on your interfacing, for Cotton i would use a Medium to Heavy weight interfacing
Zipper – 9″ or greater
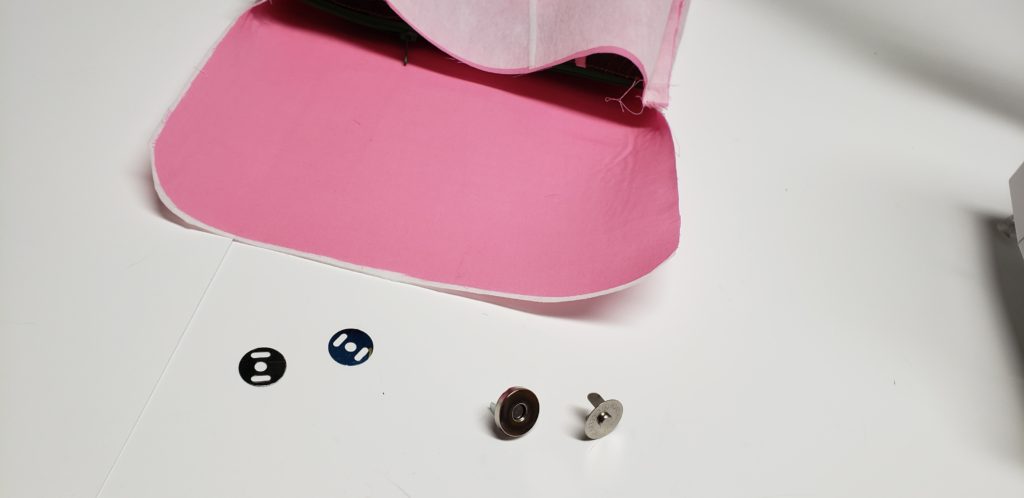
Magnet clasp (Other recommendations – Plastic snaps, Velcro)
Adjustable Slider (if you are making an adjustable strap)
Measurements
For the pattern download the PDF and print it out. —–> Charmedbyashley-TheWeekenderCrossbody
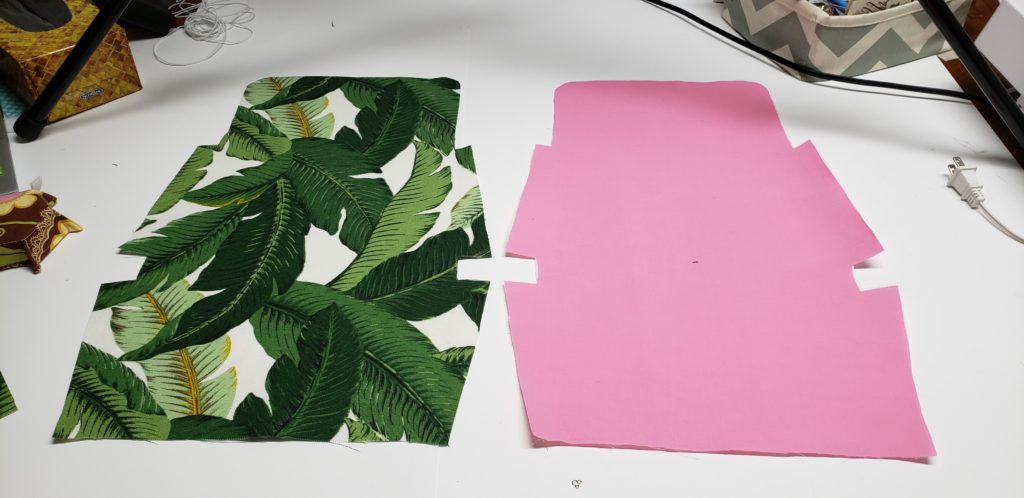
Zipper pocket piece is not in the PDF – 10 1/2″ x 9″
Side loops – Cut 2 – 2 1/2″ x 2 1/2″ (or one long strip and cut into 2 1/2″ pieces)
Adjustable strap size – 60″ long x 2 1/2″ – Of course you can make the strap any size you like!
***Make sure you cut the pttern on the Fold of your fabric so the pattern is Mirrored
If you make this bag please share on www.Instagram.com/charmedbyashley
Iron on your interfacing if needed next
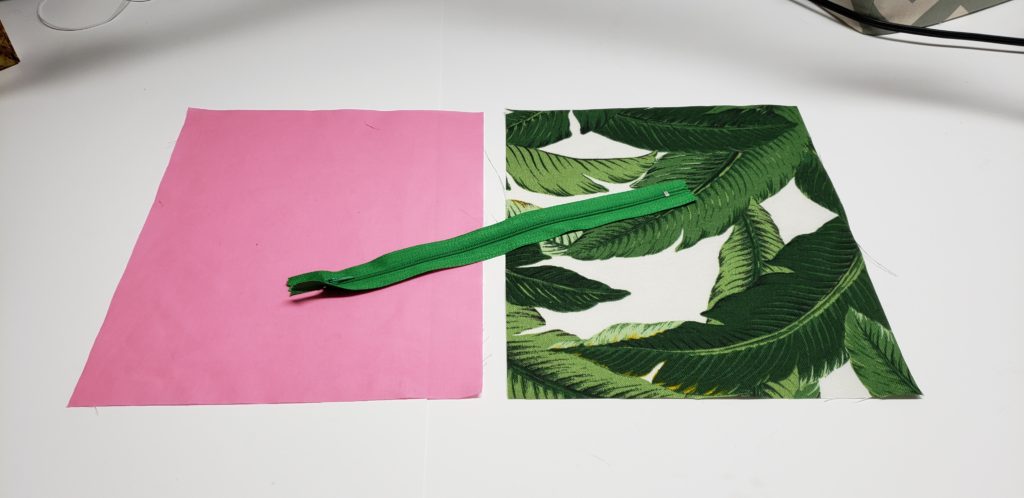
Pieces for your Zipper insert (Which is completely optional and you can Omit if you dont want a zipper pouch at all)
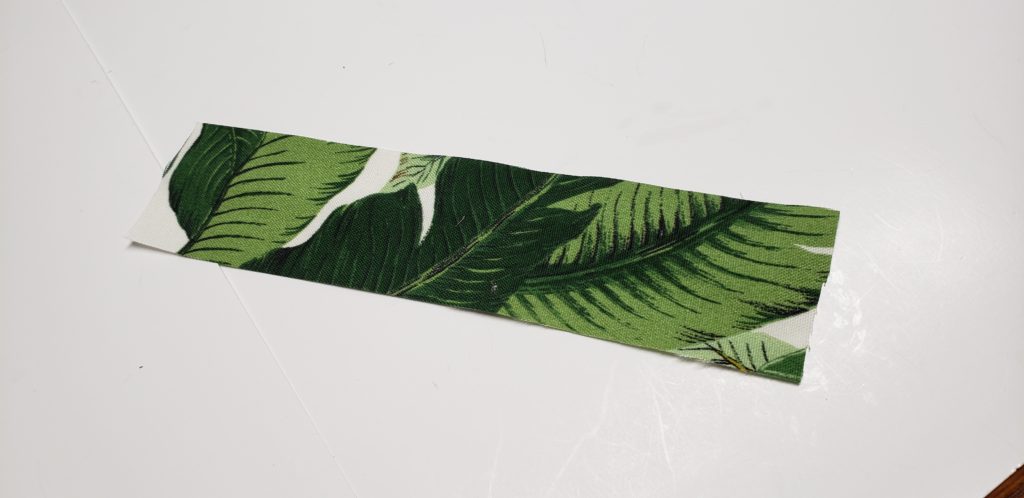
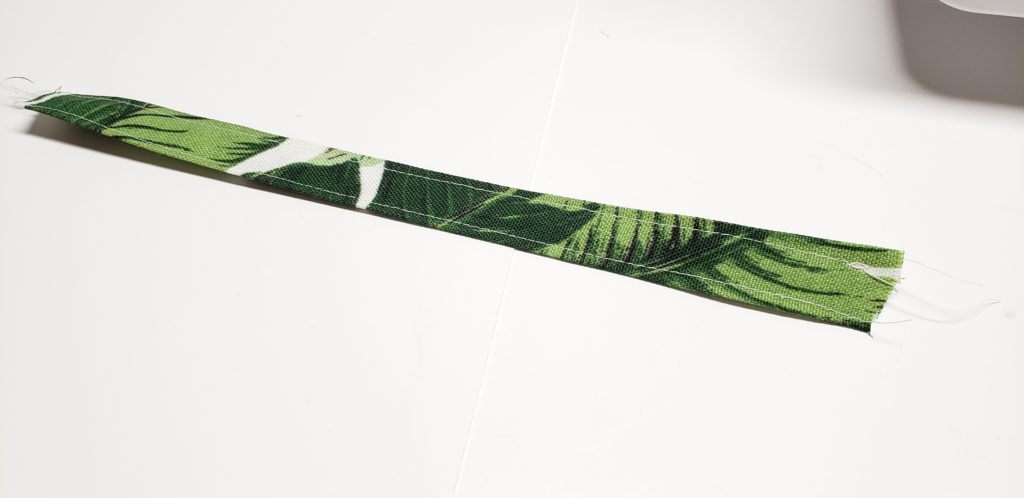
for the strapping, fold in the sides a 1/4″ and then fold again, sew down both sides to create your straps

Fold
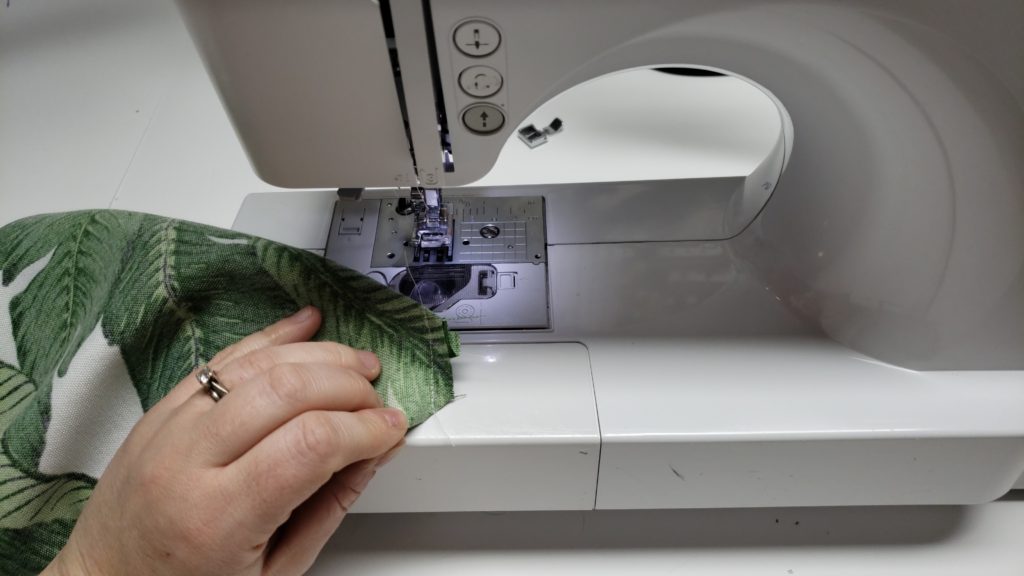
line up the seam in the centre and sew the little notch shut
Do the same with the lining but line up the sides of your zipper pouch with the sides of the lining (sandwich together) And sew
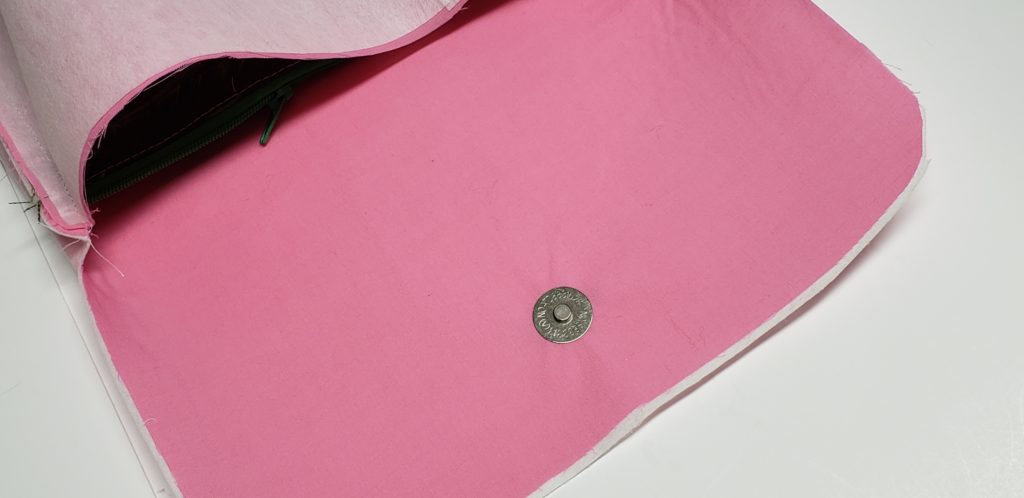
install your male end of your snap, find the centre and install about 1 1/2″ away from the edge
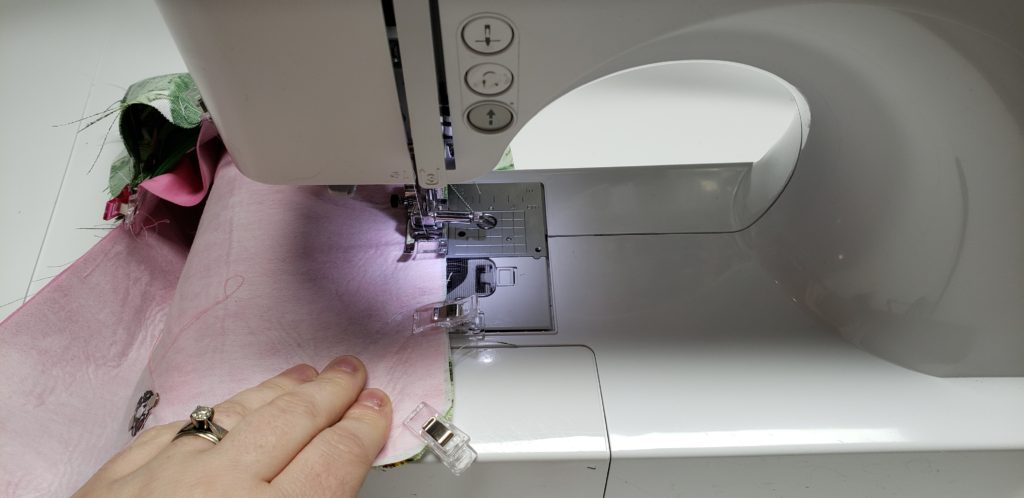
put the lining in the outer piece with the right sides together and sew all the way around leaving a 4″ opening in the front of the opening
Turn the bag right sides out, poke out your corners!, install the other half of your snap, sew all the way around again to top stitch and close up the hole
Some links are affiliate links


0 Comments