

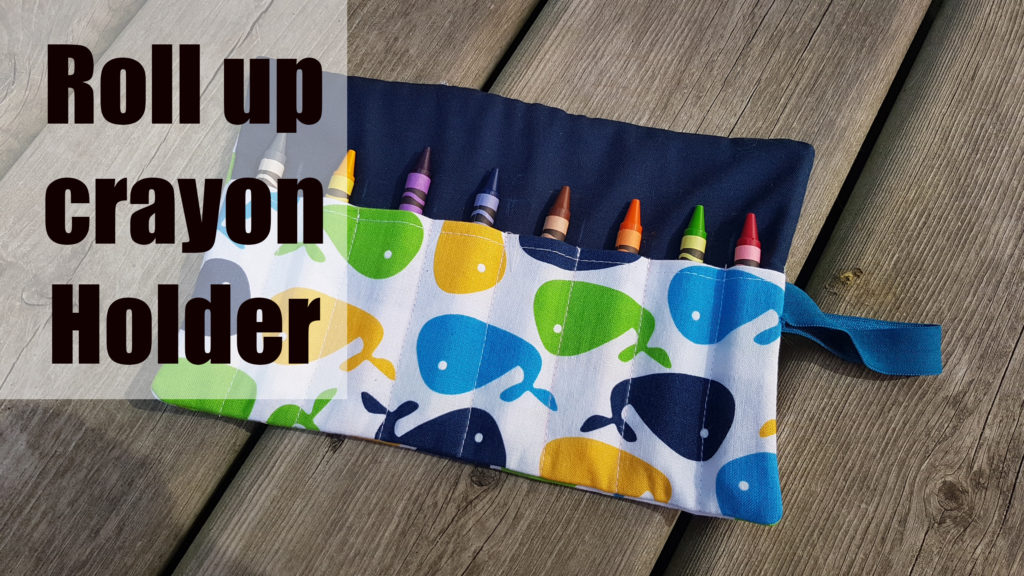

Welcome to the pattern for a Roll up Crayon holder!
This fabric holder can easily be used for any type of writing instrument, crayon, pencil crayon, markers, copics, pencils and also long items such as make up brushes
For this pattern i will show you how to custom make your own fabric roll for whatever you need.
(Scroll to the end to learn how to customize)
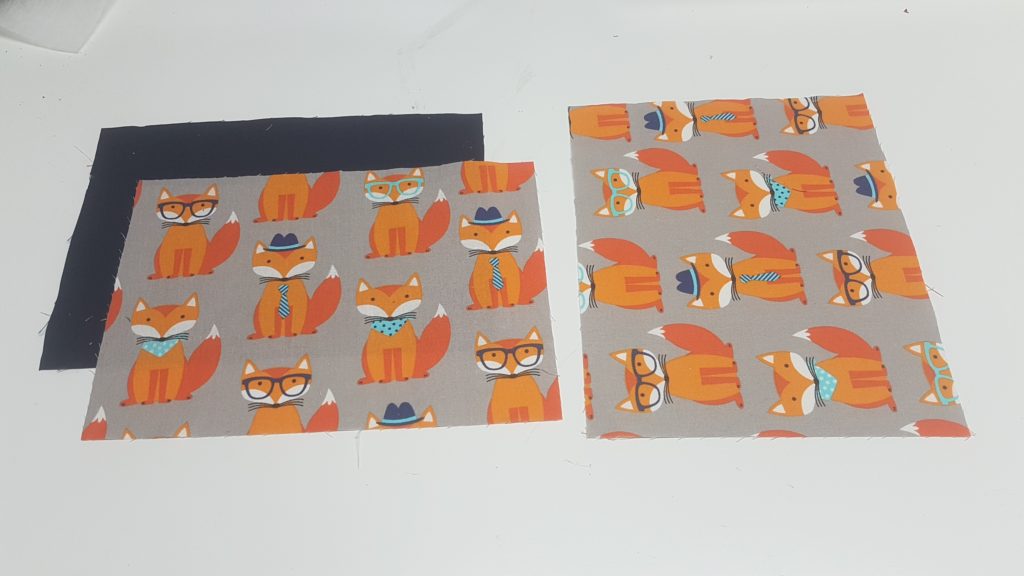
For this tutorial you will need Cotton Fabric, Fusible interfacing or Fleece (to help protect your items) and elastic or ribbon as a closure
I used cotton fabric
Fusible fleece interfacing
Fold over Elastic

For a Small crayon holder that holds 8 Crayons
Cut 2 – 9 1.2″ x 6 1/2″ – Lining and Outer fabric
Cut 1 – 9 1/2″ x 7 1/2″ – Slip pocket piece
Cut 1 – interfacing – 9 1/2″ x 6 1/2″ 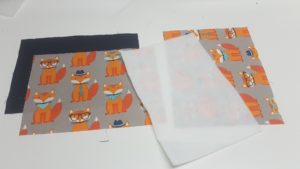

Step 1 – Iron on interfacing
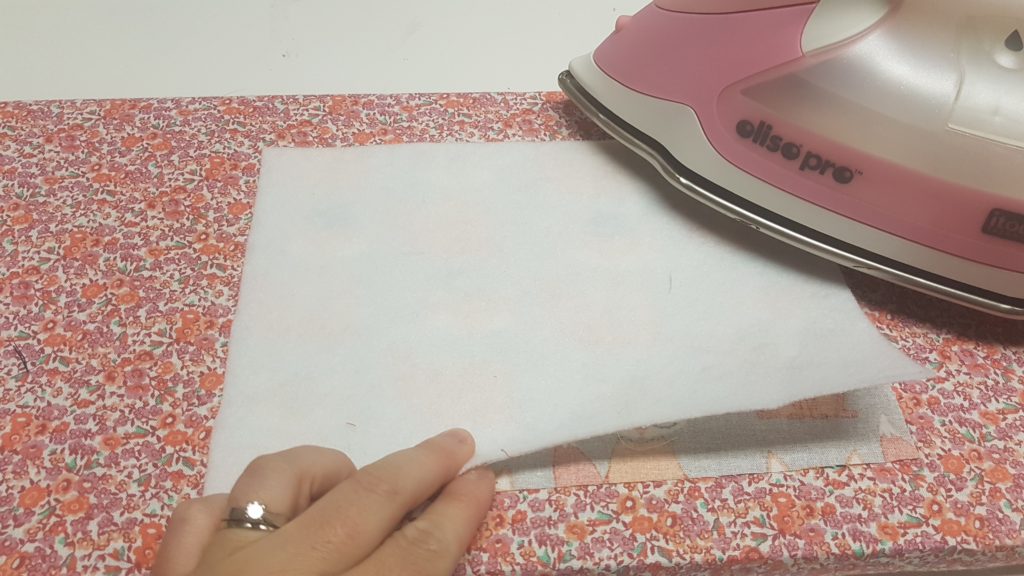
Iron onto either lining or main fabric piece
Step 2 – Fold slip pocket piece in half length ways
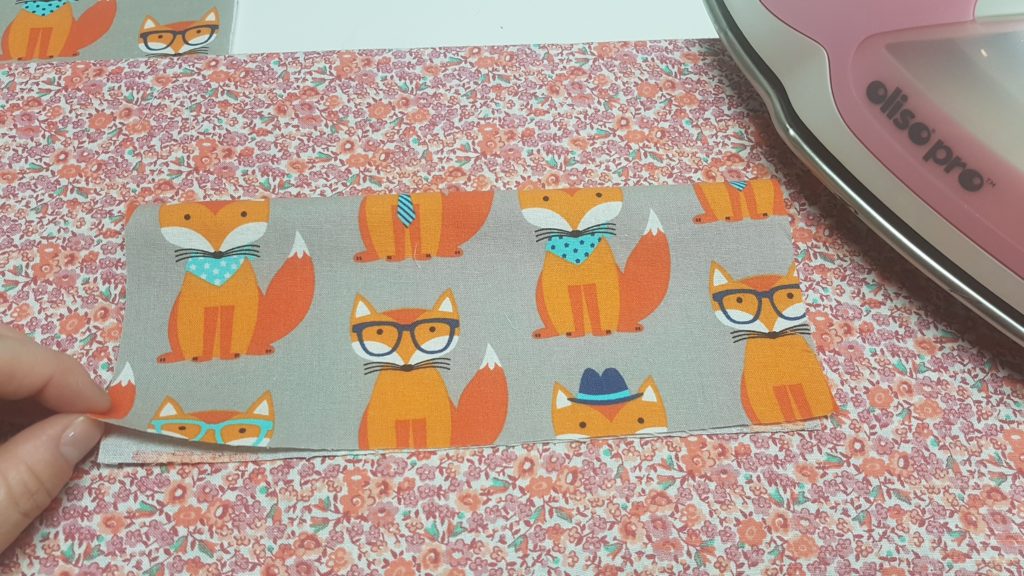
step 3 – Sew a top stitch along the folded edge of the slip pocket piece
Step 4 – Place slip pocket piece onto the lining piece
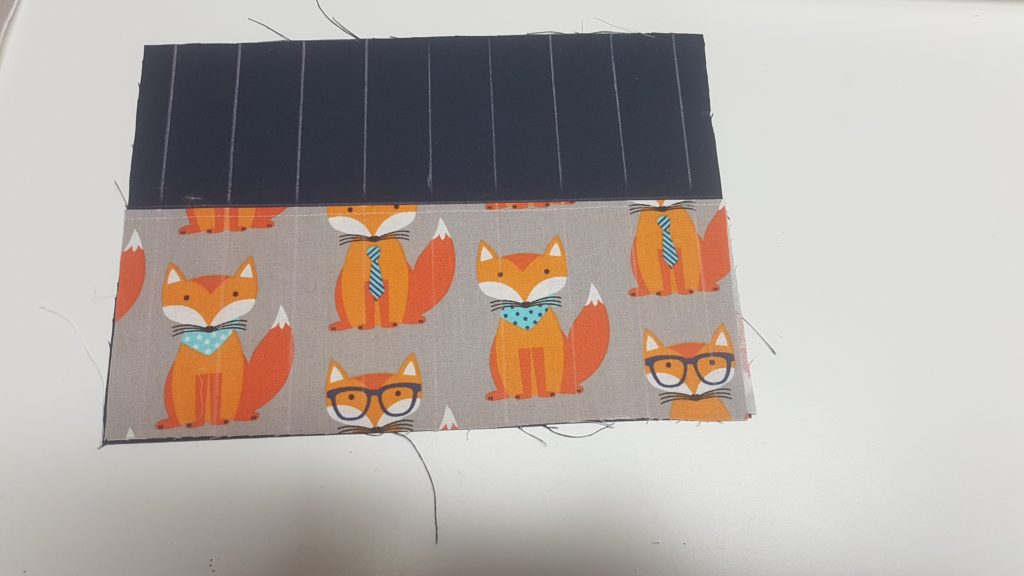
Step 5 – using chalk or a marking tool, mark the centre of the piece, measure out 1 inch from the centre until you get to the end of the row, you should be left with a 1/2″
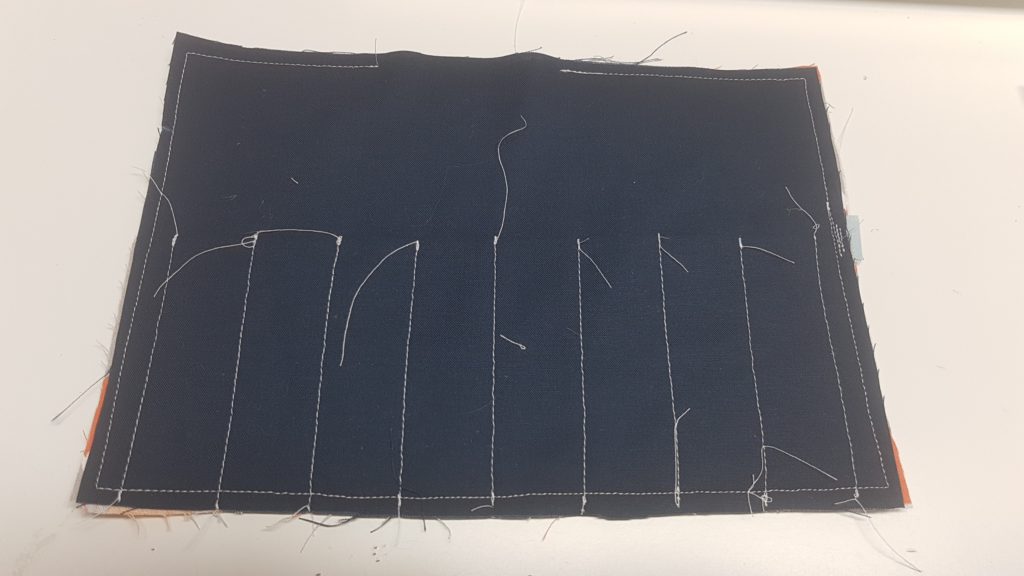
Step 6 – sew along those lines on the slip pocket piece, make sure you back stitch at the top of the folded piece to make it nice and strong as it will have alot of pressure from crayons going in and out

Step 7 cut a piece of fold over elastic about 7″ long, fold in half and place along the side on the inside and place the last piece of fabric on top with right sides together
step 8 – Sew around the piece leaving a 3″ gap for turning
step 9 – snip the corners to reduce the bulk so you can poke out the corners nice and sharp and turn the piece right sides out
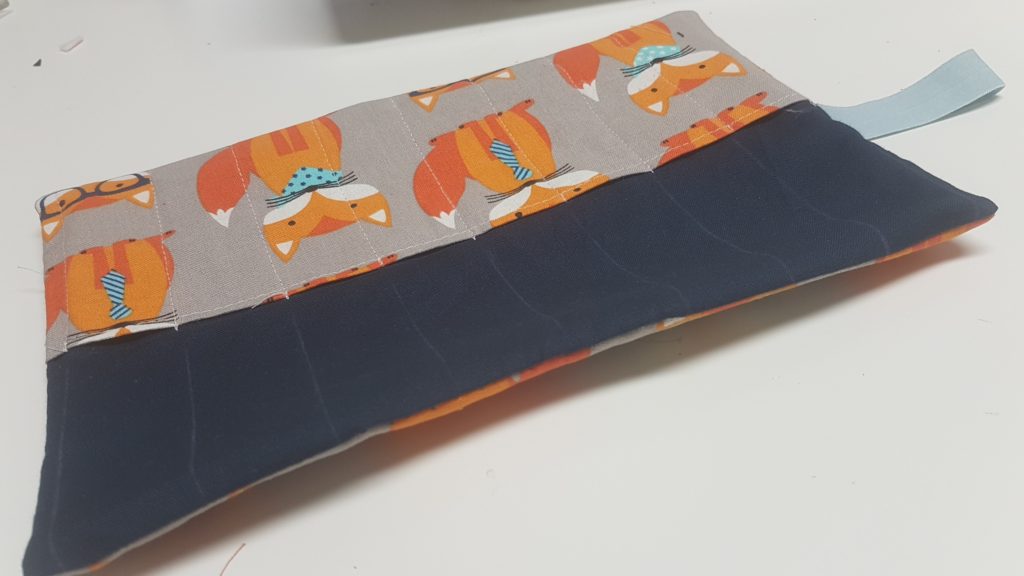
Step 10 – press your piece and then decide how you want to close up the open hole, i chose to sew it with a needle and thread, you can top stitch around the piece also
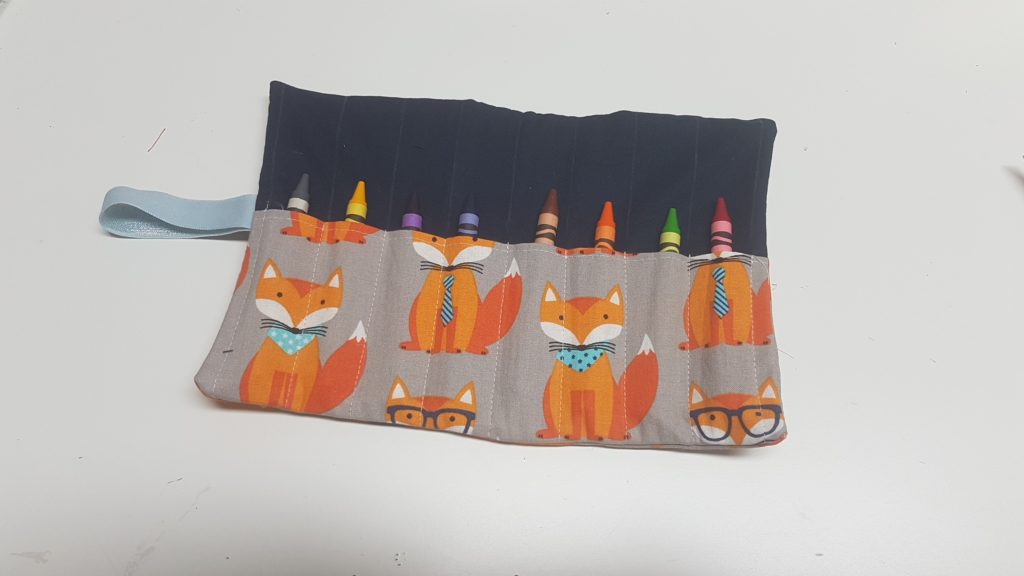
Step 11 – Load it up and roll it up!
How to customize your own!
A one inch pocket seems to be a perfect size for crayons, pencil crayons, peeps, and thin markers.
if using a larger item such as fat markers i would increase the size of your pocket.
To size your piece correctly take the size you want your pockets to and the amount of items you are storing, so for this one 1″ pocket and 8 crayons, so 8″ for 8 pockets. now add 1 1/2″ for seam allowance and you have your measurement of 9 1/2″
for height i would take the size of your item plus 3″ and this would include seam allowance so crayon is 3 1/2″ long plus 3 so 6 1/2″
9 1/2″ x 6 1/2″
For the folded pocket piece measure 3/4 away up the item you are storing, times it by 2 and add 1 inch. so a crayon is 3 1/2″ so i would do 3″ x 2 (because we are folding it) and add 1 1/2″ and then the length of your piece. so 7 1/2 x 9 1/2 ”
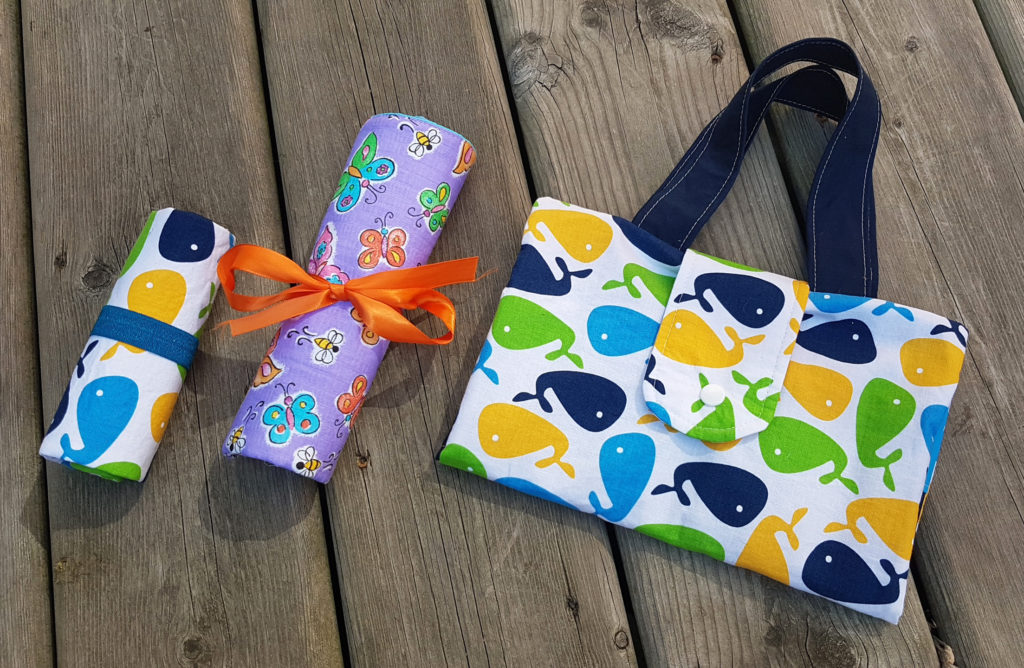
Check out my Crayon Folio tutorial!


![]()
