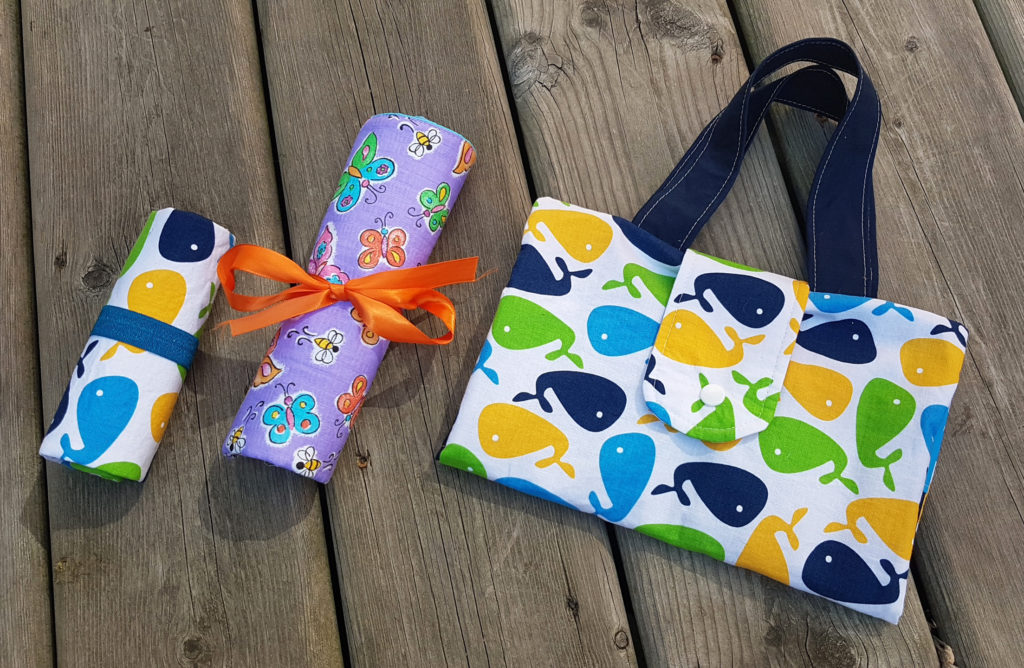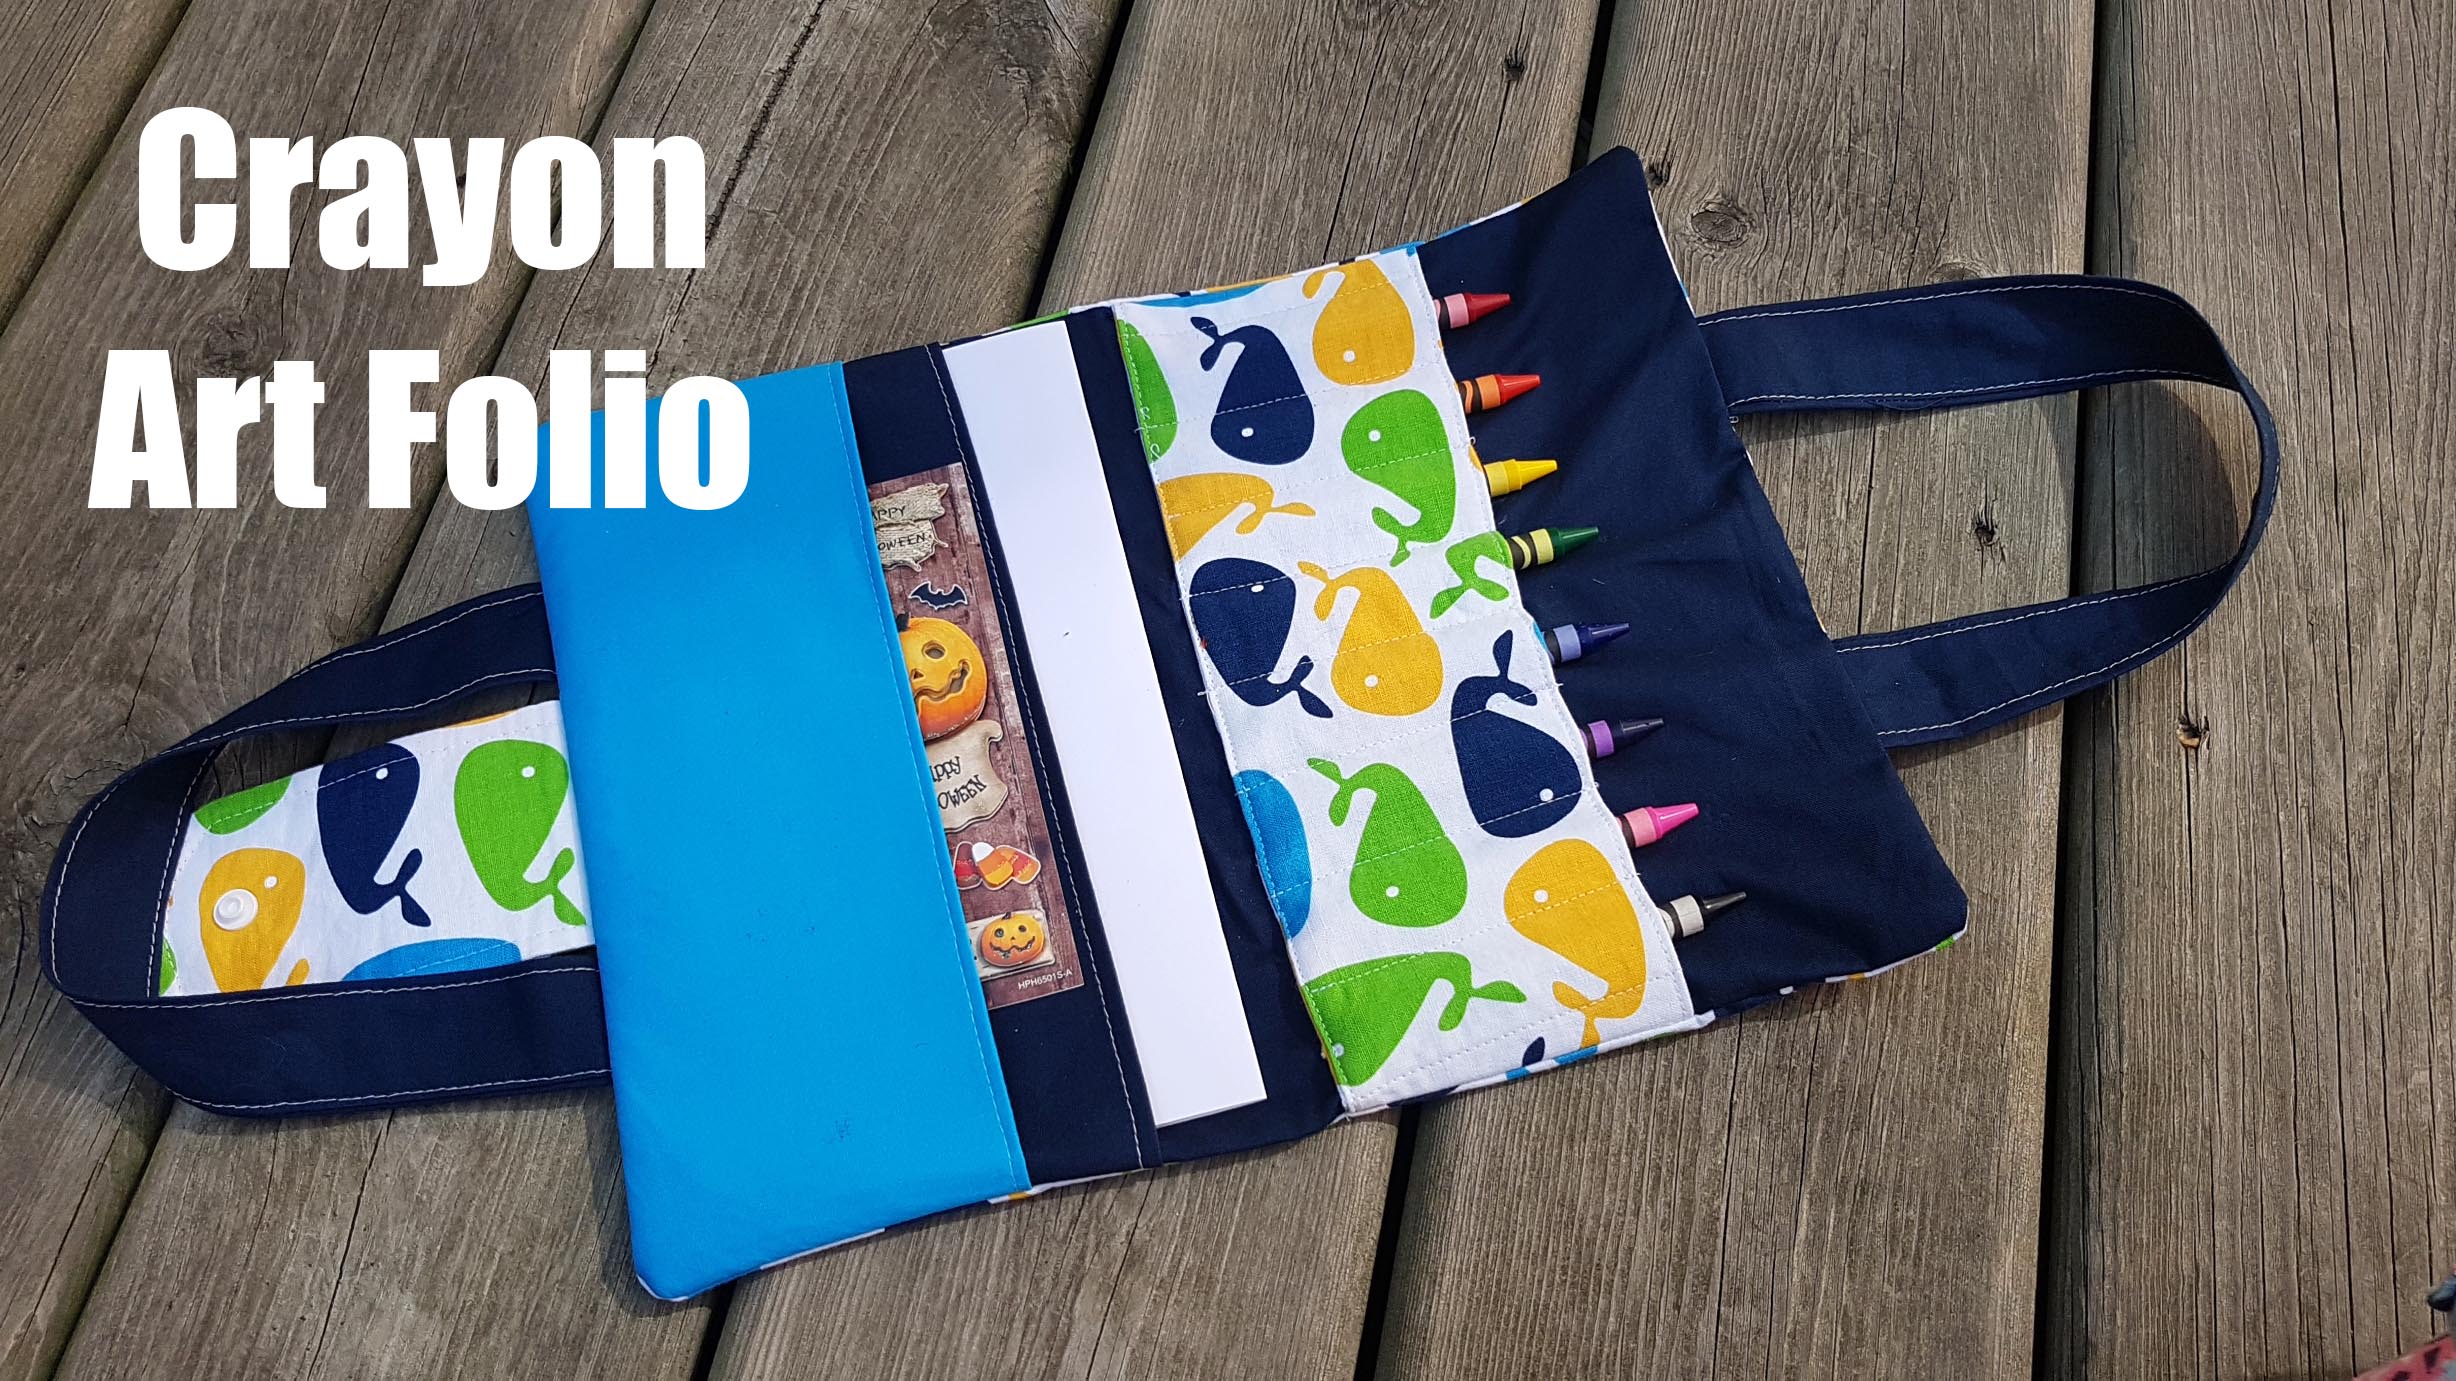
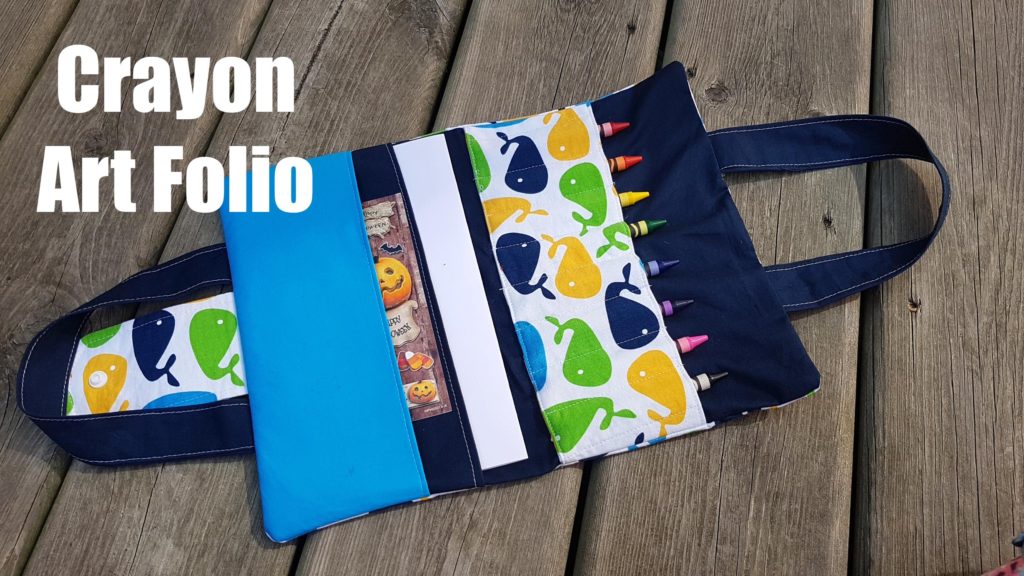
Welcome to the Crayon Art Folio Tutorial
For all measurements please follow the links to my Craftsy or Etsy
For this tutorial you will need:
Cotton Fabric (if you wish to use a sturdy fabric such as canvas Omit interfacing) (if you do not have interfacing and still wish to make this it will just end up a little floppy haha)
Velcro or snaps
Medium Weight interfacing
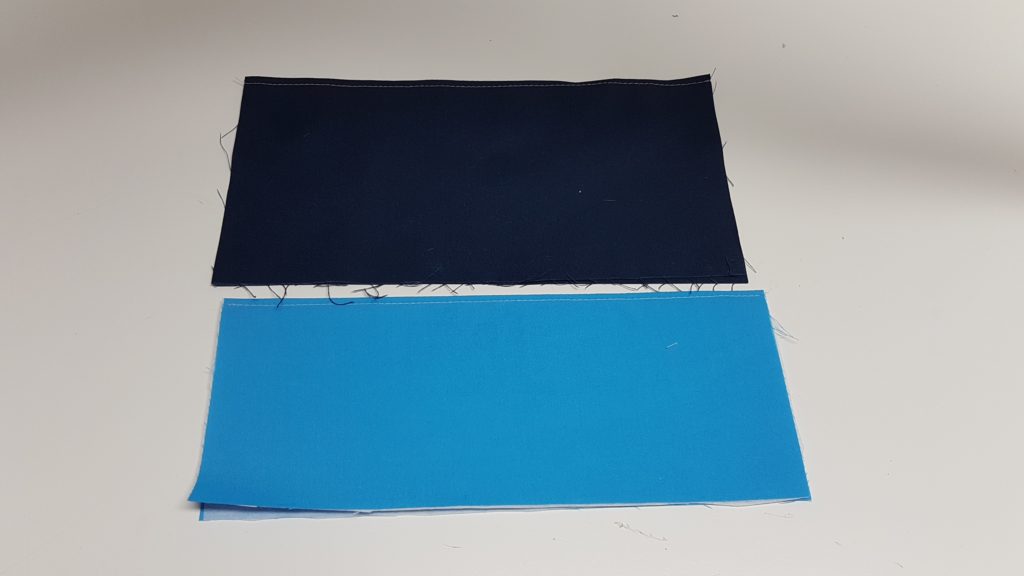
Step 1 – Iron on medium weight interfacing to all the pieces (straps are optional, you can omit the strap fabric pieces if you wish to use a wide ribbon instead)
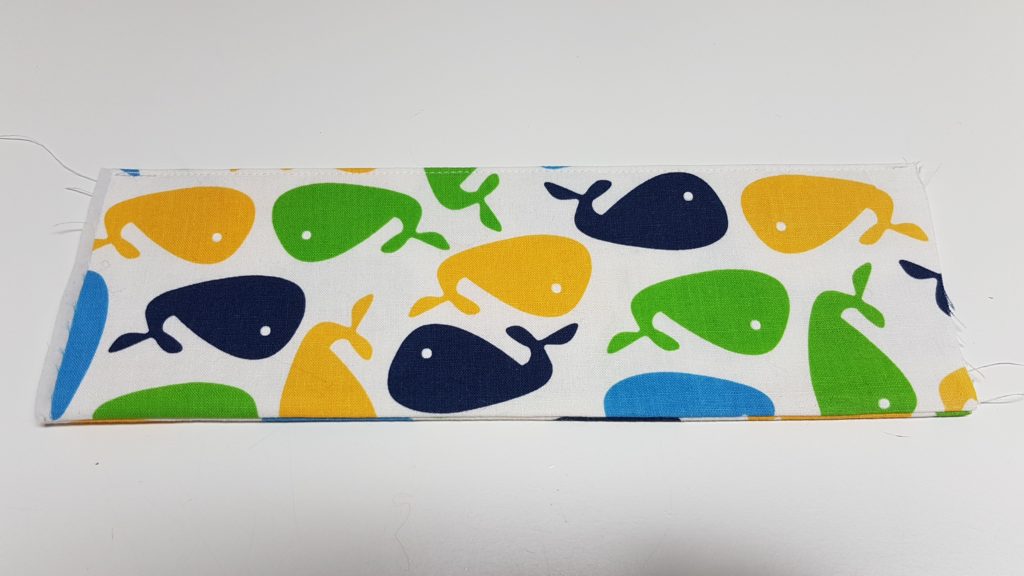
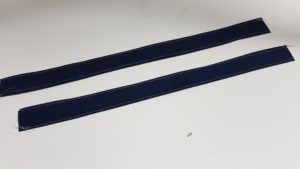
Step 2 – Fold Crayon pieces in half length ways, sew down long edge
Step 3 – Flip Crayon piece right sides out and press, top stitch along the one edge that doesnt have the seam
Step 4 – Take pocket pieces and fold in half length ways, press, and top stitch folded edge
Step 5 – take strap pieces, place them right sides together and sew along raw edge leaving the short flat side
Step 6 – Turn right sides out, press, top stitch along folded edge
Step 7 – Fold strap pieces in half length ways, sew along raw edge, Flip right sides out and top stitch on either side
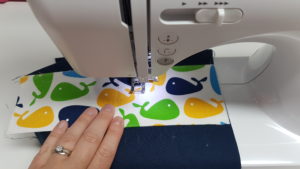
Step 8 – take lining piece and put crayon piece on top measuring 2 3/4″ away from one side, Sew along the bottom of the crayon piece (closest to the centre) you can choose to sew up the sides of the crayon piece for a temporary bast

Step 9 – Mark the centre of your crayon piece to ensure your crayons are centred, mark 1″ along the crayon piece starting from the centre mark. you should half about 1/2″ on either side left over for seam allowance
Sew along all the marked lines to create individual pockets for each of your crayons, you should be left with 8 slots

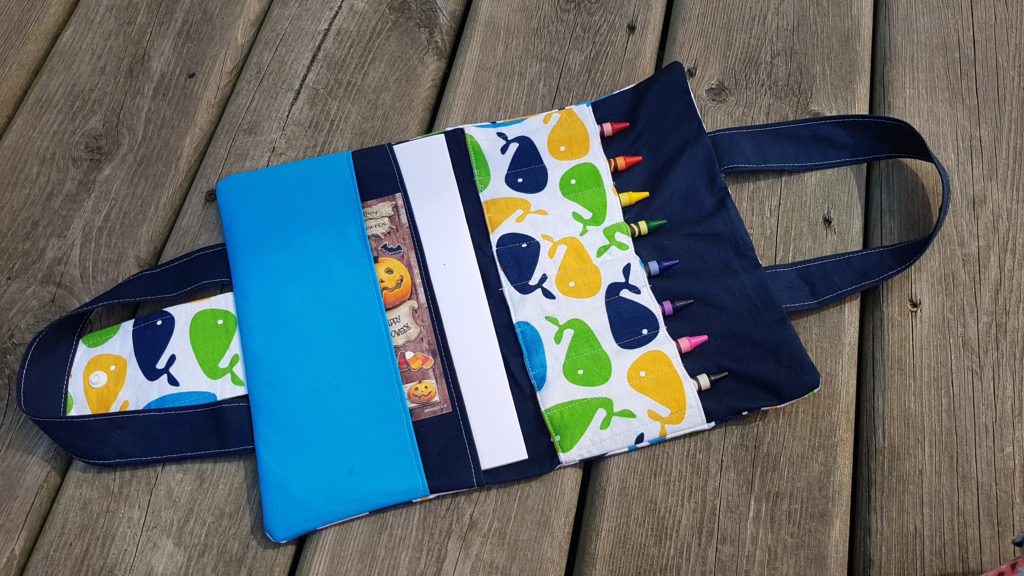
Step 10 – Place pockets on other side of the lining from largest to smallest, (Option* Bast this piece also if you want to ensure no shifting occurs in the next stop) and your strap pieces on either side with the raw edges lined up with the raw edges of the lining, place flap piece between one of the straps
Important Update!** – Place Flap above crayon pieces, this photo will need to be revised next time i create a Crayon Folio. This will make it easier when installing our closure!
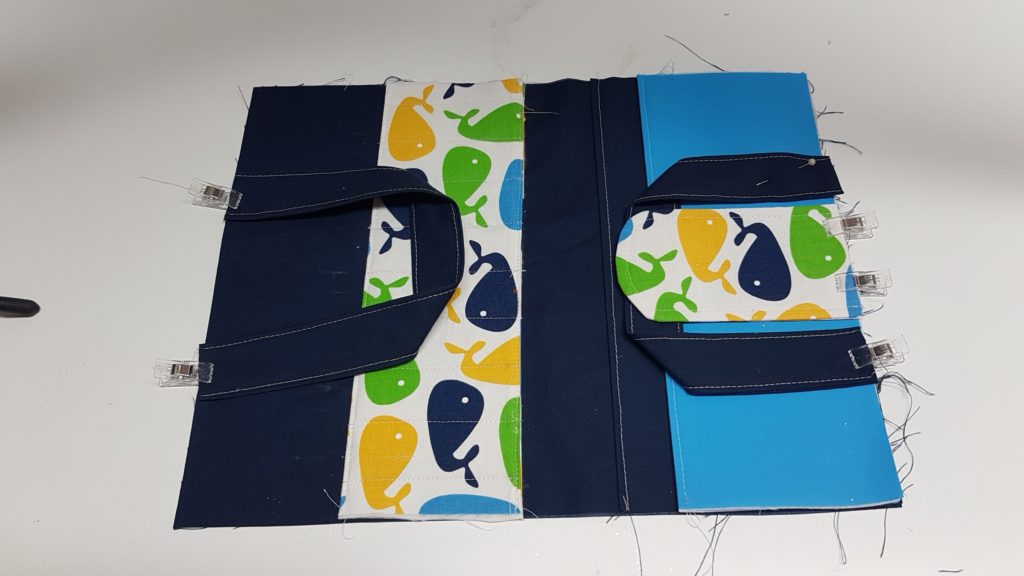
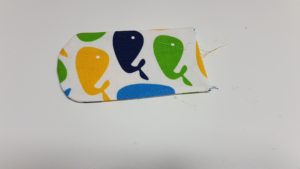
Step 12 – Place outer piece on top. and sew all the way around leaving a gap, i like to leave the gap between the handle that doesn’t have a flap
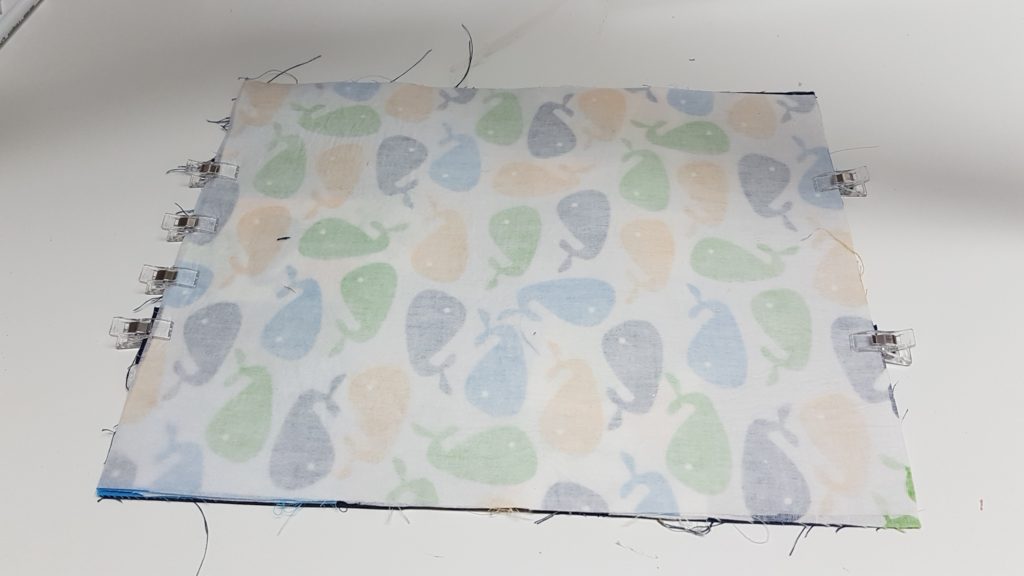
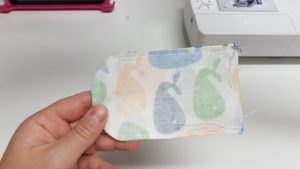
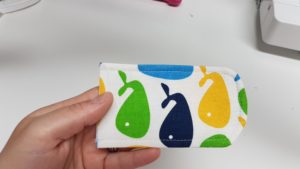
step 13 – Flip the piece right sides out and Press
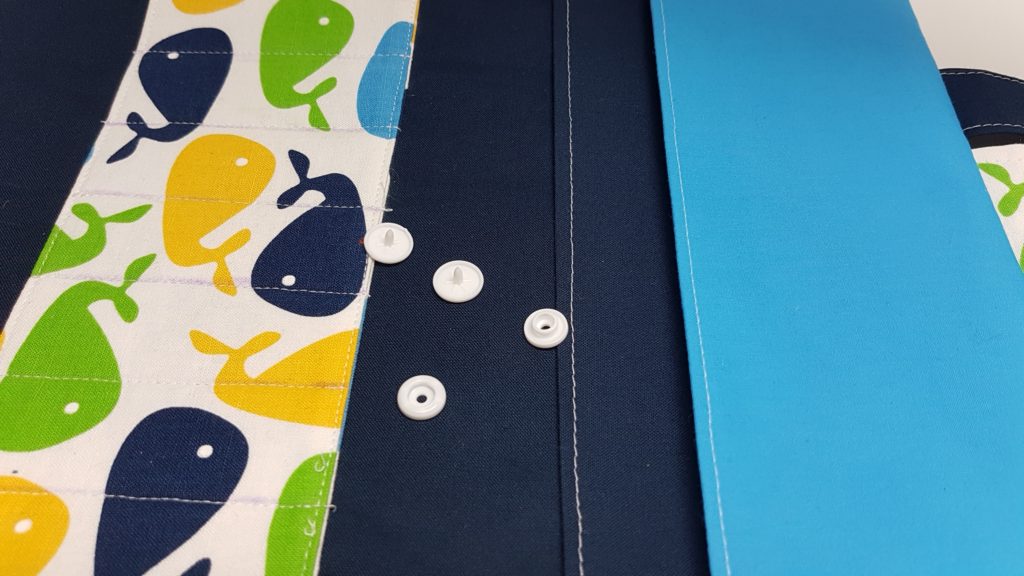
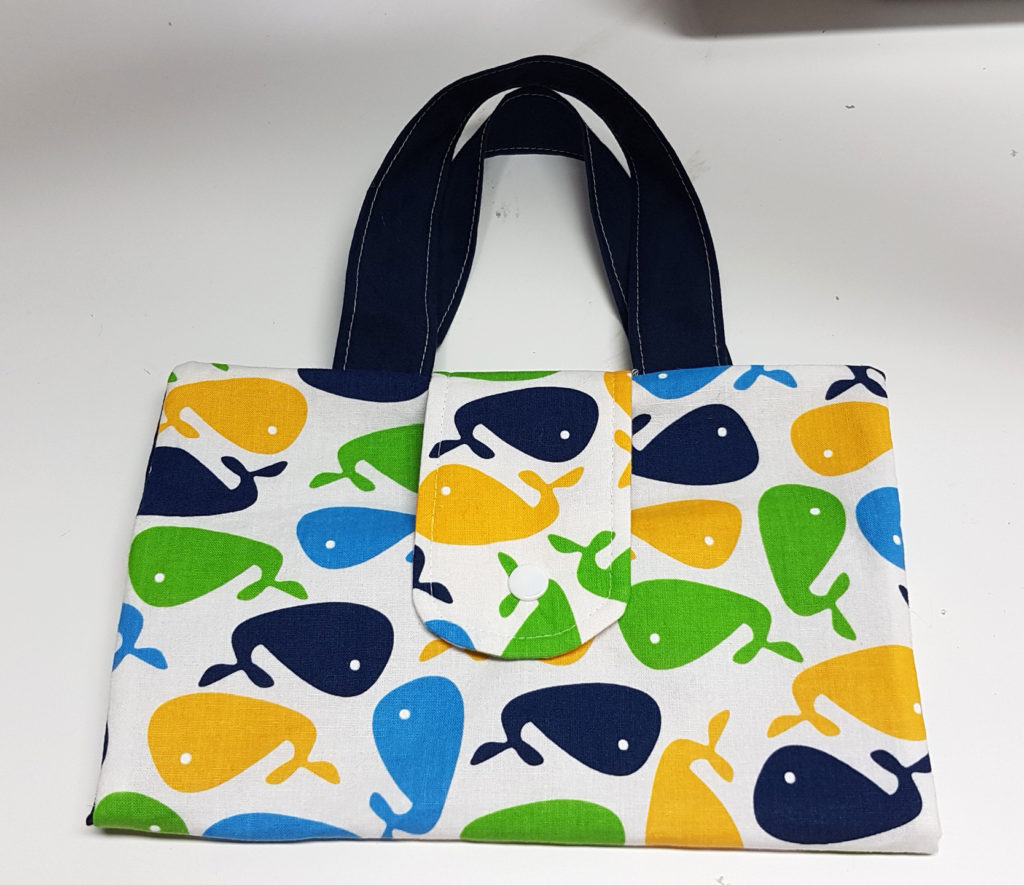
I chose to use Snaps for my Folio, but for ease of use i would recommend Velcro
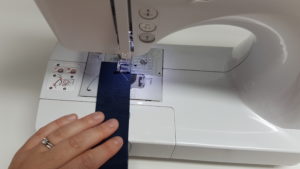
Step 14 – Install Closure to inside of folio and flap piece