

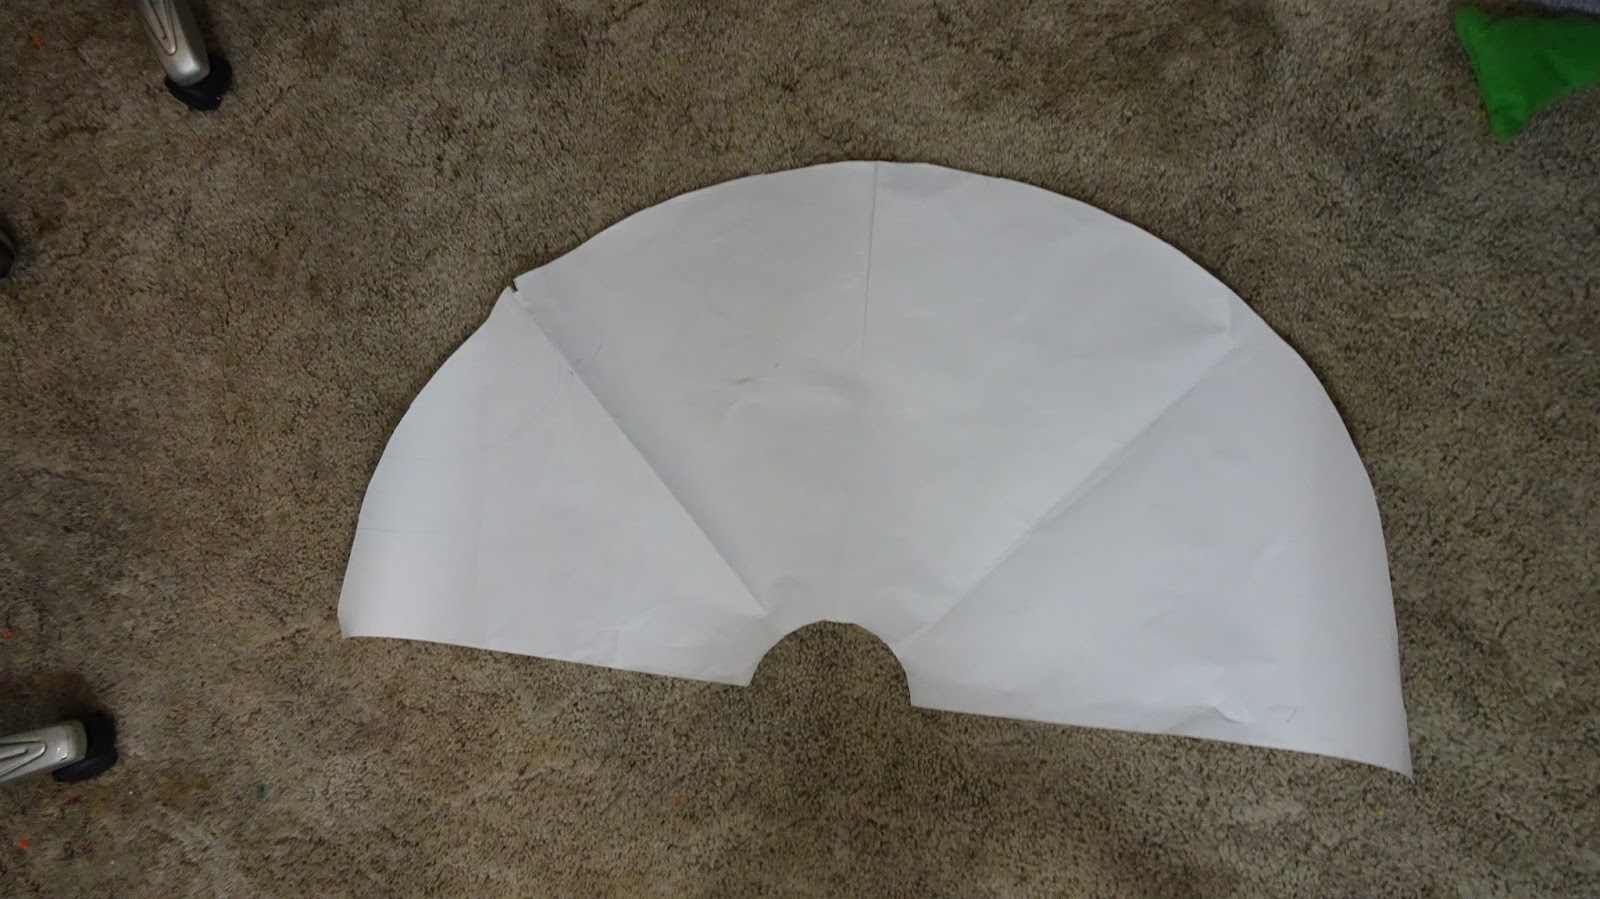
This is my circle skirt pattern, i took the circumference of my daughters neck and the length from her neck line to her waist and then did some math...i would like to refer you over to an excellent video that shows you how to make a circle skirt
With a rectangle piece of paper folded in half you will measure from the fold the radius of the circle of you neckline.

i measured my daughers neck and took that number which is the circumference and input it into my calculator C = 2πr
Radius Calculator – for me its easier to use this calculator
circle skirt tutorial – how to
Once you find the radius then you will measure from the folded edge from one side to the adjacent side leaving ticks along and then lining them up to create a quarter of a circle, measure along those tick marks the length of your skirt and then you will have the bottom of your skirt, cutting these out with the paper folded and then unfold the paper will reveal a half circle pattern
(this is very hard to explain so please click the link is the best way to learn and then come back!)
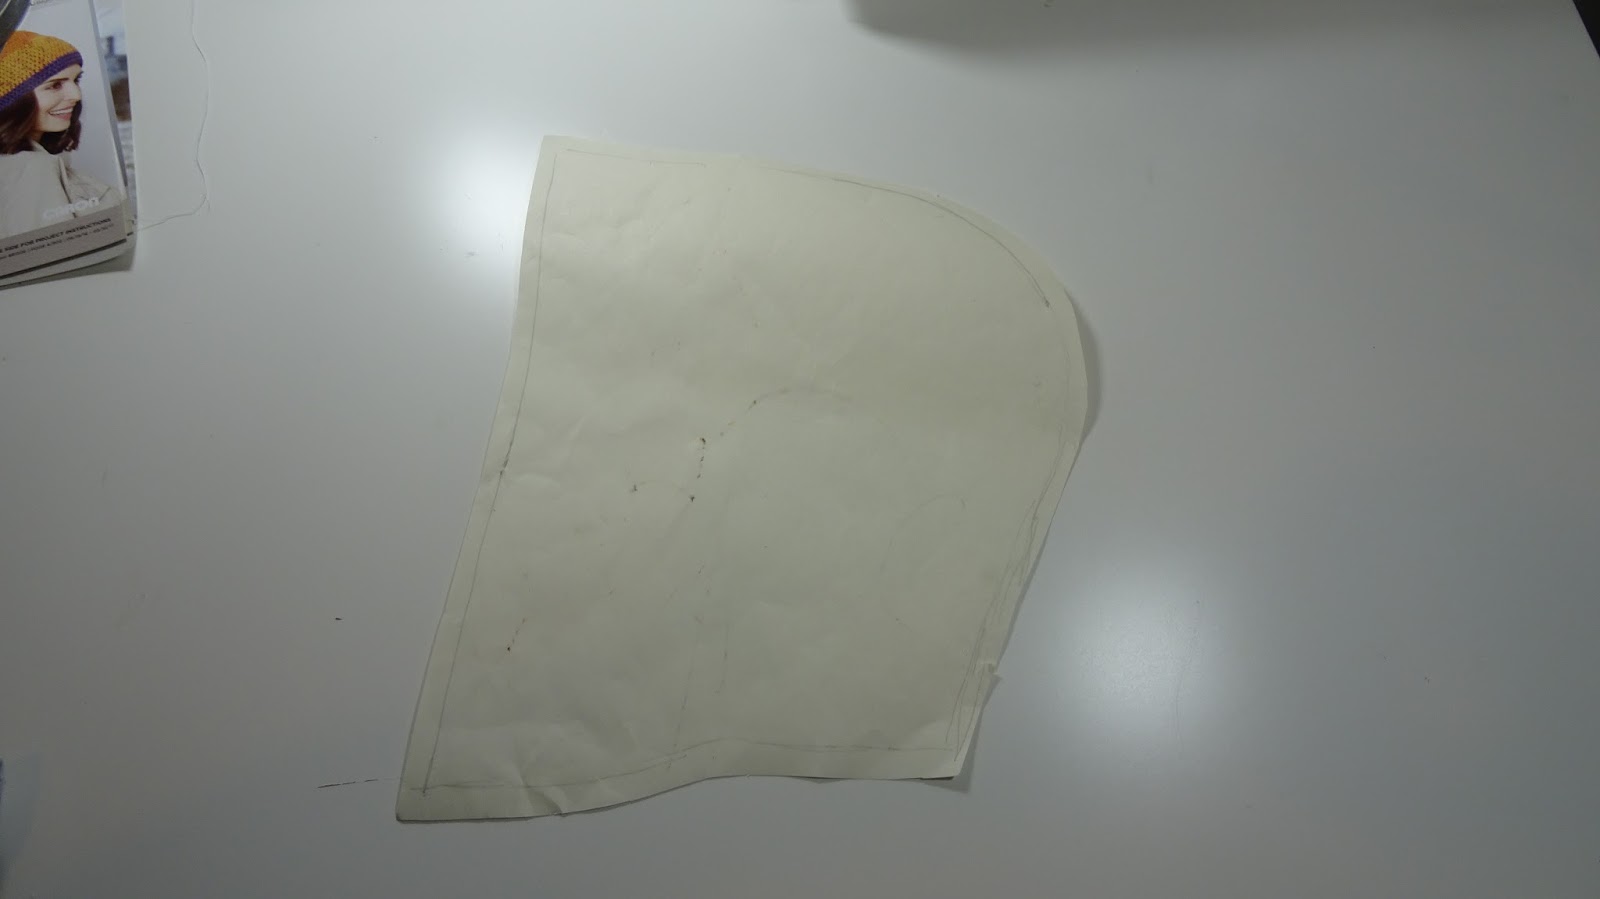
to get the hood pattern i laid down a hoodie onto some paper and traced around it as best i could also adding a half inch seam allowance

I cut out 4 pieces for the hood, 2 of each fabric
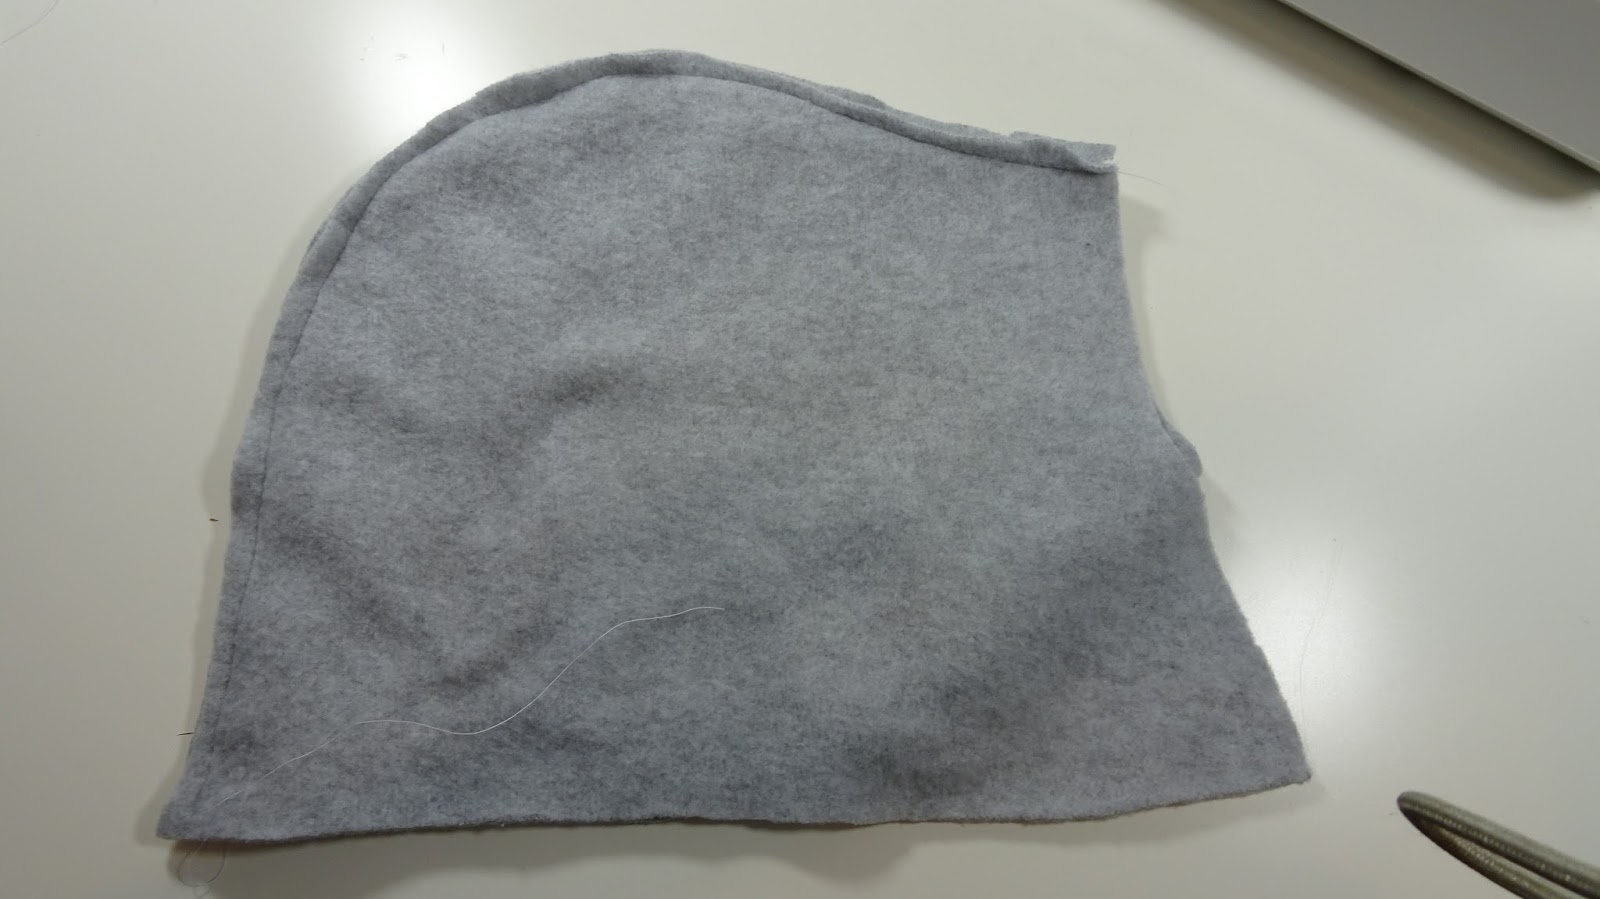
Sew the lining right sides together along the curved edge
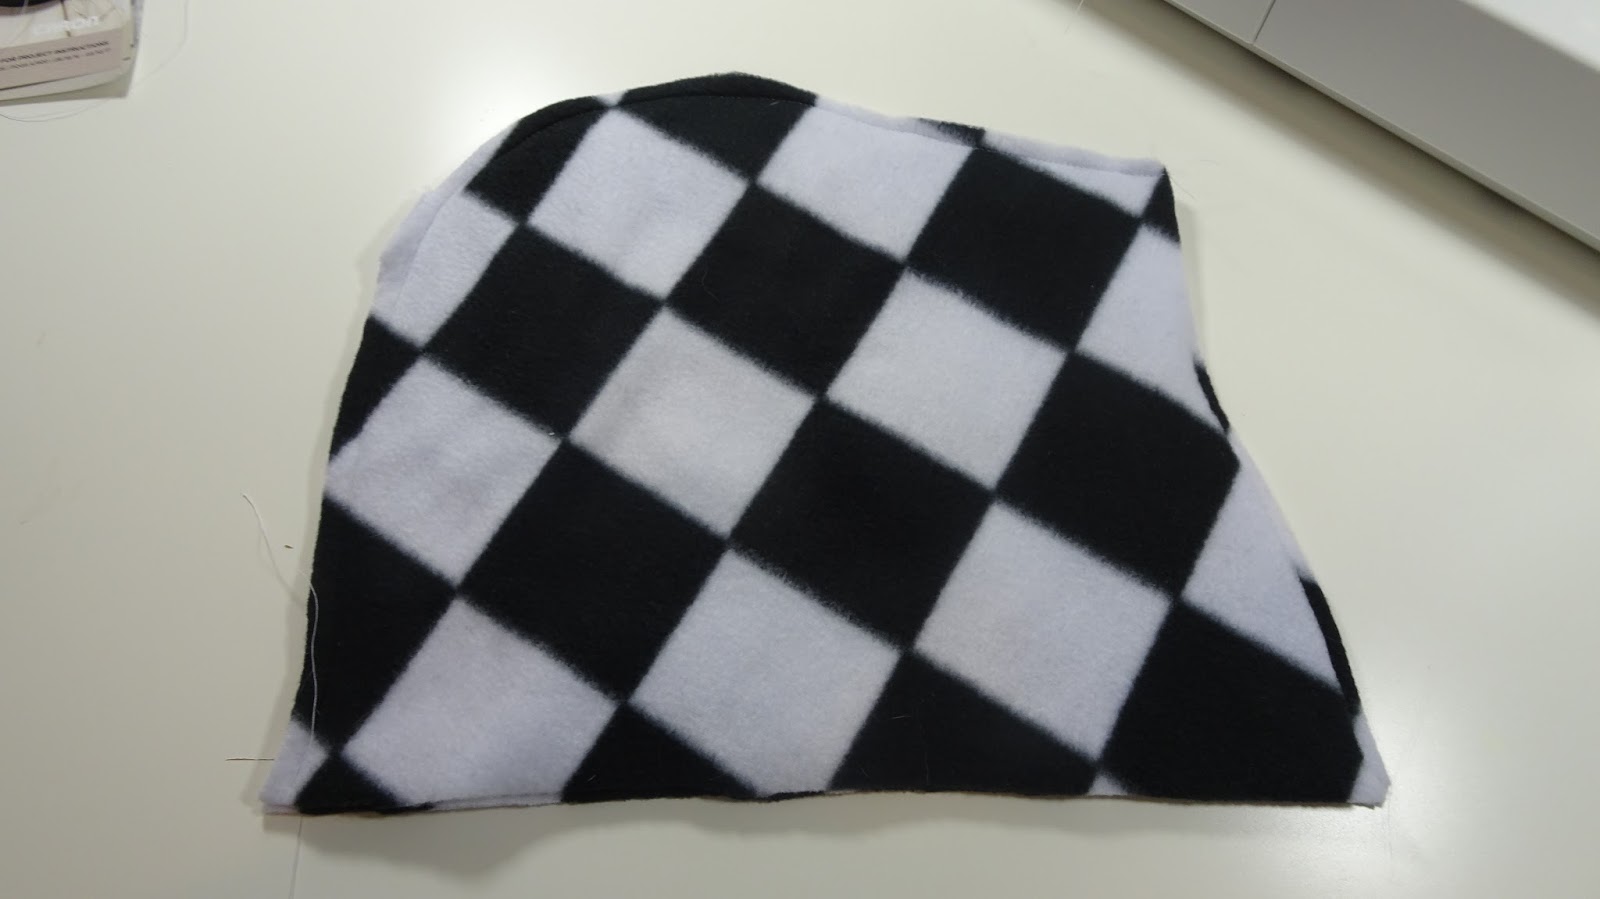
sew the main fabric right sides together along the curved edge

flipping the hoods to reveal the right side of the fabric place the two hood pieces right sides together
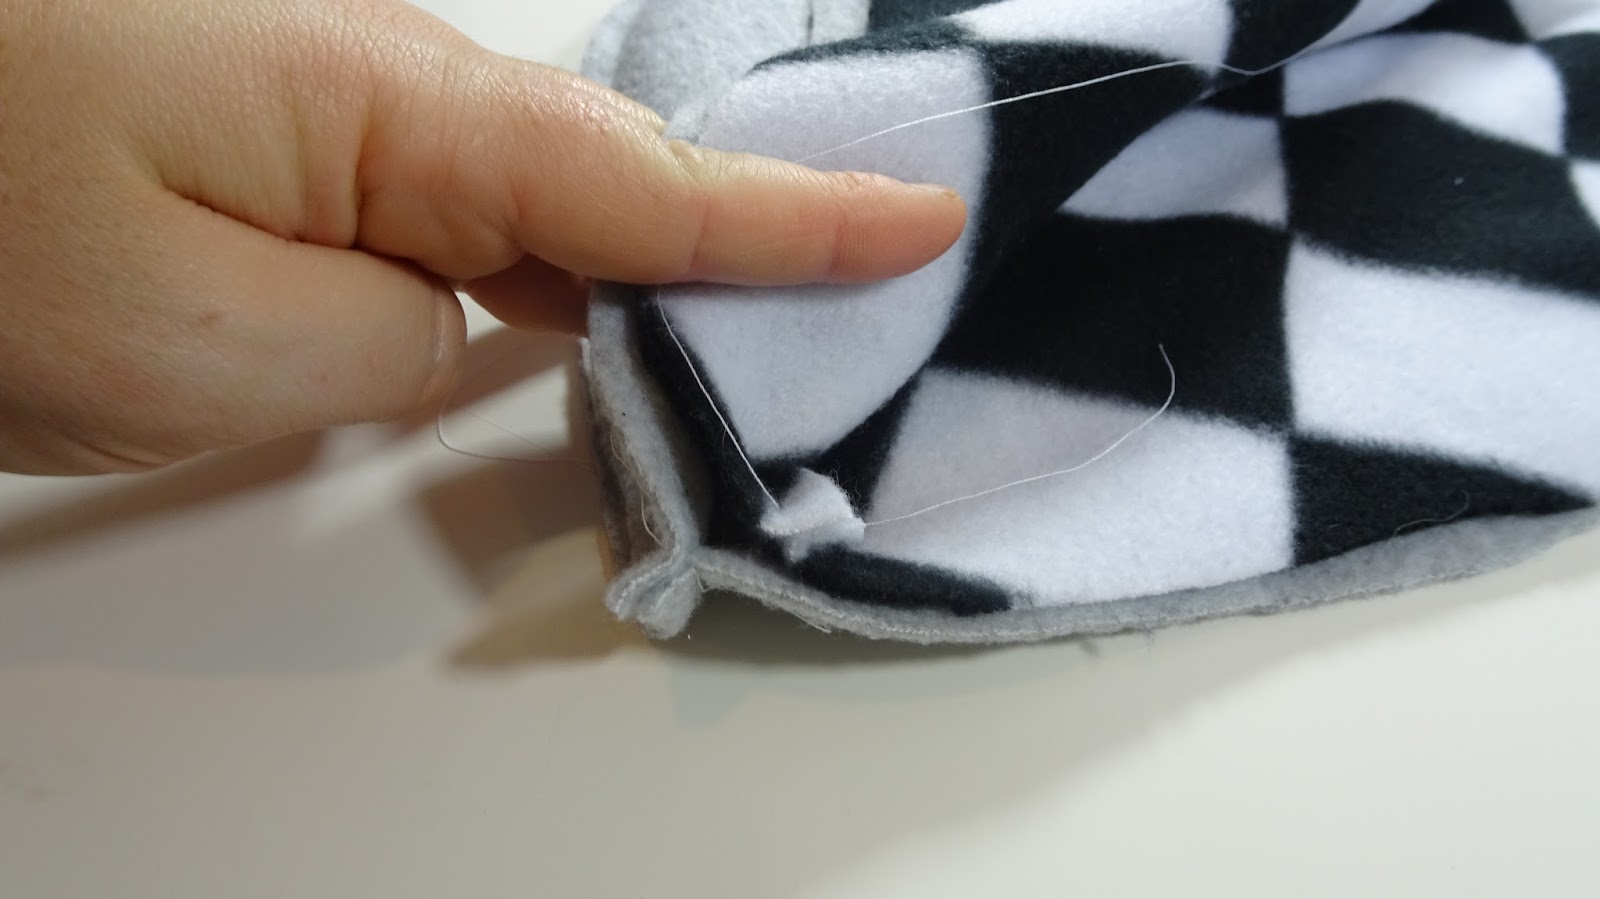
line up the edges that will be the edge that frames the face being sure to line up the seam (be sure the seam lines up as best as possible and pin that while then pinning to the edge.
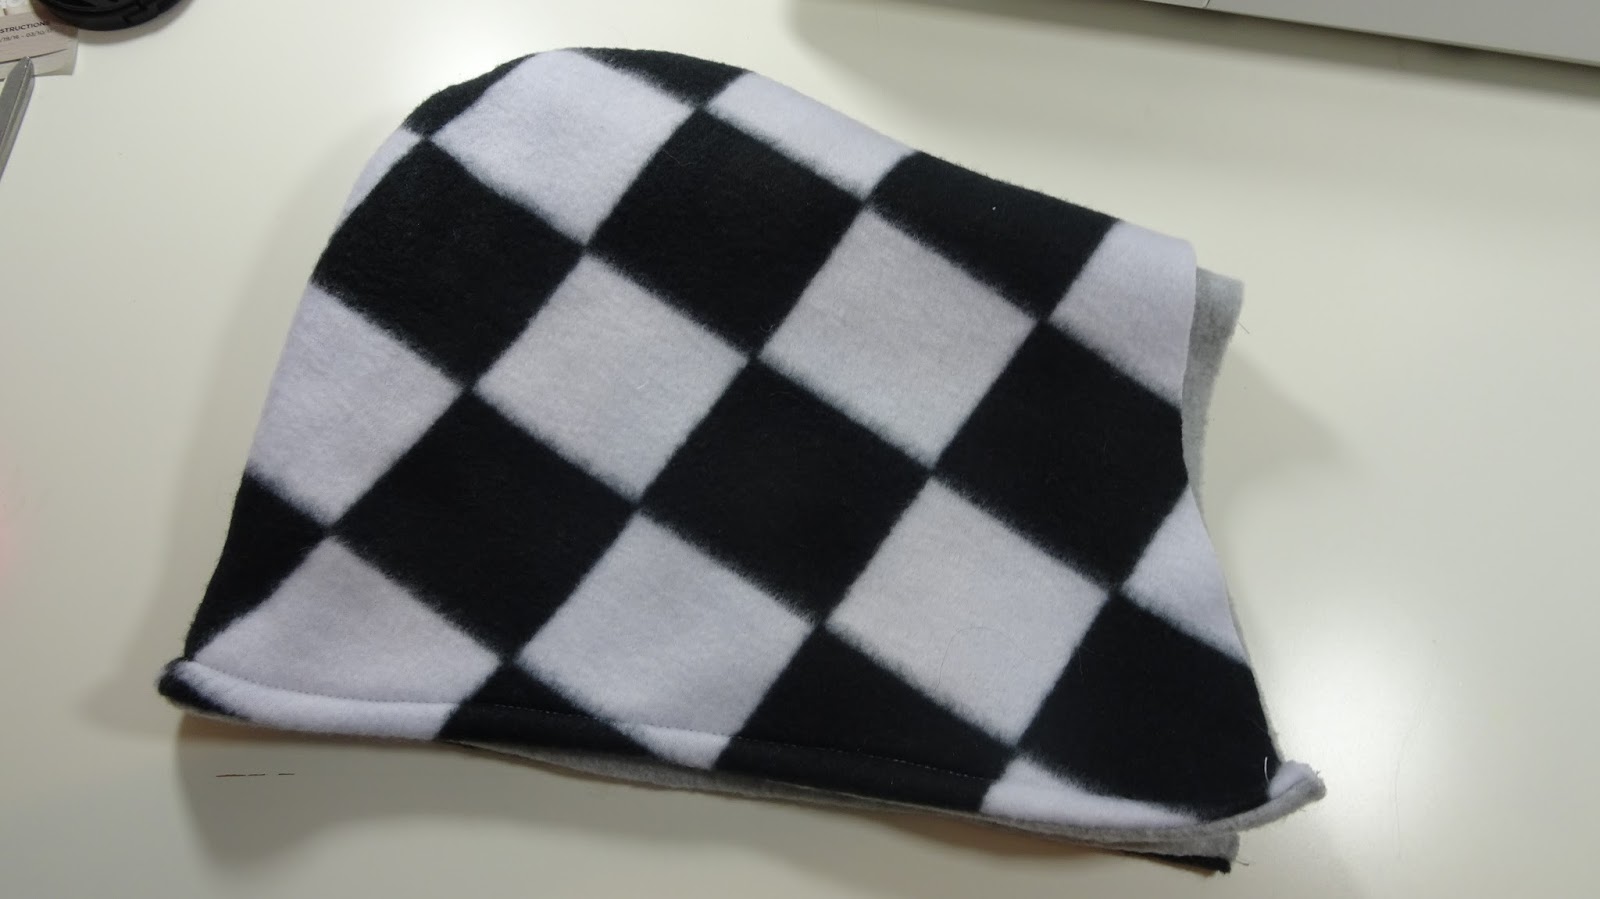
once you have sewn that push the lining fabric into the main fabric and you will see the hood is in formation, top stitch along the edge that frames the face to finish it off.
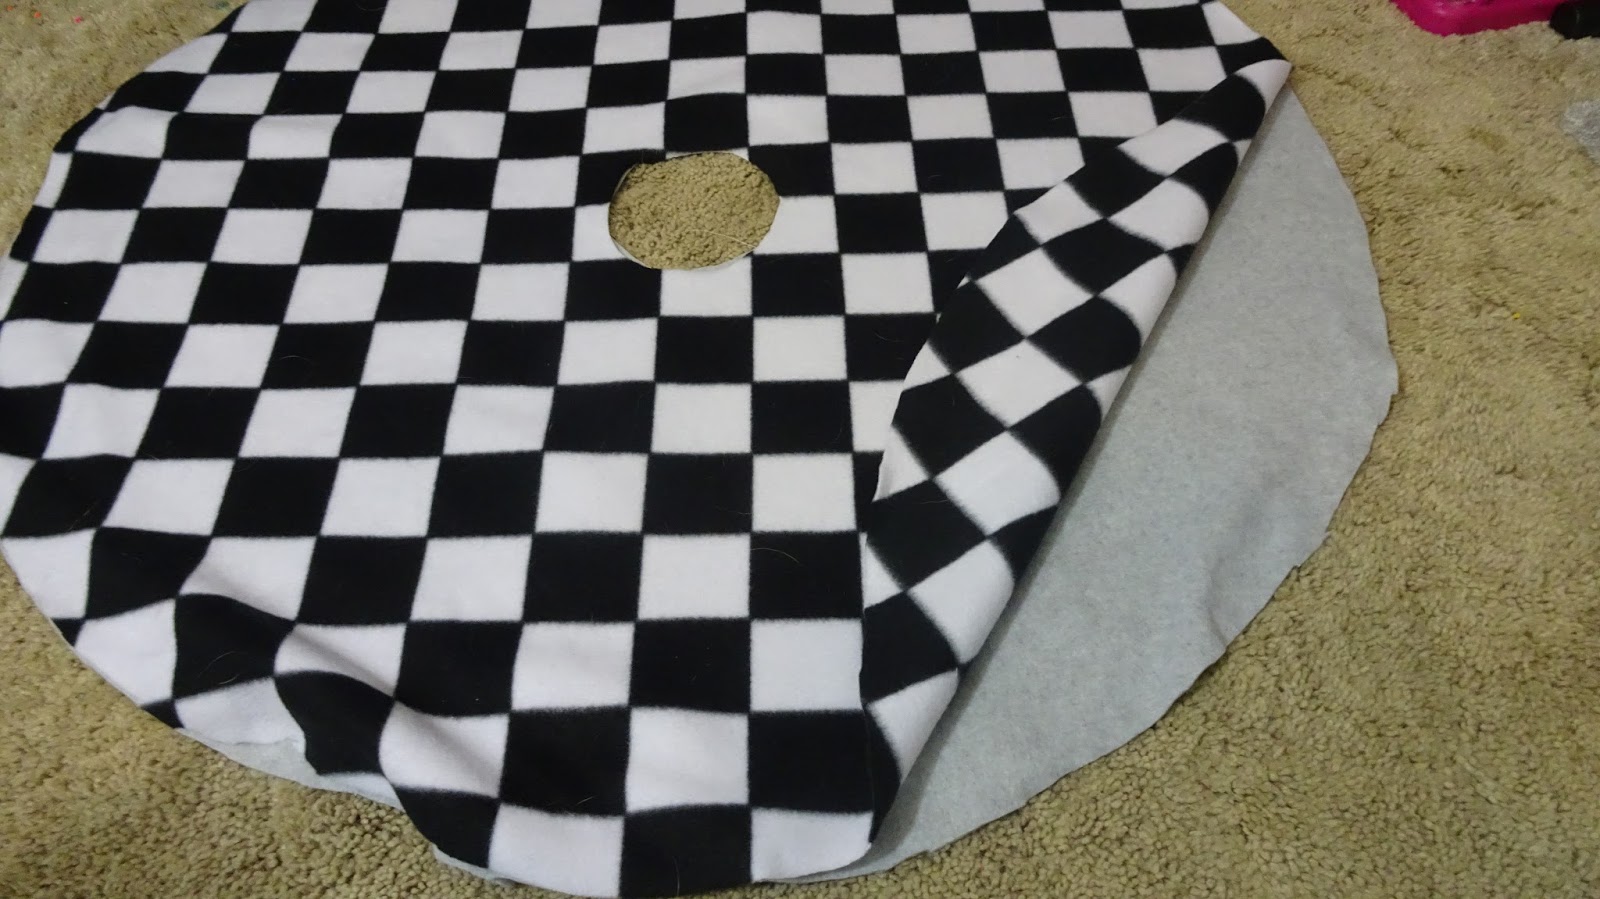
lay the circles on the floor lining them up with right sides together, we will be inserting the hood in between the two fabrics
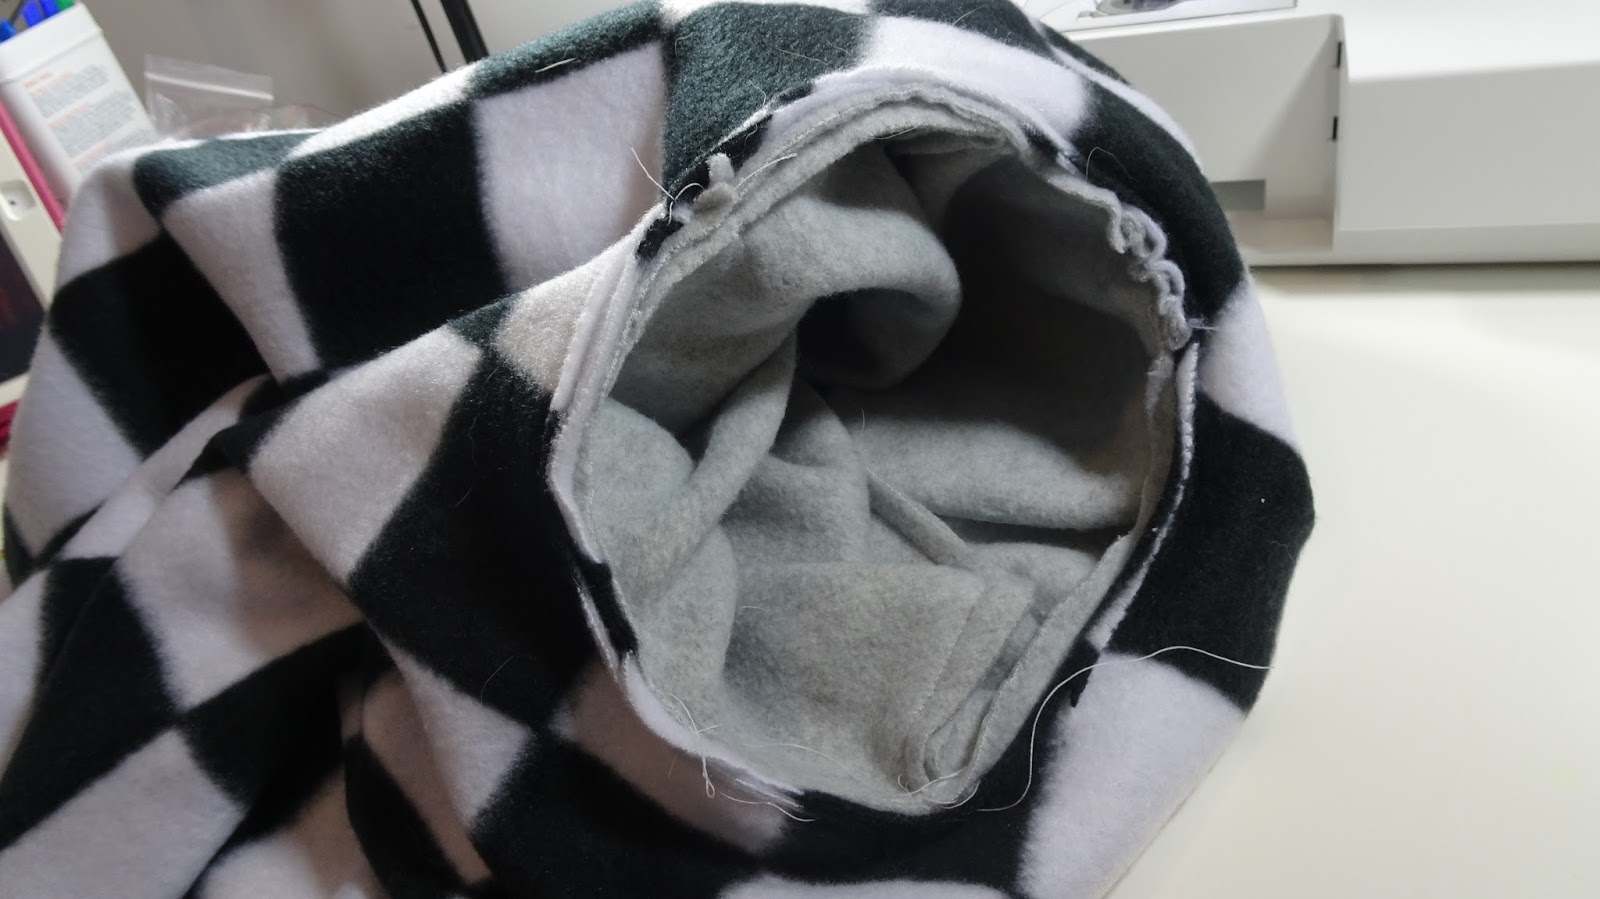
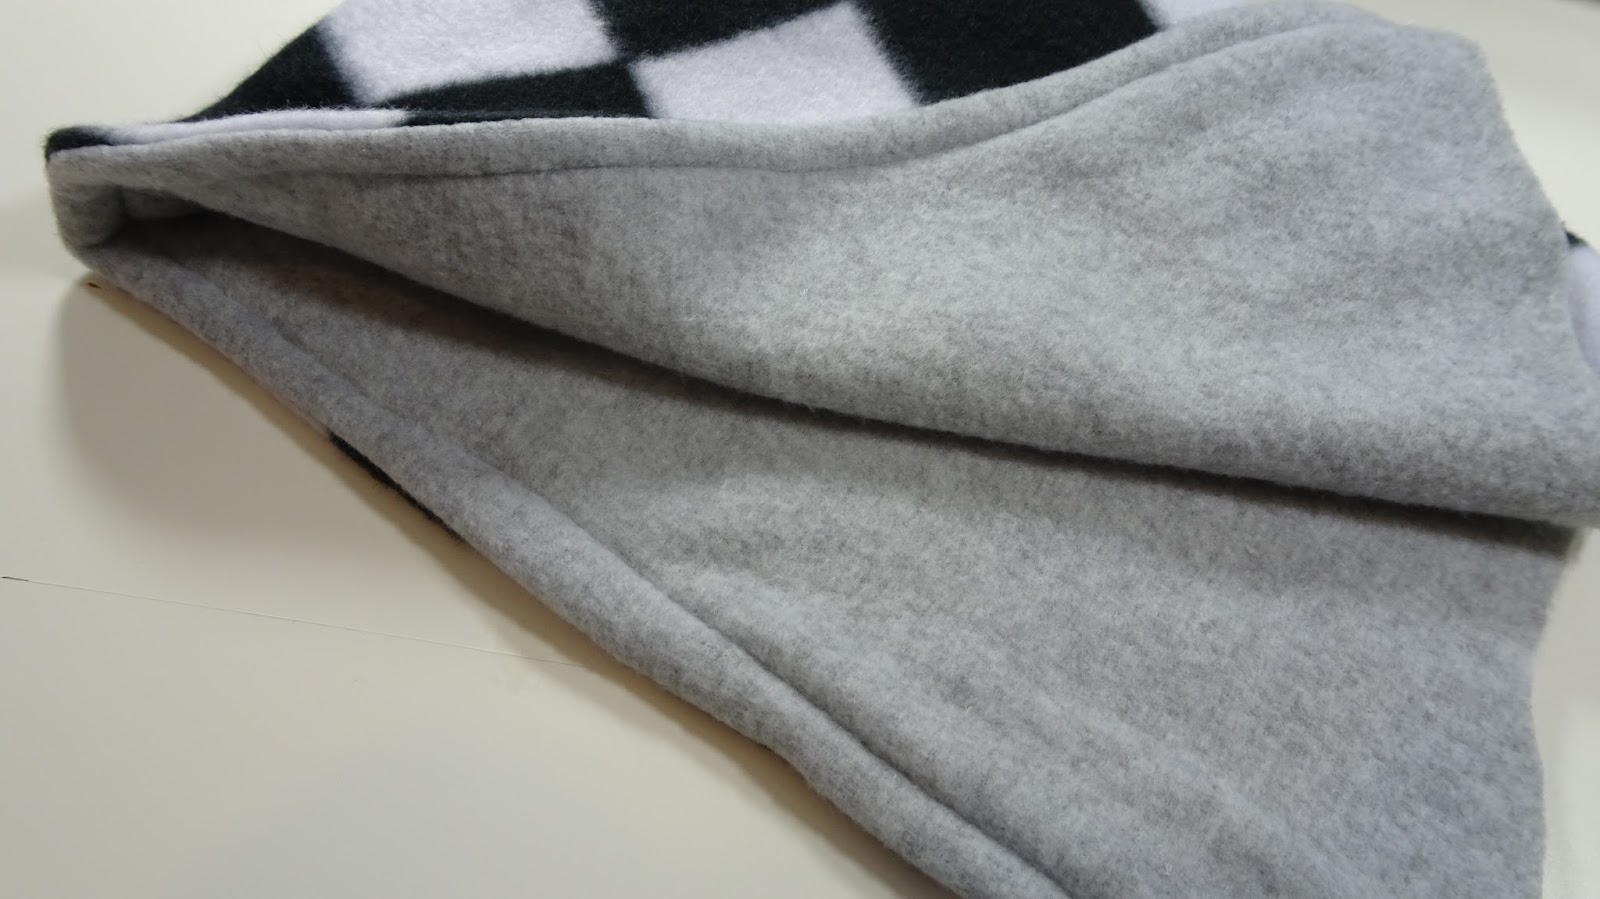
pinning the hood inside the two layers of fabric will allow all the seams to be hidden and no raw edges visible. sewing along this edge with a half inch seam allowance, once finished push the lining fabric through the hole to expose the ponch with right sides out, you should have the last seam left which is the one at the bottom along the entire skirt
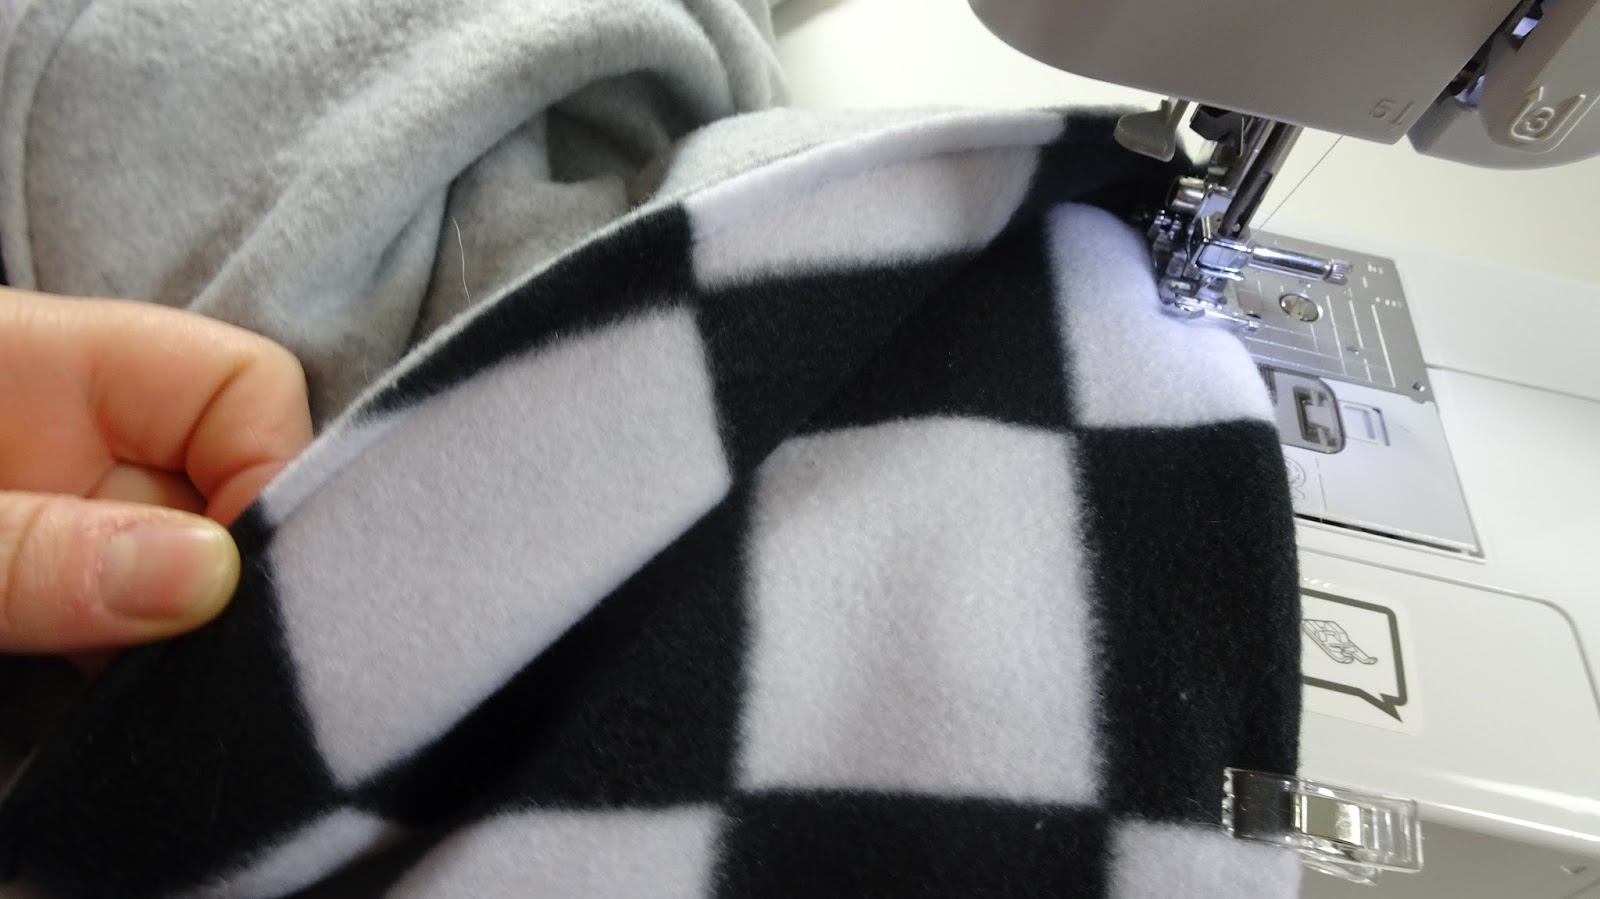
I chose to fold in the edges to hide the raw edges and sew a 1/4″ seam allowance around the whole thing. there are many ways to do this and this process might take a bit of time but in the end no raw edges will be visible through the entire poncho and i prefer it this way
if you have any difficulties making this poncho i have created a video that you can visit over at my youtube channel which might fill in some of the gaps as in some situations its hard to explain things with words.

