

Welcome to the Card Coin Zipper pouch tutorial, this is an adorable pouch that has a zipper pocket for some loose change and a card slot in the front for a few cards or folded bills
Here you will find a all the information for this tutorial, the PDF printable pattern, link to products and materials, and the Video tutorial Link
All the instructions on what to cut out will be in the PDF pattern linked here — > Charmedbyashley – CoinCardPouch
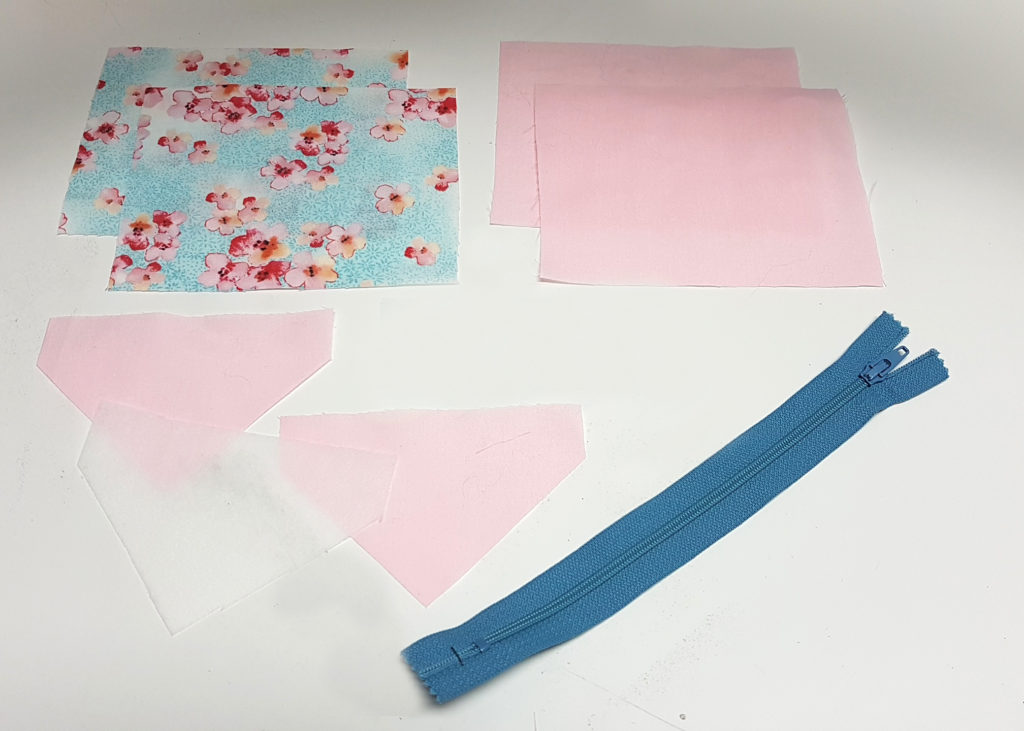
Thinks you will need
- Cotton Fabric
- light or medium weight interfacing
- Zipper larger then 5″
- Plastic Snaps or Sew in Snaps

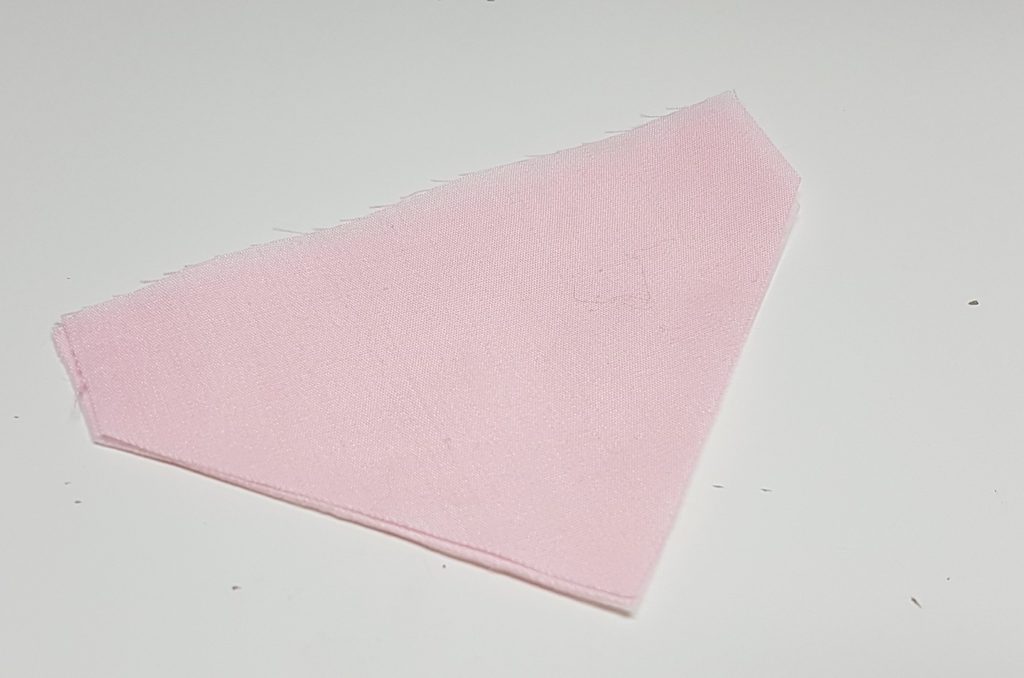
Step 1: iron on fusible interfacing onto the triangle piece, if your using light interfacing iron onto both sides, if your using Medium weight ironing onto one piece is fine
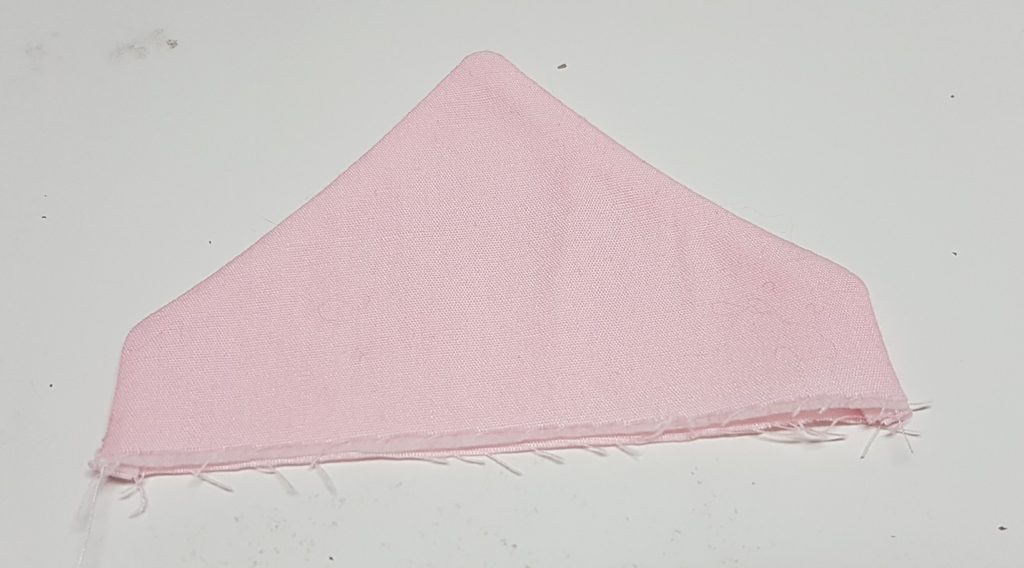
Place the two pieces right sides together sew around except the top portion
Flip the piece right sides out and press, top stitch
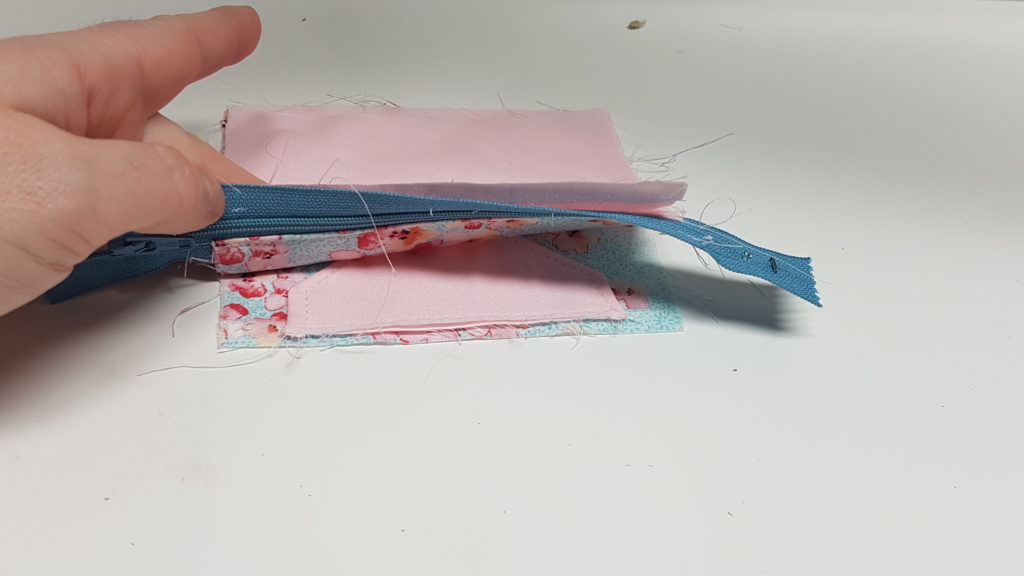
Step 2, install zipper place fabric right sides together lining up the zipper with the raw edge of the fabric, make sure your zipper pull is facing the outer fabric
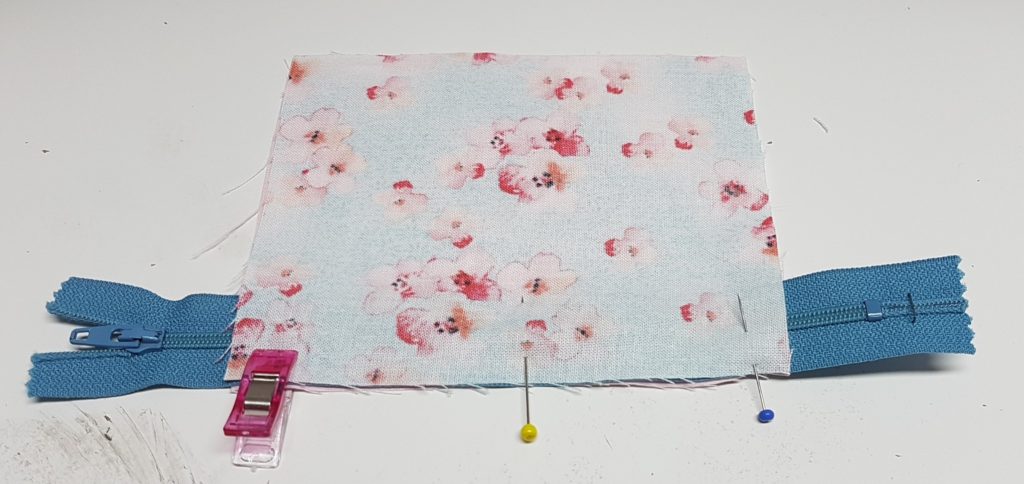
top stitch the fabric

Install other side of zipper, place the triangle flap centred between the layers as shown
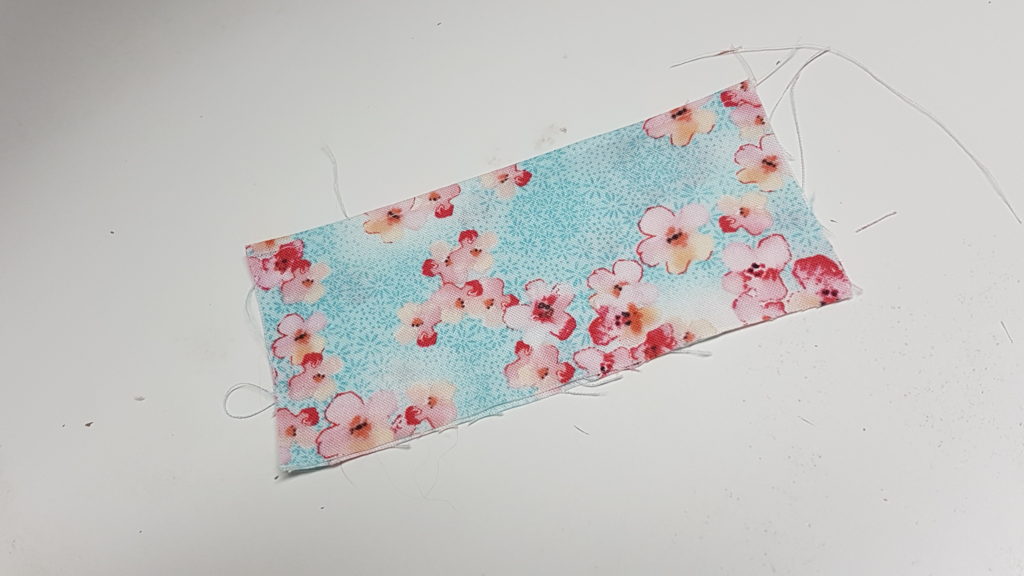
Step 3: Fold the card slot piece in half length ways and top stitch
bring right sides of lining and right sides of outer fabric together, place the cardslot piece as shown, sew all the way around leaving a 2″ gap in the lining for turning
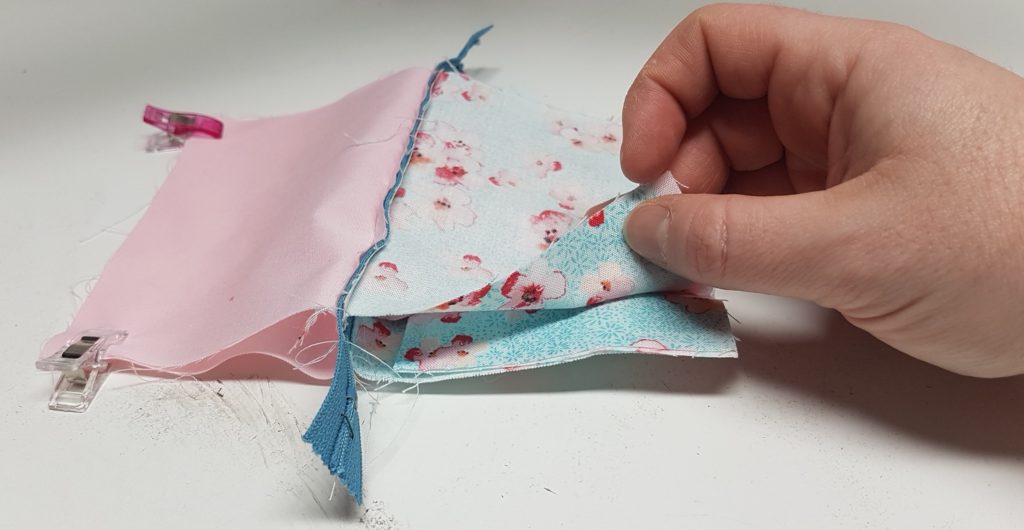
When sewing over the zippers fold the zipper with the zipper teeth facing the outer fabric, make sure you open up the zipper on the inside a little so you can turn it right sides out easier
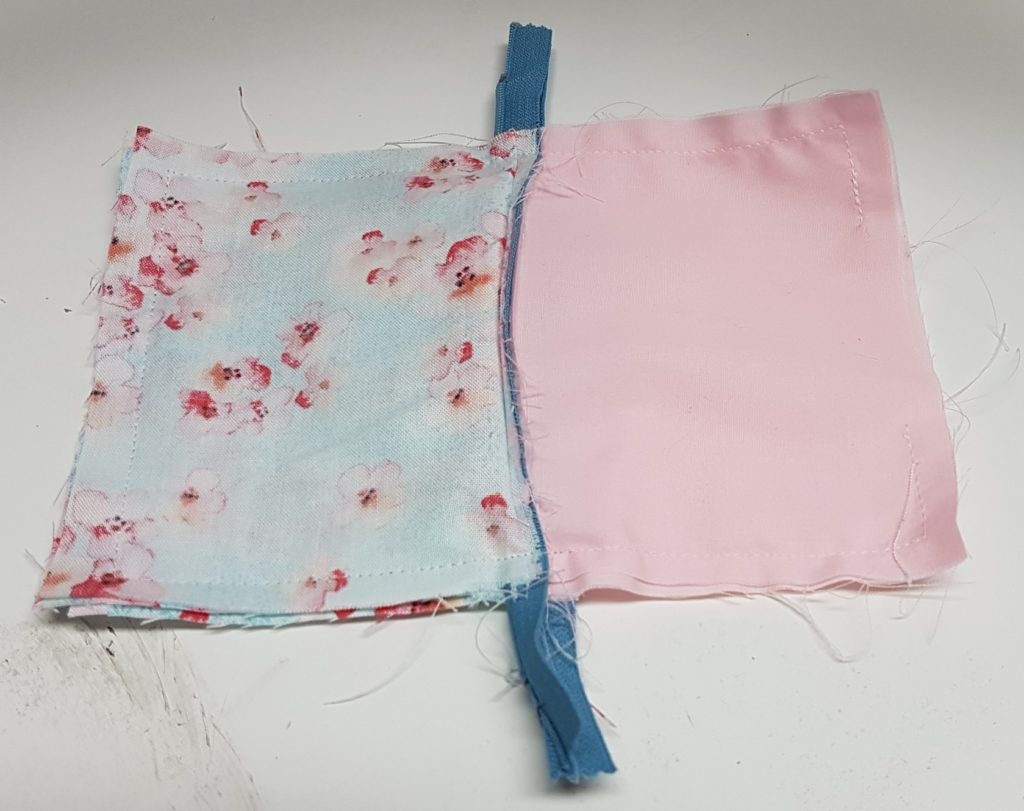
Turn the piece right sides out, pull out the lining so you can top stitch the hole closed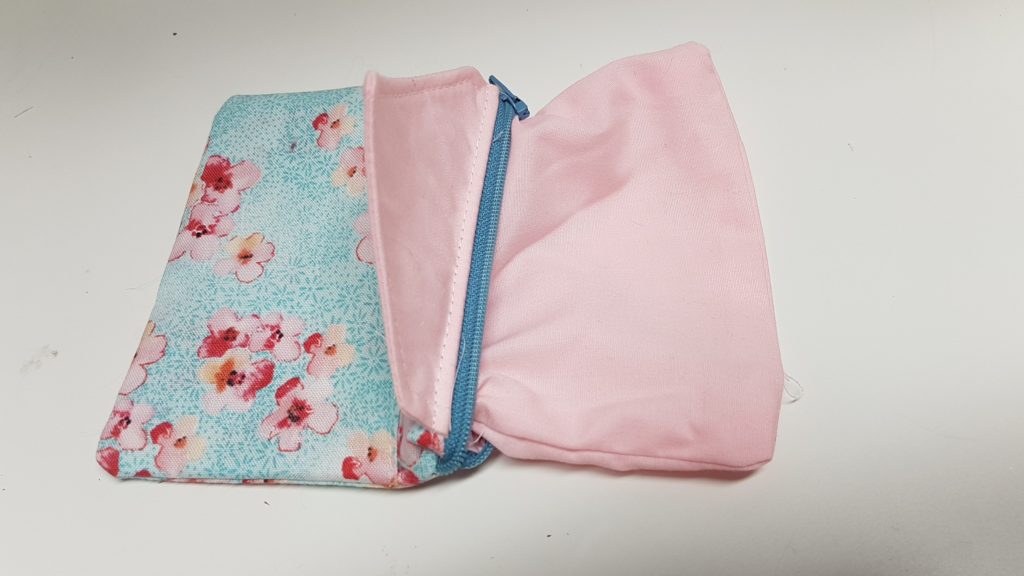
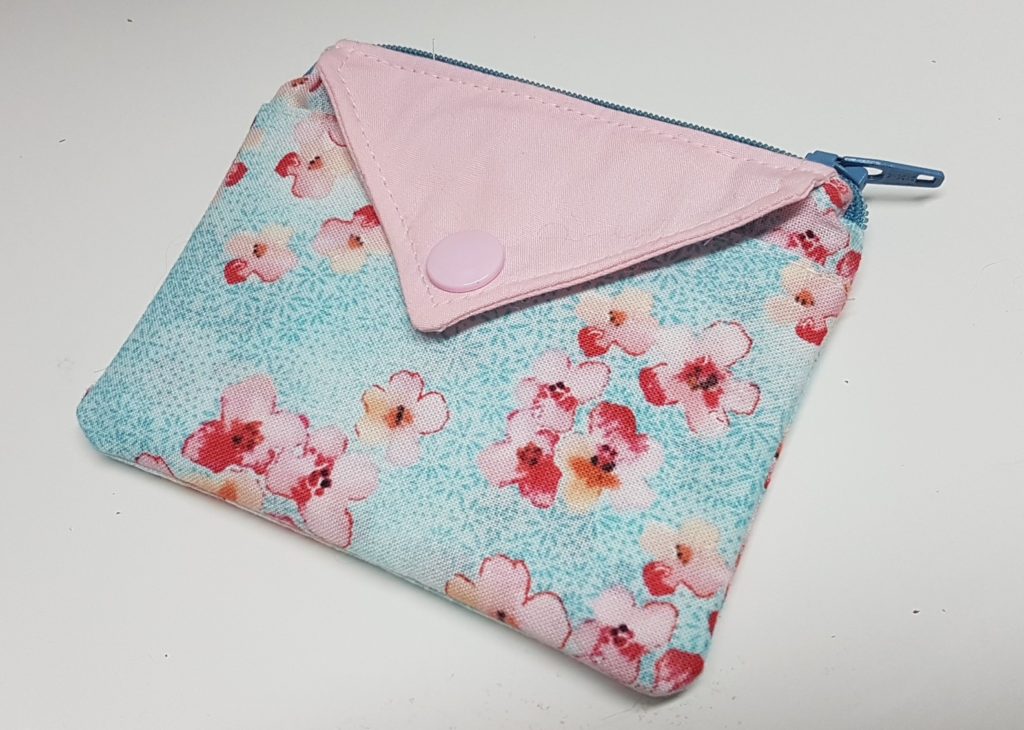
Press the pouch and install your snap and your done!
Learn about Kam snaps from my video below!


0 Comments