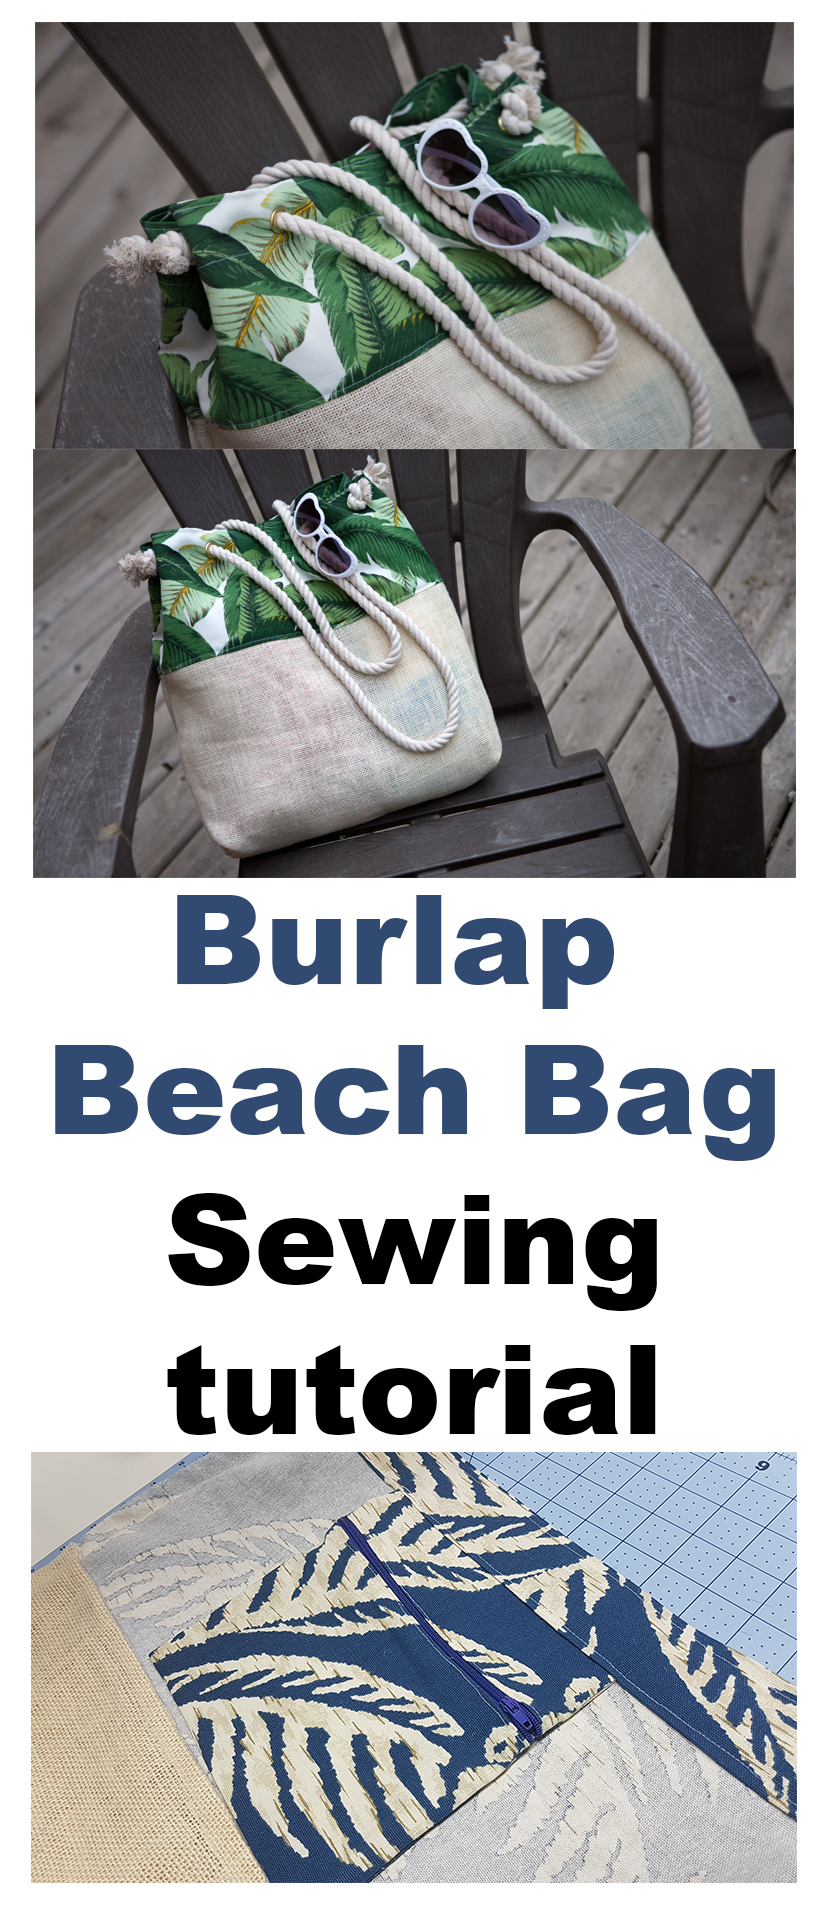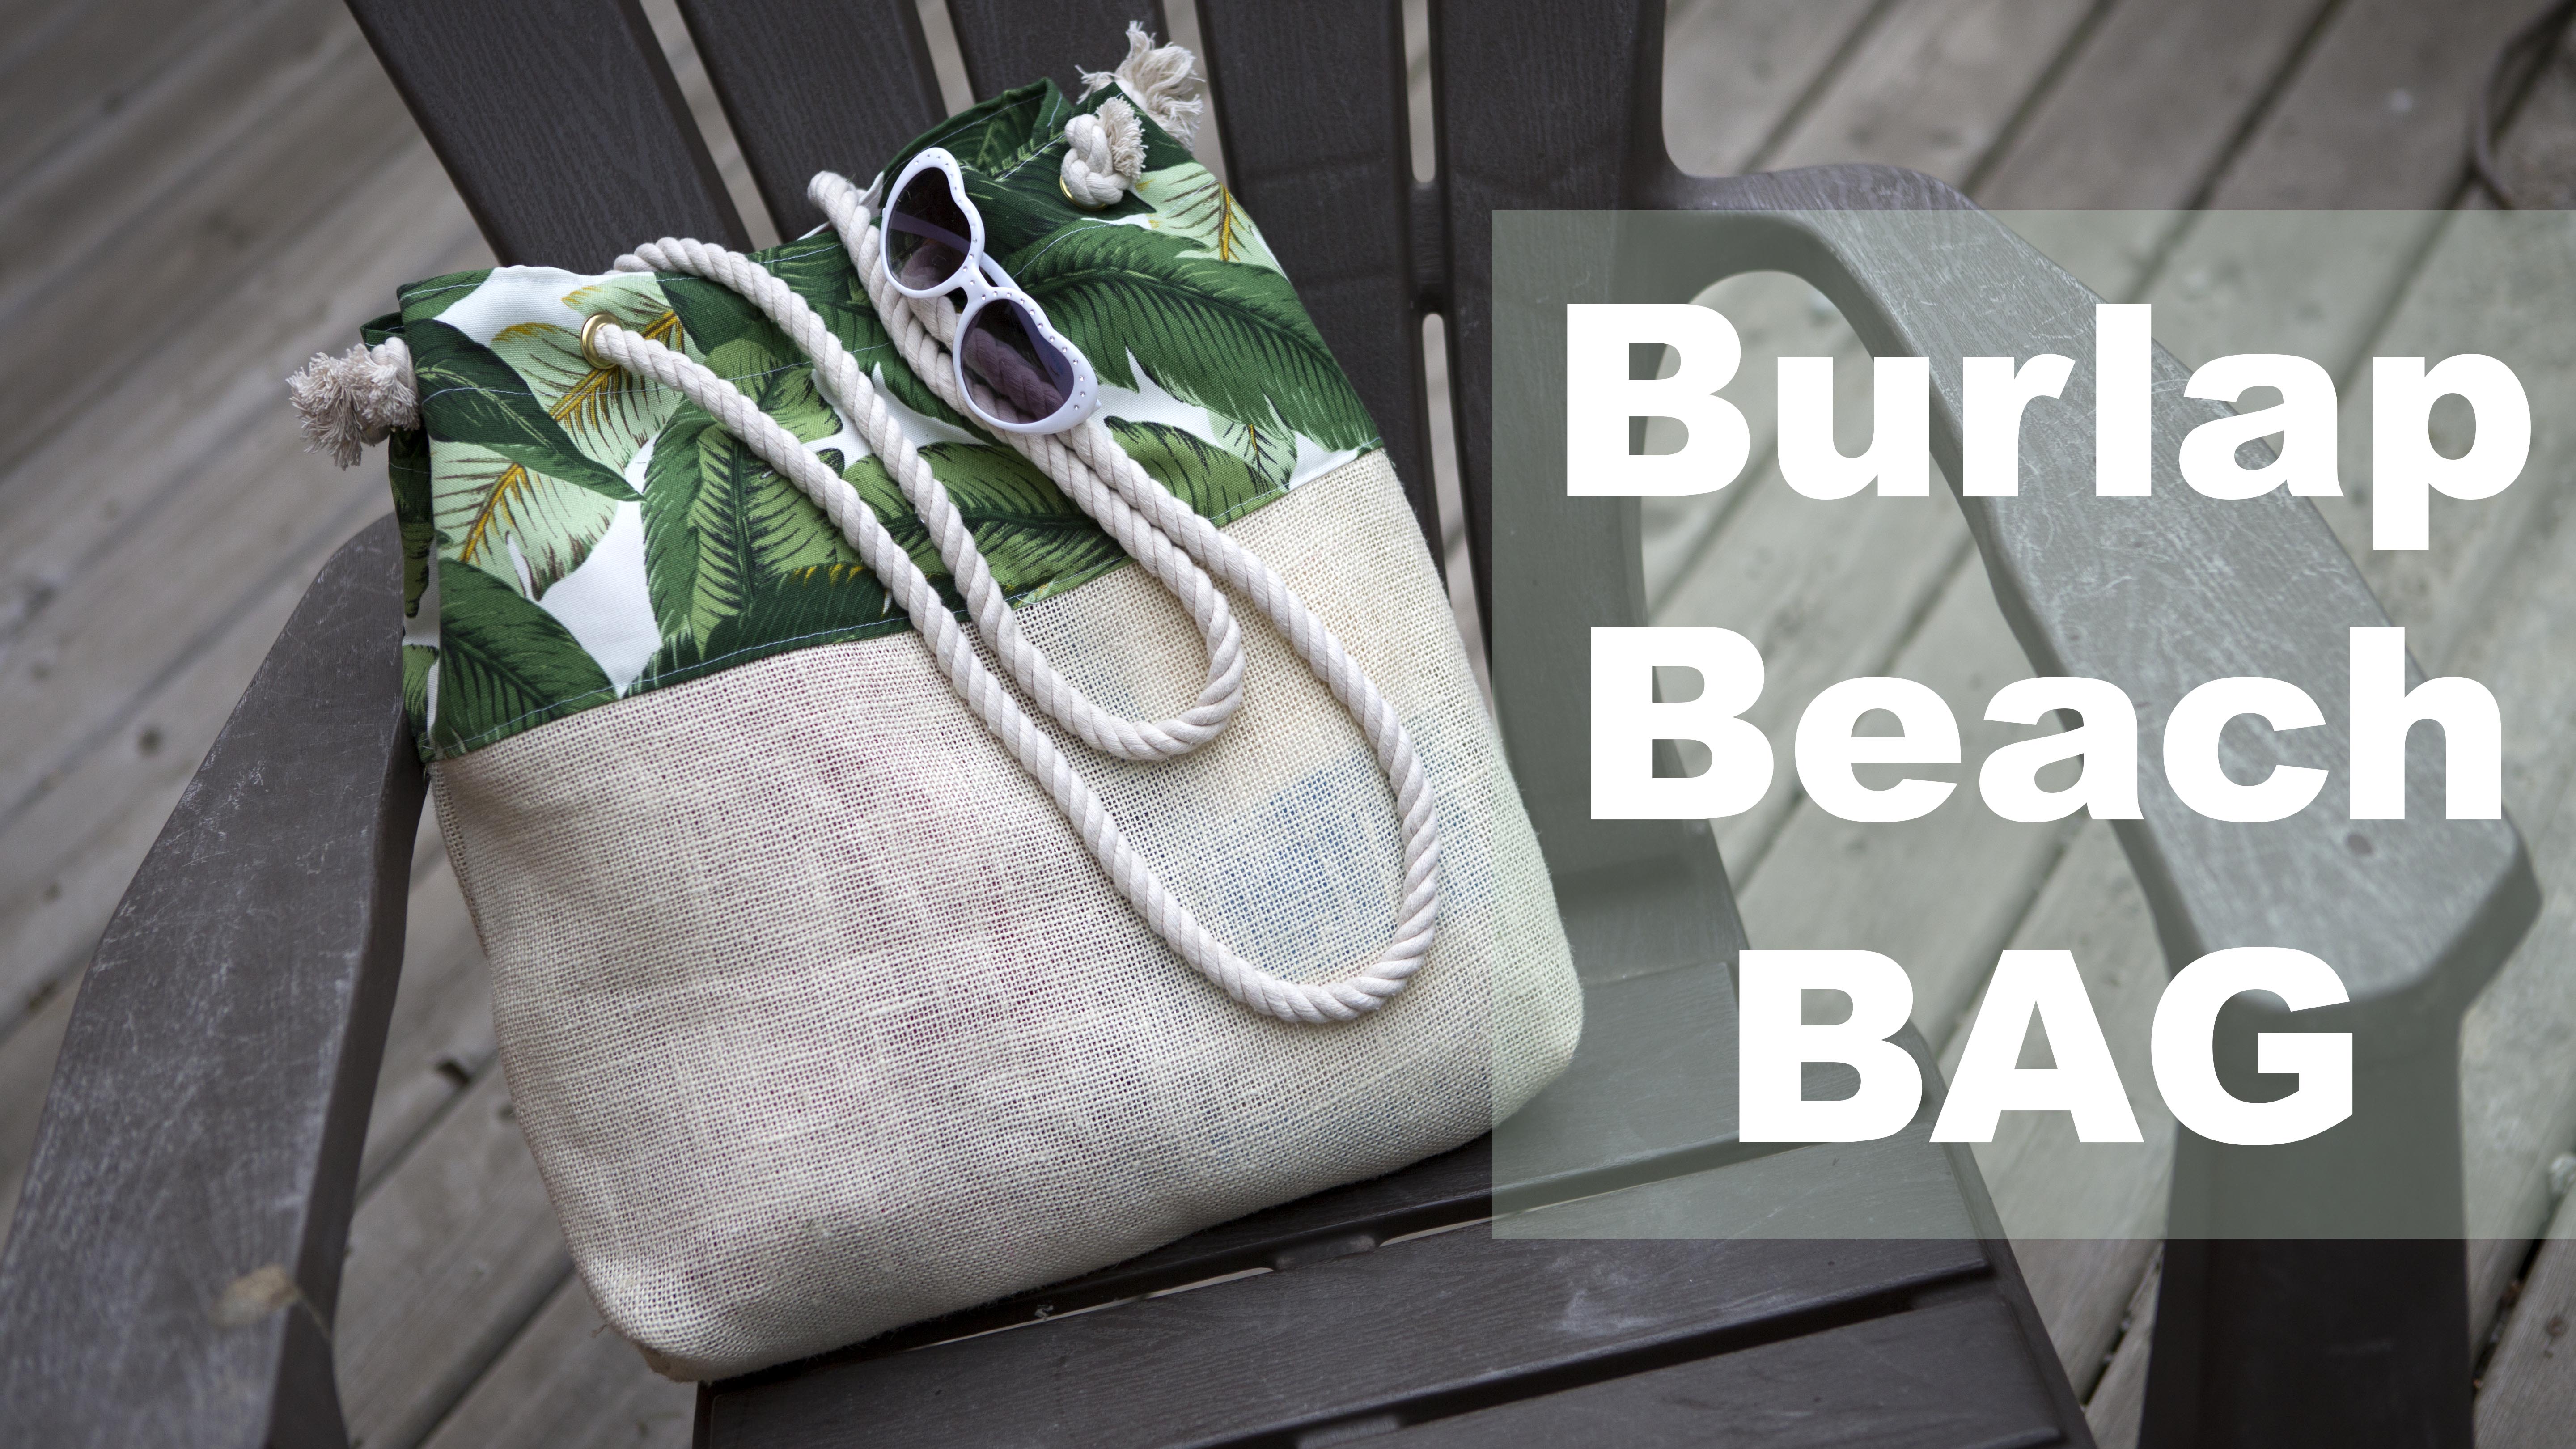
Hey Guys! welcome to the Burlap Bottom beach bag tutorial, This bag is great for sand toys or web bathing suits and towels so things dry faster! This bag also comes with an inside pocket for those important things such as cell phones, money and other small items you dont want to get sandy or wet
This is a one layer bag with no lining
For this project the recommended fabric is
Canvas – I purchased mine at Hobby Lobby, i find they have an amazing selection of canvas fabrics
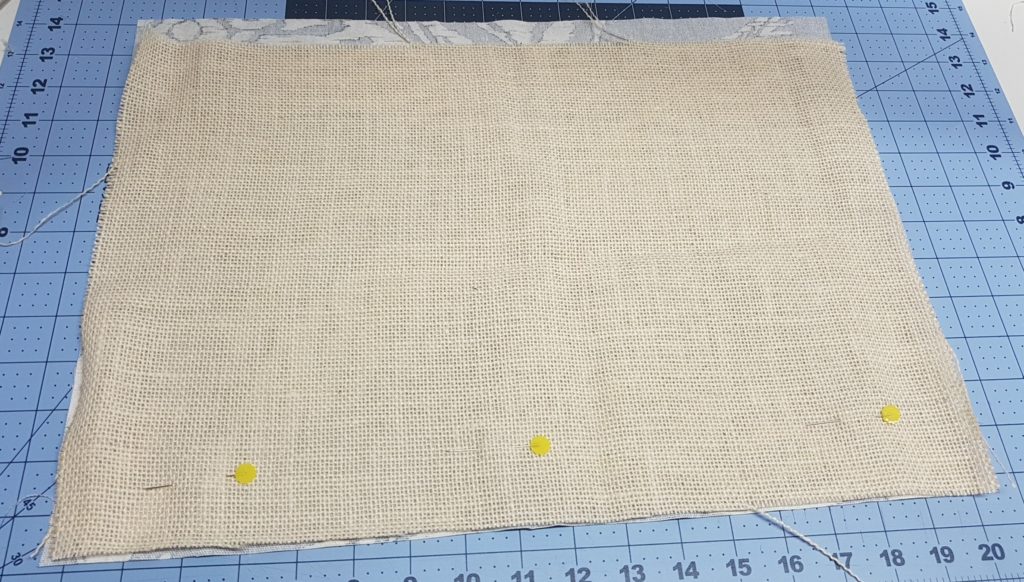
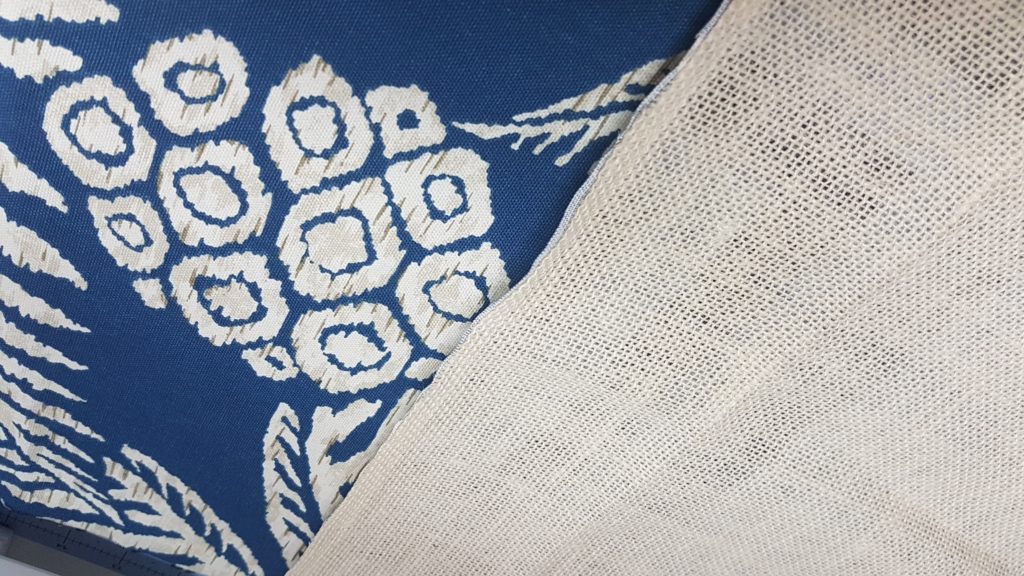
Jute (AKA Burlap)
Burlap comes in so many other colours and textures you can really have fun with it!
1 Nylon zipper 10″ in length (i prefer nylon zipper as i can sew over top of them)
8 x 5/8th – Grommets
1/2” Nautical style Rope (I found mine at Dollar tree #Score haha!)
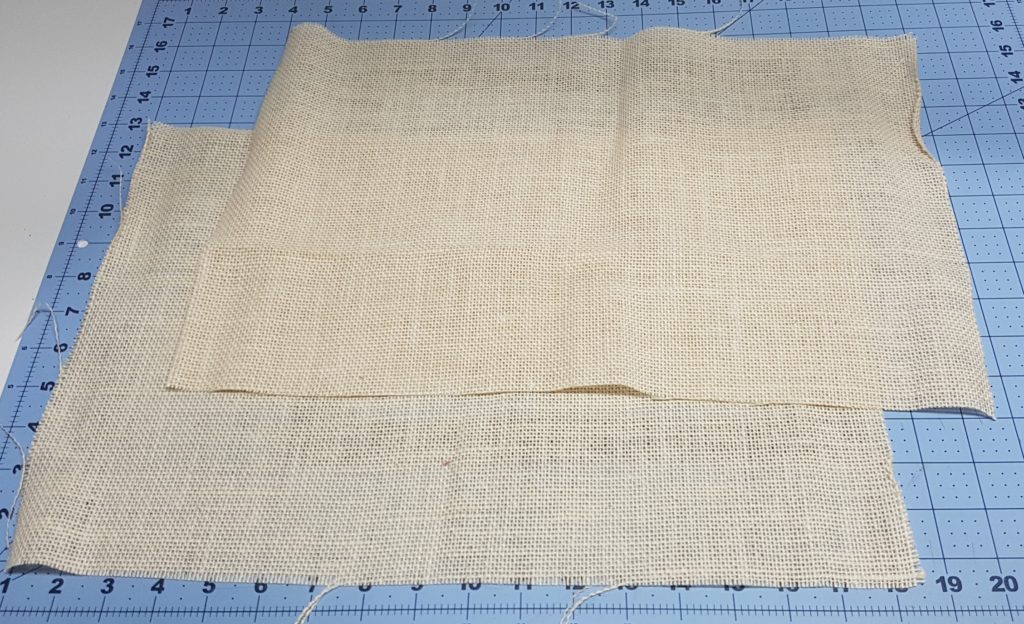
When you get your Burlap be semi-delicate with it so it doesn’t fray too much on the ends, you can also iron it on high heat if there are folds or kinks in it
The measurements for this project are
Canvas Fabric – 13″ x 19″
Jute (Burlap) – 13 x 19″
Zipper Pocket 1x – 9″ x 14″ 1x – 9″ x 3 1/2″
8 x 5/8th – Grommets
1/2” Nautical style Rope (I found mine at Dollar tree #Score haha!)
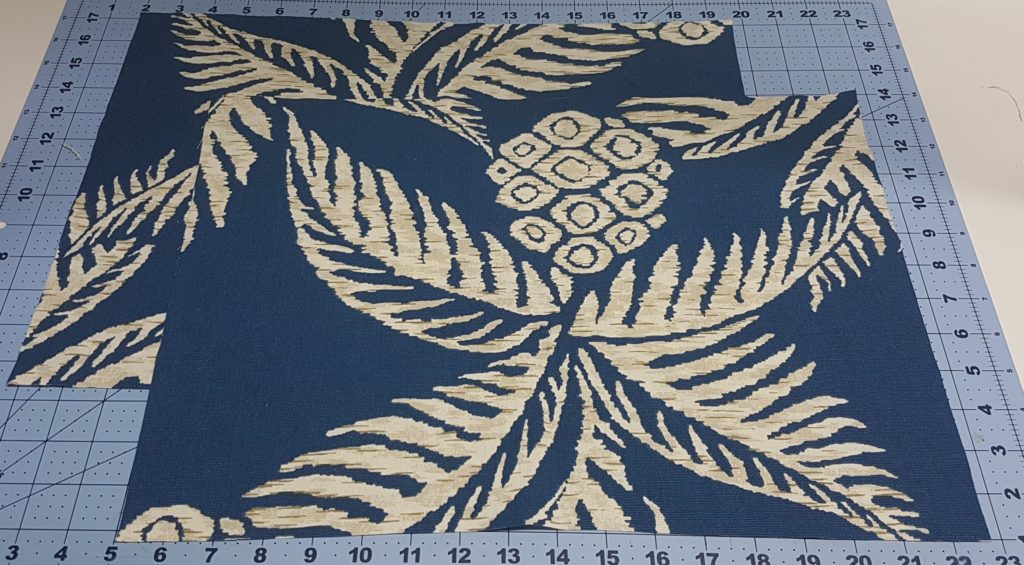
If using a direction fabric be mindful when you start to sew on the burlap, remember the burlap will be attached to the bottom of the print
When using a directional fabric also be mindful when attaching it to the zipper, place the zipper at the top of the long piece (top of the print) to ensure the pocket will have the print going in the correct way
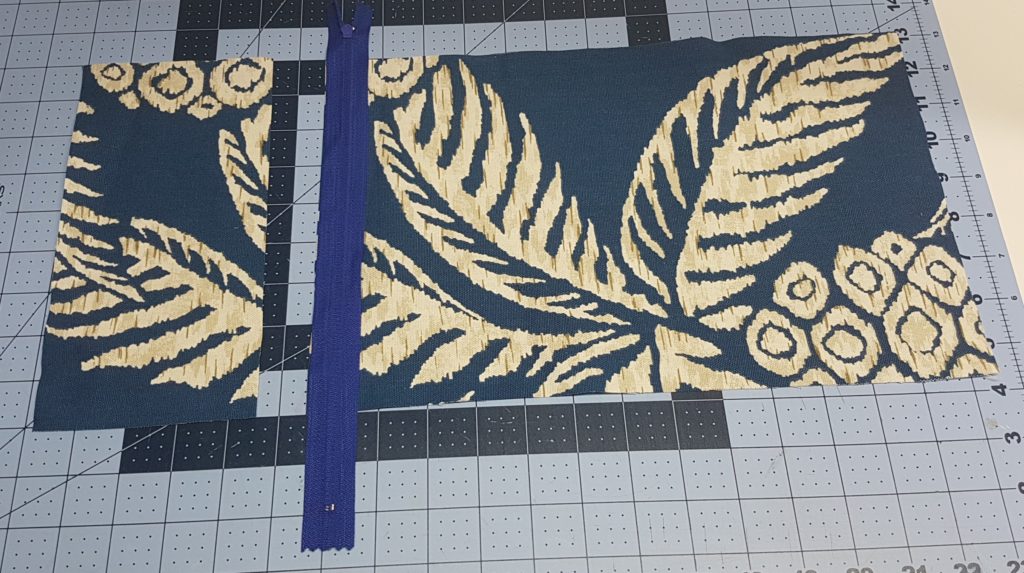
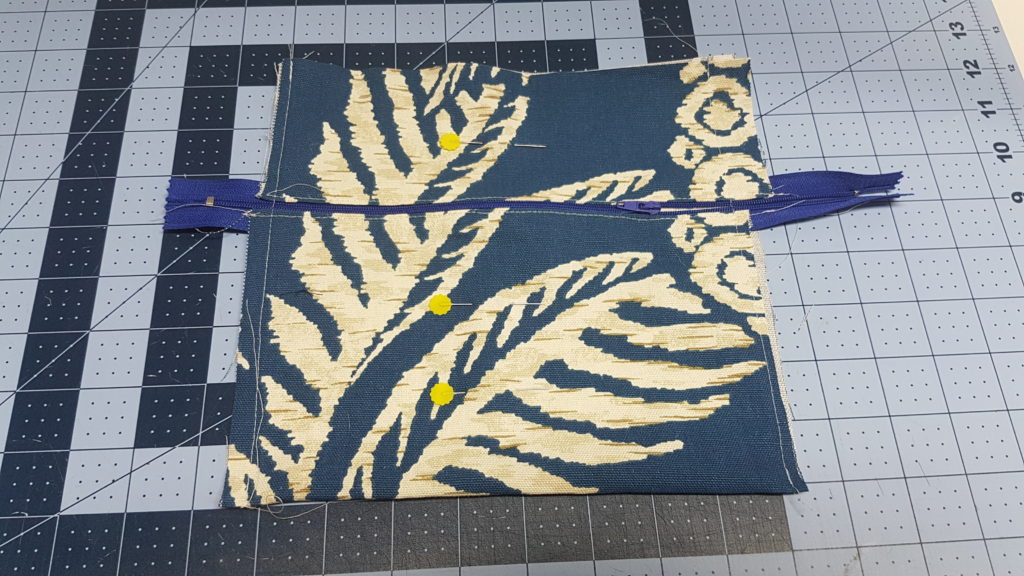
Step 1 – (in this step we will work on the zipper pocket) First we will attach our zipper to the fabric
Lay the long rectangle down with the right side facing up, place zipper at one end of the fabric with the zipper pull down, line up the edge of the zipper and fabric so they are lined up, pin or clip into place and sew along that edge nice and close to the zipper teeth *Note – if you have a zipper foot now is the best time to dig it out and see how it works! i love my zipper foot and it really makes things so much easier
Step 2 –
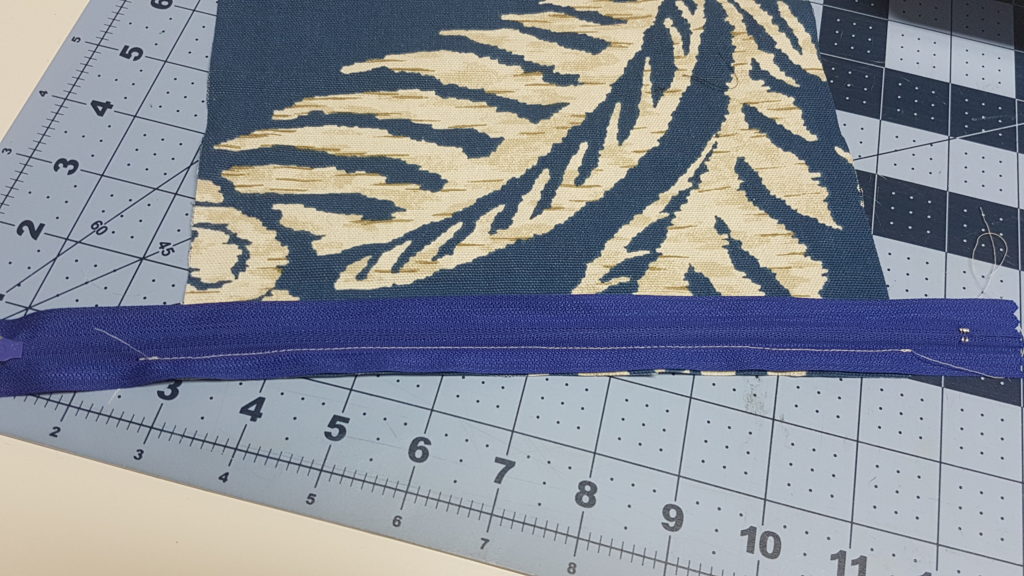
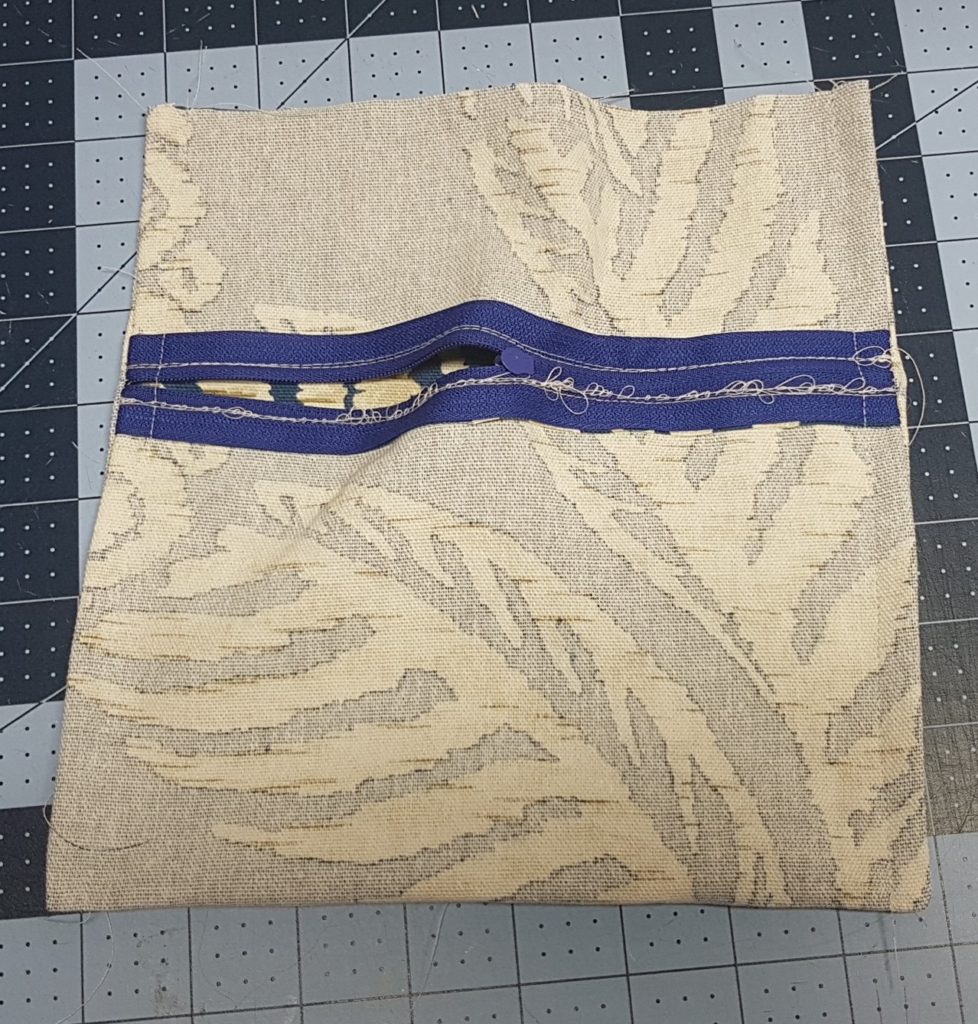
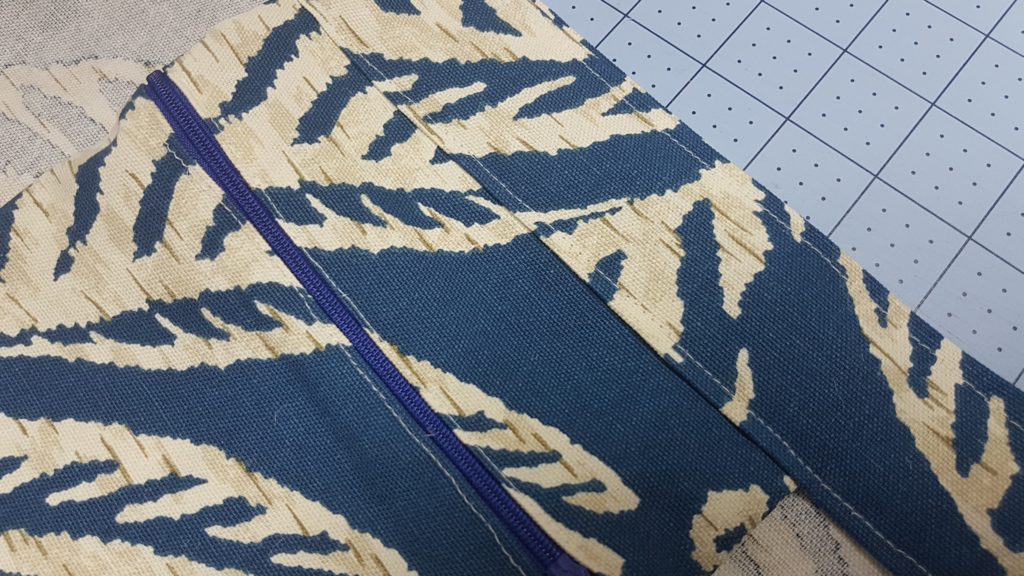
This is how it will look, fold over the fabric so the zipper is visible and sew a top stitch along the zipper teeth
Repeat this step attaching the small rectangle on the other side of the zipper and also top stitch along the other side of the zipper teeth
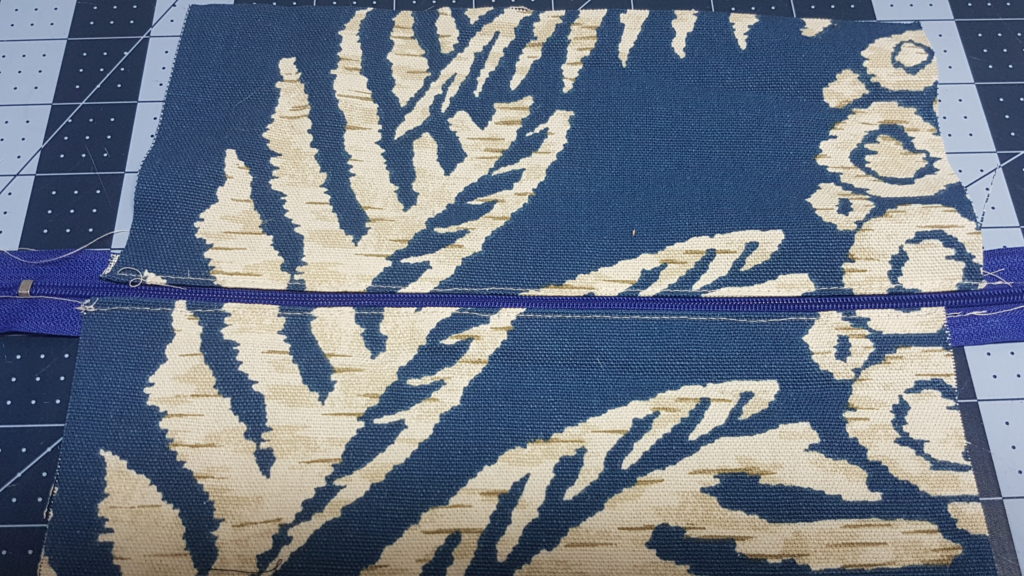
This is how it should look (ignore the fact that my one piece is visibly larger haha, thats an easy fix and will be trimmed to size soon)
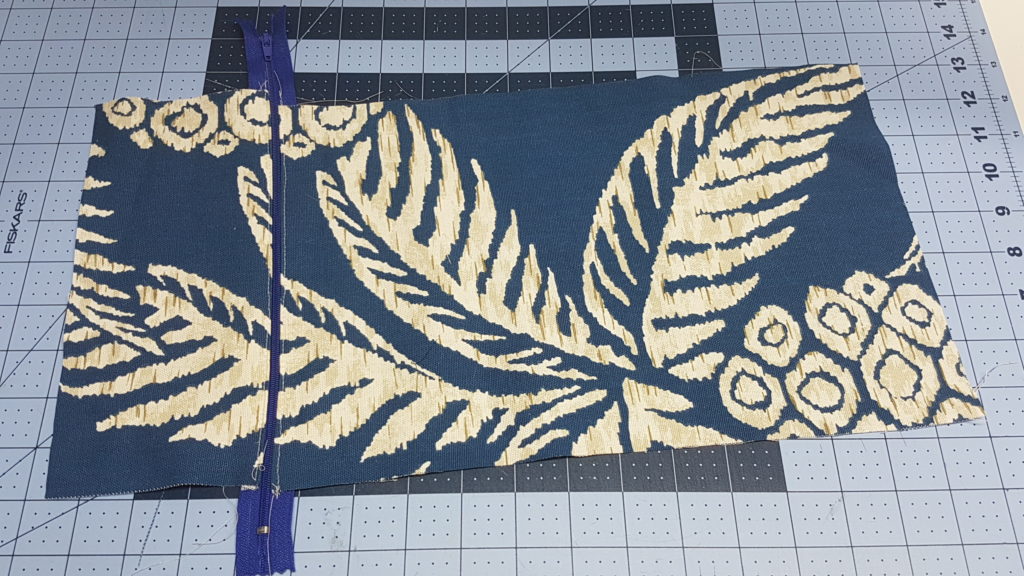
This is how it should look, fold the long piece in half so the end of it lines up with the other side of the smaller rectangle
basically fold it in half with wrong sides together, sew along each side to create a pocket, if your using a zipper that is larger pull the zipper back and then carefully holding the zipper teeth together sew along that edge.
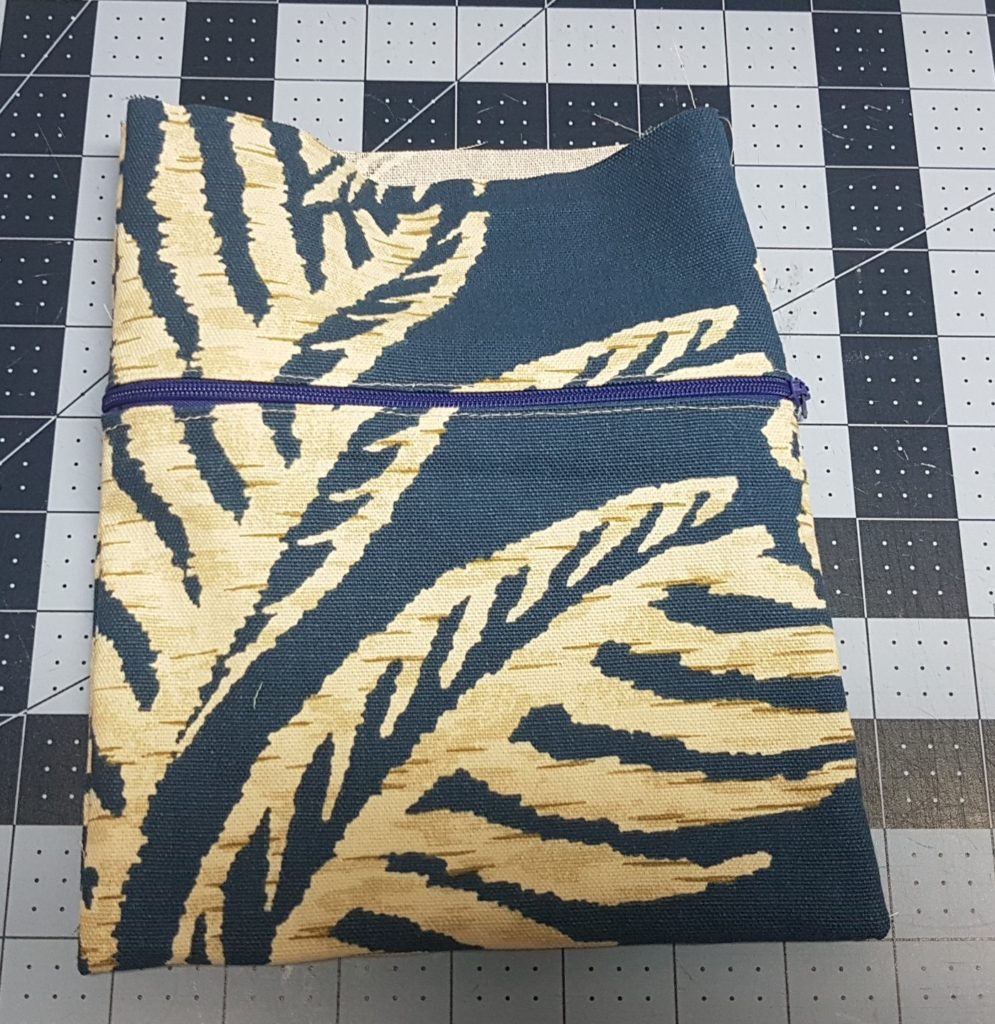
This is how it should look, now we will trim the edges and excess zipper, trim it up so it is about 1/4″ away from that line of stitching, for the next step we will be working with a 1/2″ seam allowance, we will be doing a french seam.
What is a french seam? a french seam is a seam that hides raw edges, you are welcome to use a serger but for me i think this looks alot nicer and hides everything
Now we will turn this pocket inside out.
Once turned inside out sew along that same edge using a 1/2″ seam allowance
Note * using a half in seam allowance ensures your raw edges will be hidden inside that seam
turn right side out again and your pocket is finished and can be set aside
From here we will keep doing doing french seams, because this is one layer beach bag the raw edges will show otherwise, and it also creates more stability for the burlap as burlap does start to fall apart so doing a few lines of stitching will ensure its durability and strength for the heavy things that will be put inside
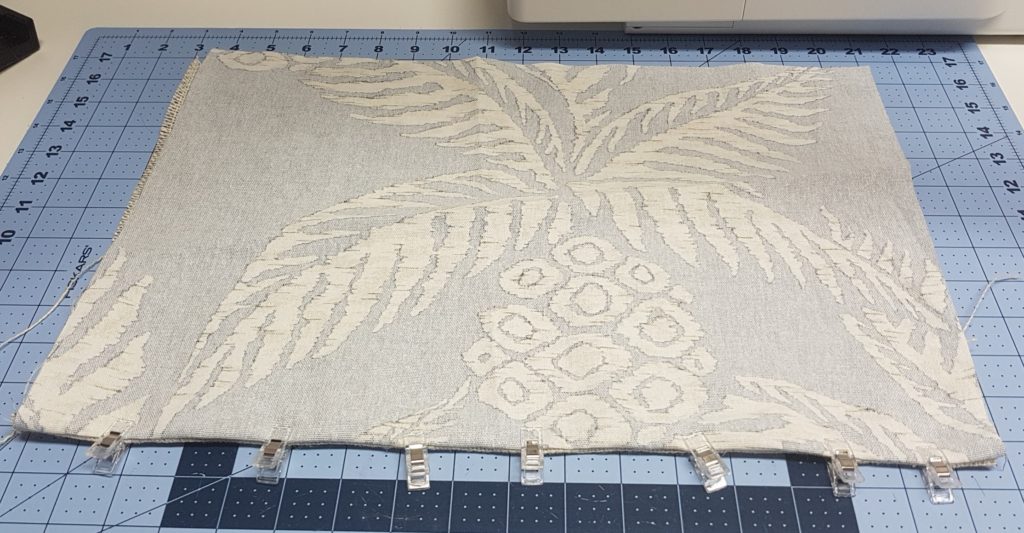
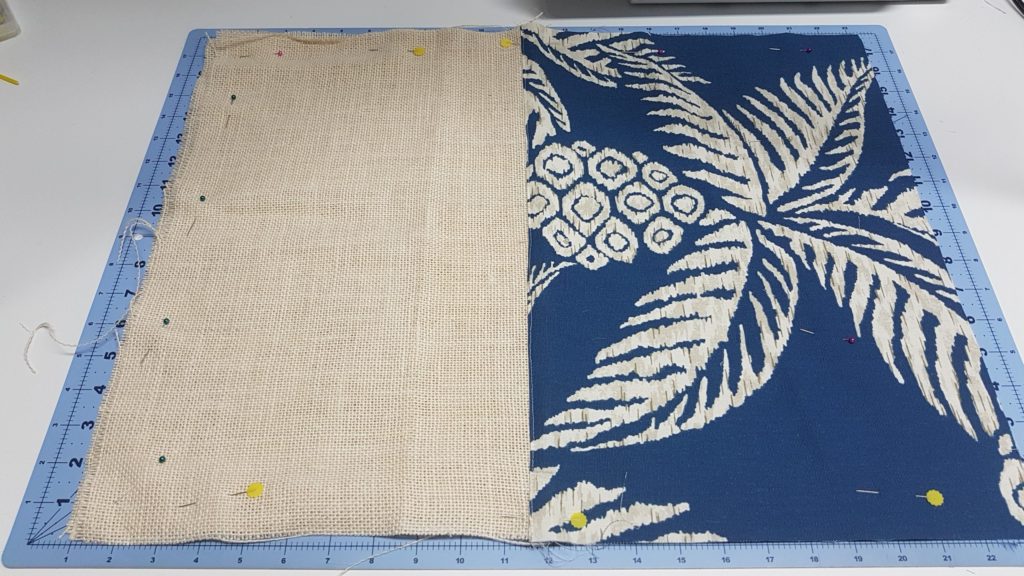
Now we will work on creating the side of the bag, take the burlap and canvas fabric, place the wrong side of the fabric to the burlap lining up the edge that measures 19″
Sew along this edge with a 1/4″ seam allowance
Note * Remember to think about your fabric placement if its directional, also everything we do here should be repeated for the other two pieces of fabric
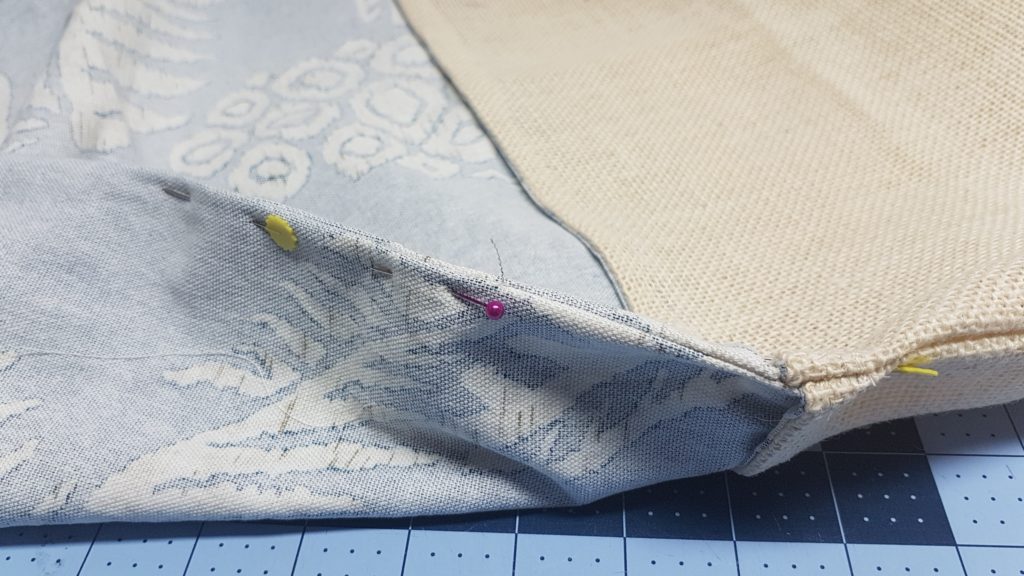
This is how it will look, now you will fold its with the right sides facing the burlap and we will do a 1/2″ seam
Sometimes when folding its hard to get that edge flat, i like to pin or clip the edge down while finger pressing so your edge is nice and straight, you will find this is necessary when sewing with sometimes stitch such as canvas and burlap
1/2″ seam allowance
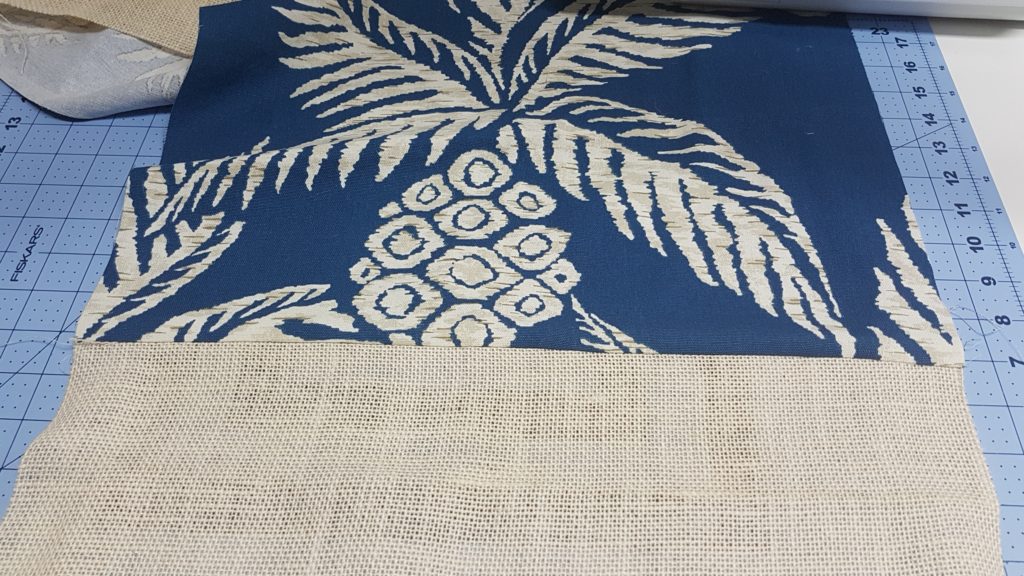
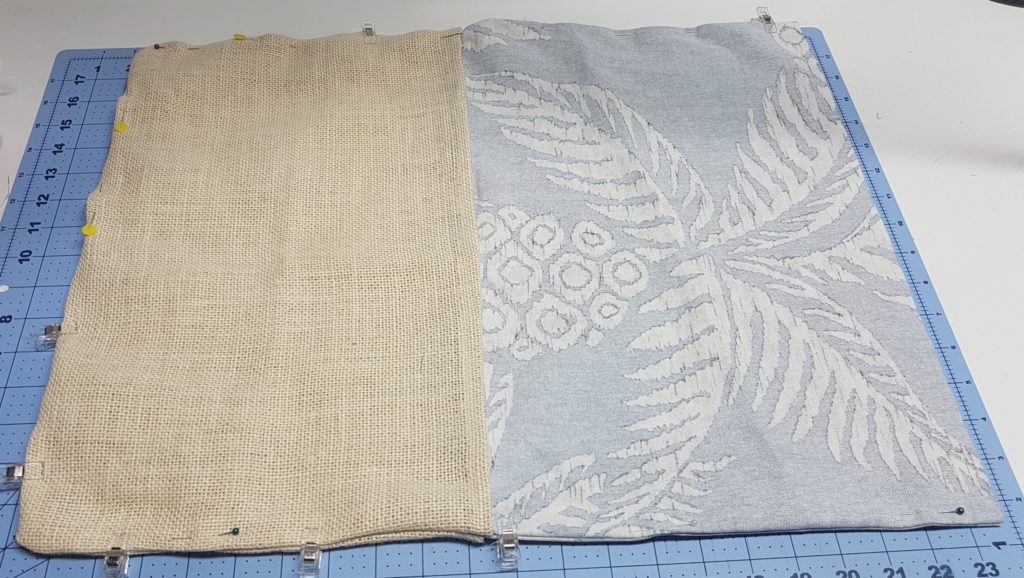
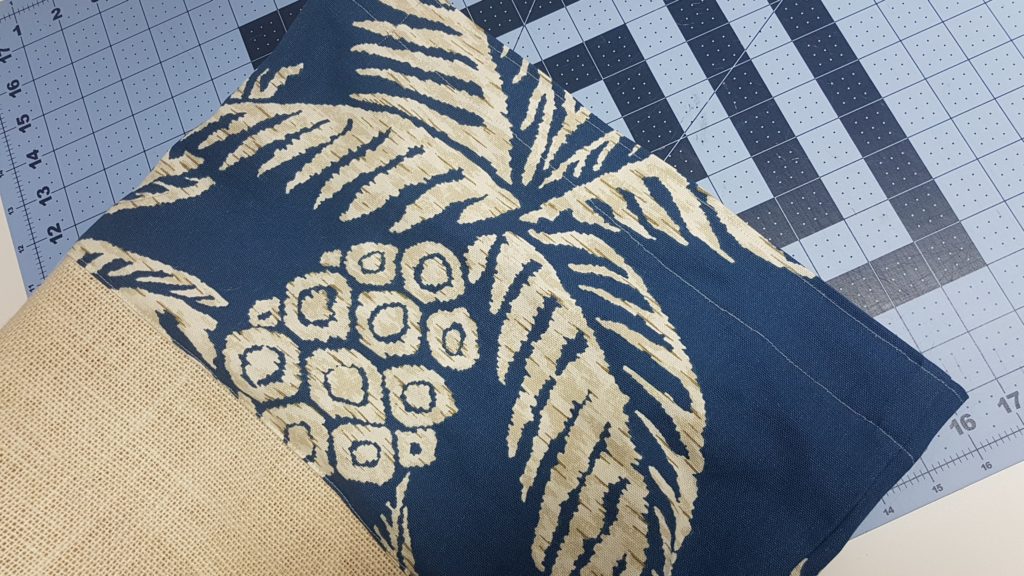
Flatten out the fabric like so, Note *my pineapple is going in the right direction! Absolute perfection!
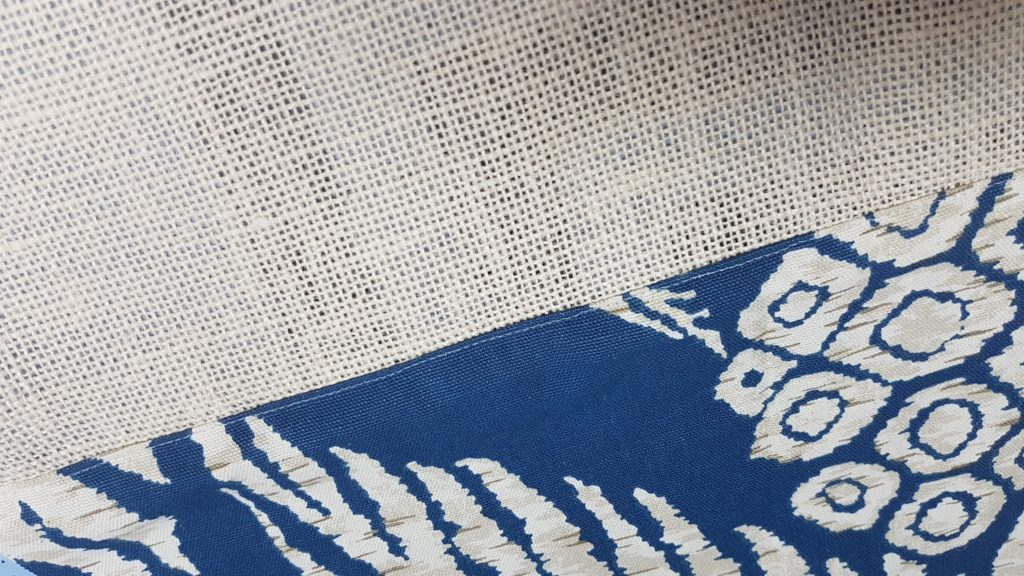
Top stitch along this edge, partially cosmetic and also for extra added strength to the burlap
Now trusting that you did those same steps to the other side of the bag then you should have two pieces that look like this!
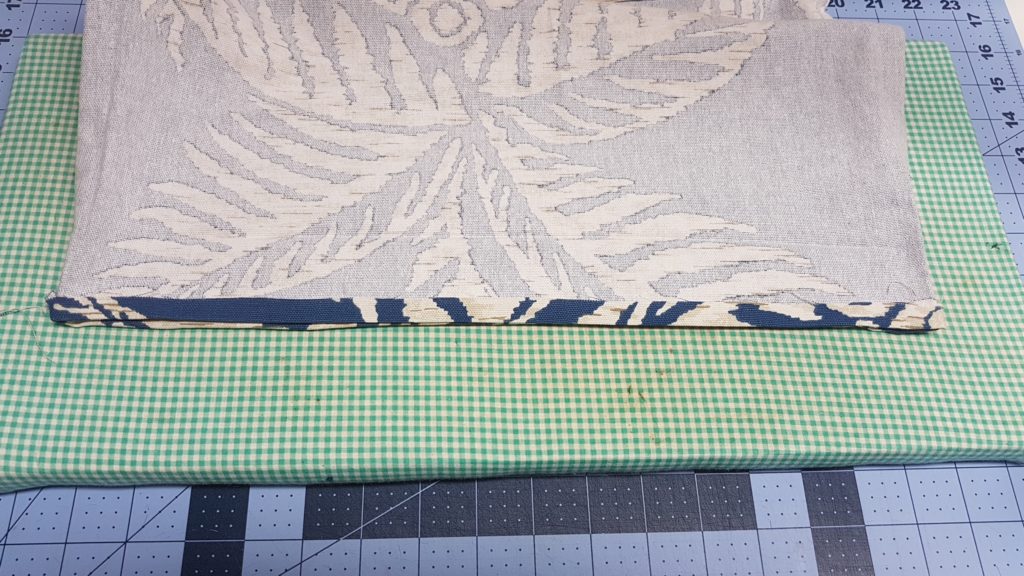
Now we will place them wrong sides together, sew down 3 sides with a quarter of an seam allowance
Turn inside out
finger press and clip the edges flat
sew down the 3 sides again with a 1/2″ seam allowance
From here we will fold down the top edge of the bag 1/2″
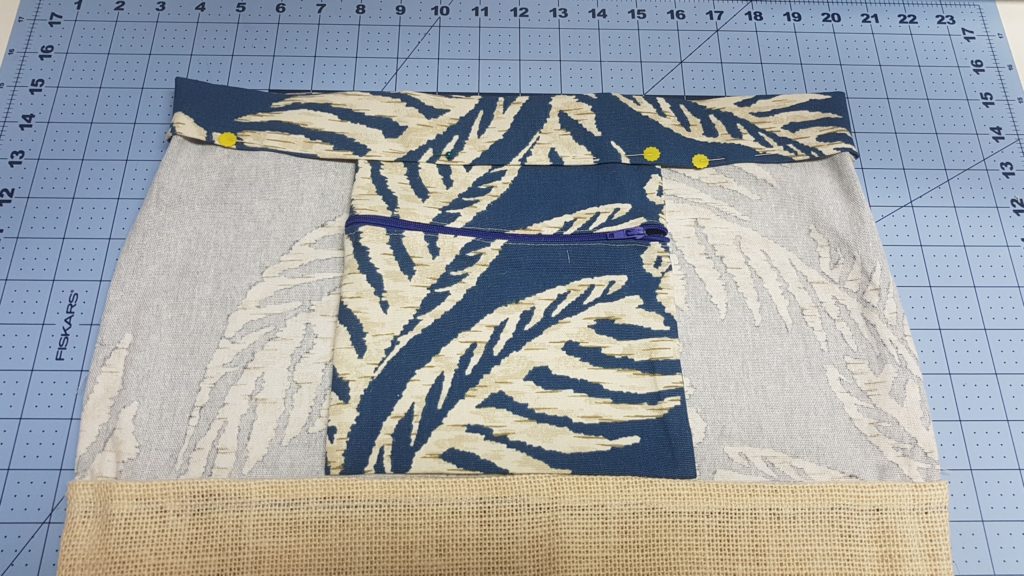
Fold down top edge again with a 2″ fold, slip the top of the pocket under the hem centre with the bag
Sew along the top and bottom of that two inch fold securing the hem and also securing the pocket in the bag
This is how it should look!
Now turn the bag inside out and pinch the corners
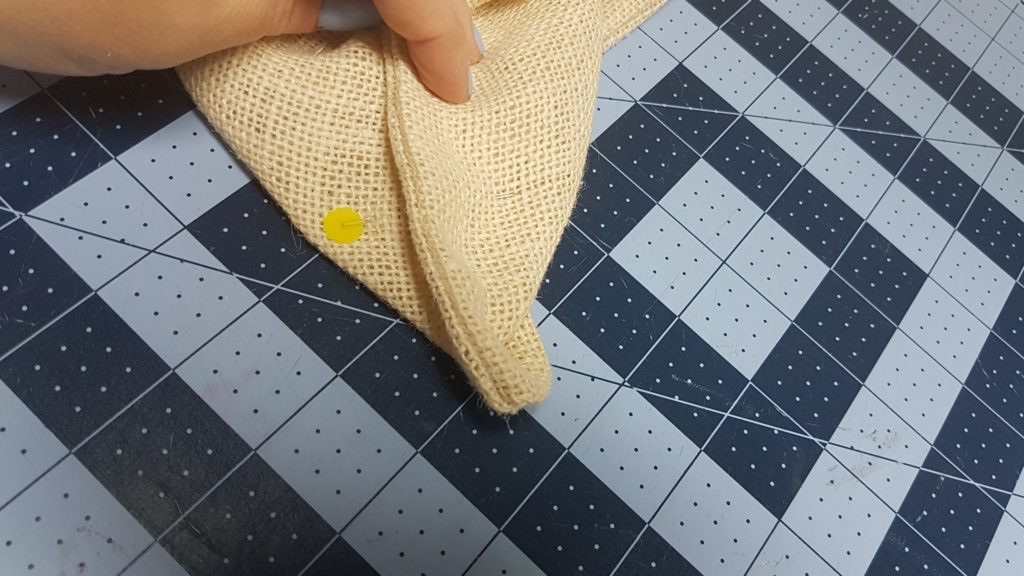
pinch the corners so the seams are centred like this, measure where its about 3″ from side to side and sew a straight seam
do this on both corners, you can cut off the excess corners but i choose to just leave it so i can ensure the burlap stays intact
Now the bag is complete and now we can work on the handles!
Measure 2″ from each side of the bag, mark with chalk (this is where you will place your first set of grommets
measure 4″ away from the first two markings (this is where you will place your next set of grommets)
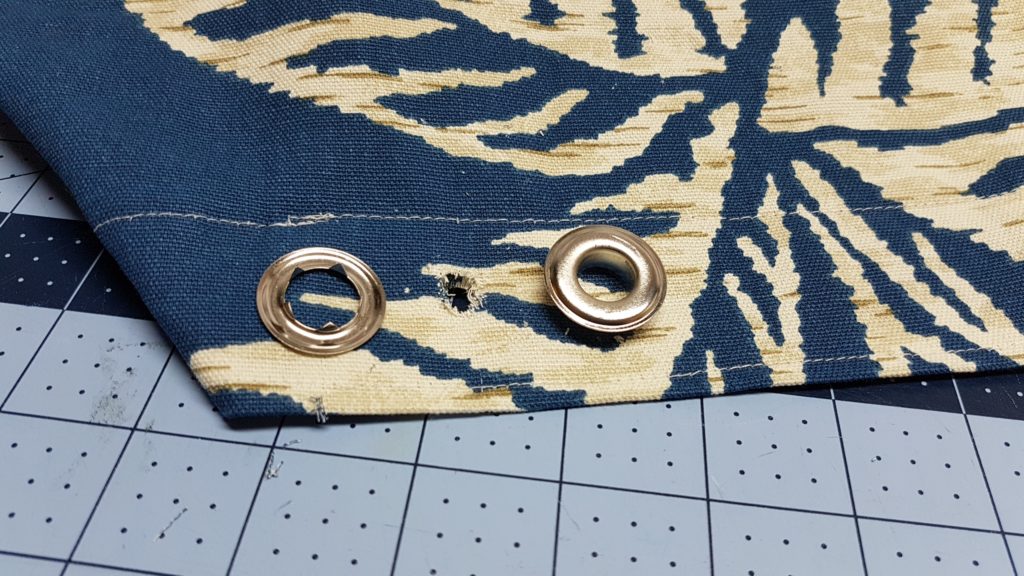
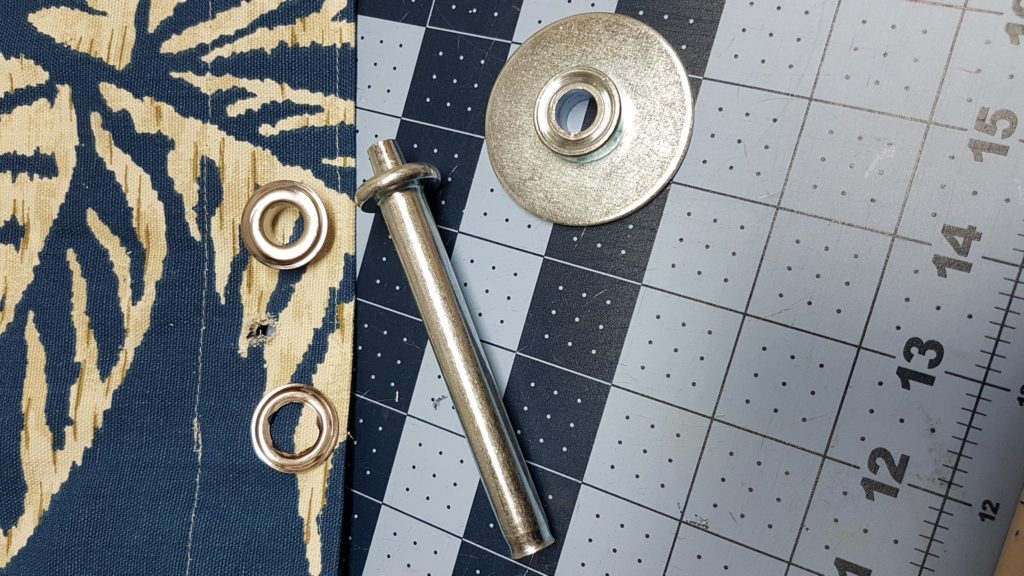
I am using Half inch grommets, depending on the rope you purchase get the coordinating size grommets
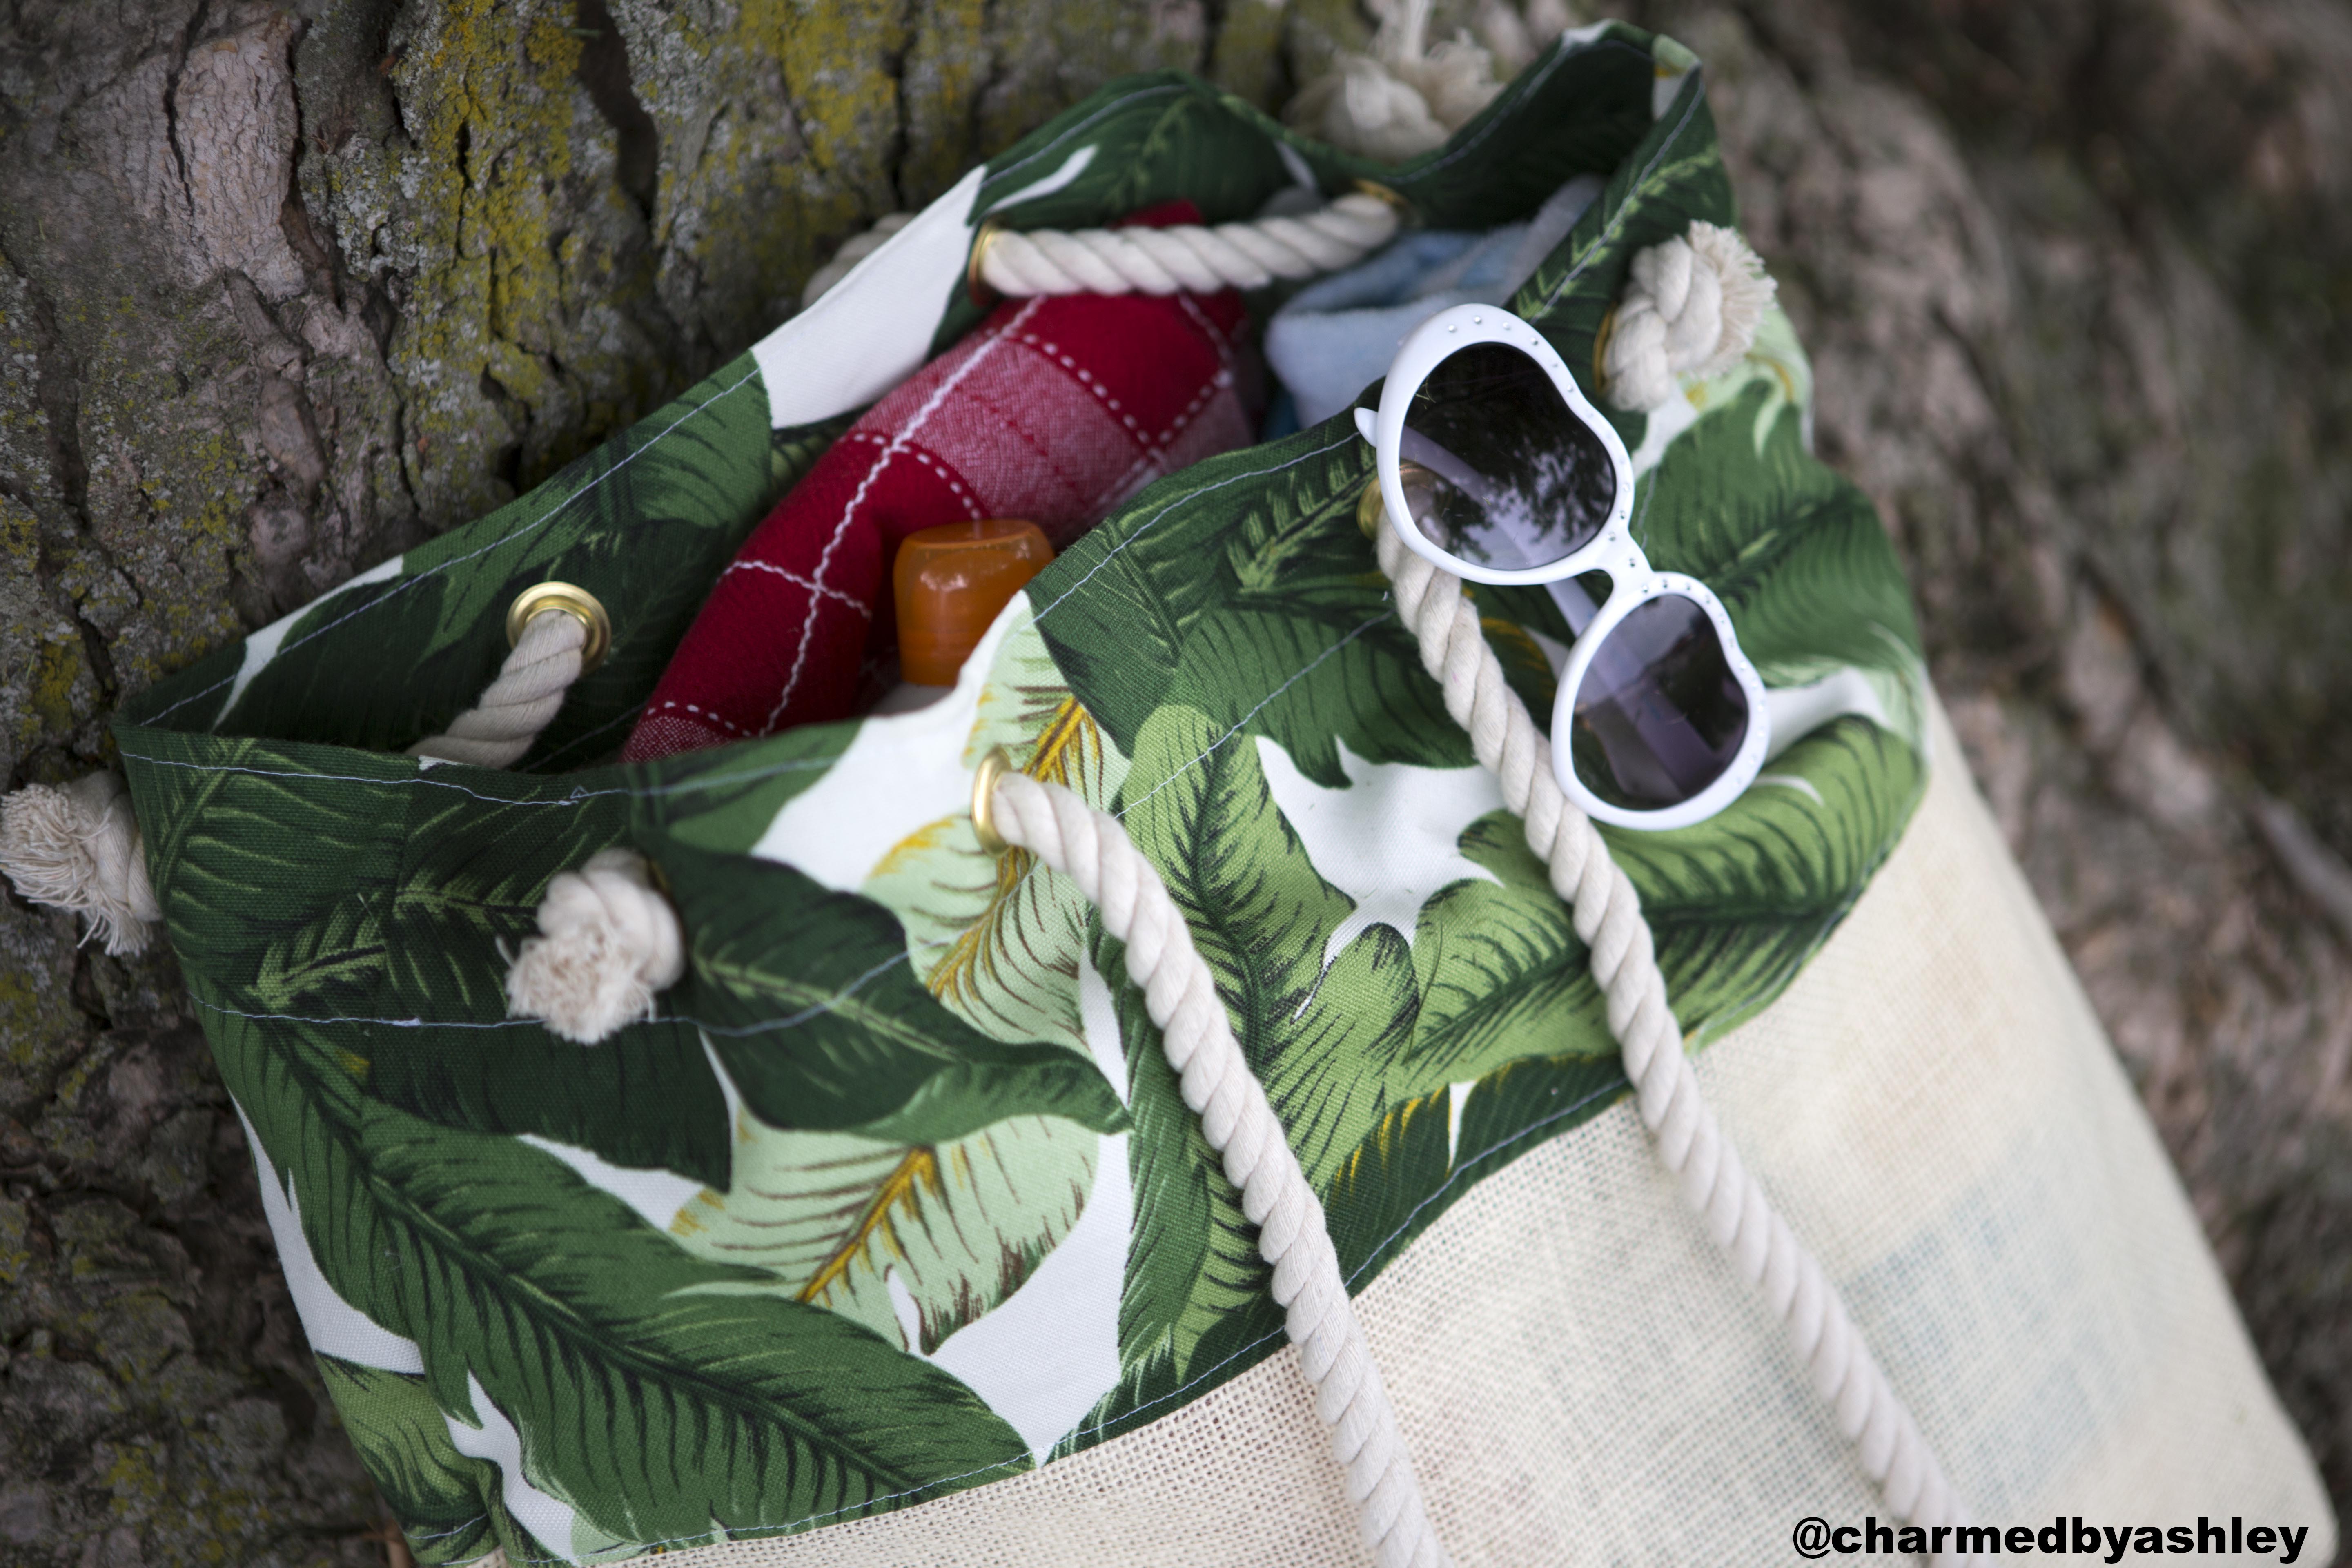
This rope is actually from dollar tree, its .5″ in diametre, i thread it through the first grommet close to the side of the bag tied in a knot thread it to the next leaving it long, thread in the next then from the inside thread to the last hole and tie in a knot
If i had to choose i would buy a grommet press a million times over but if its not in the budget this is the manual grommet setter tool you will use with a hammer