
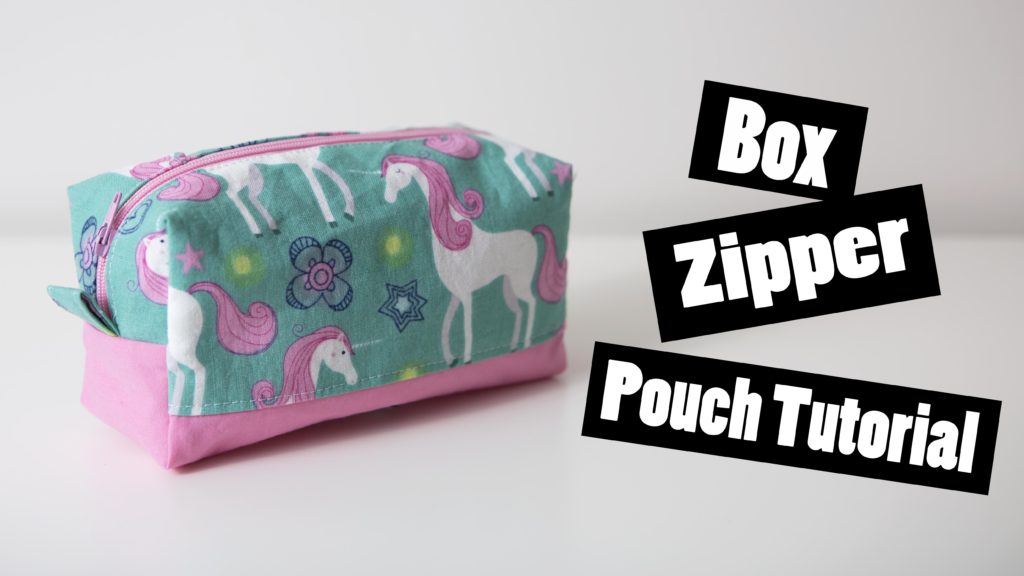
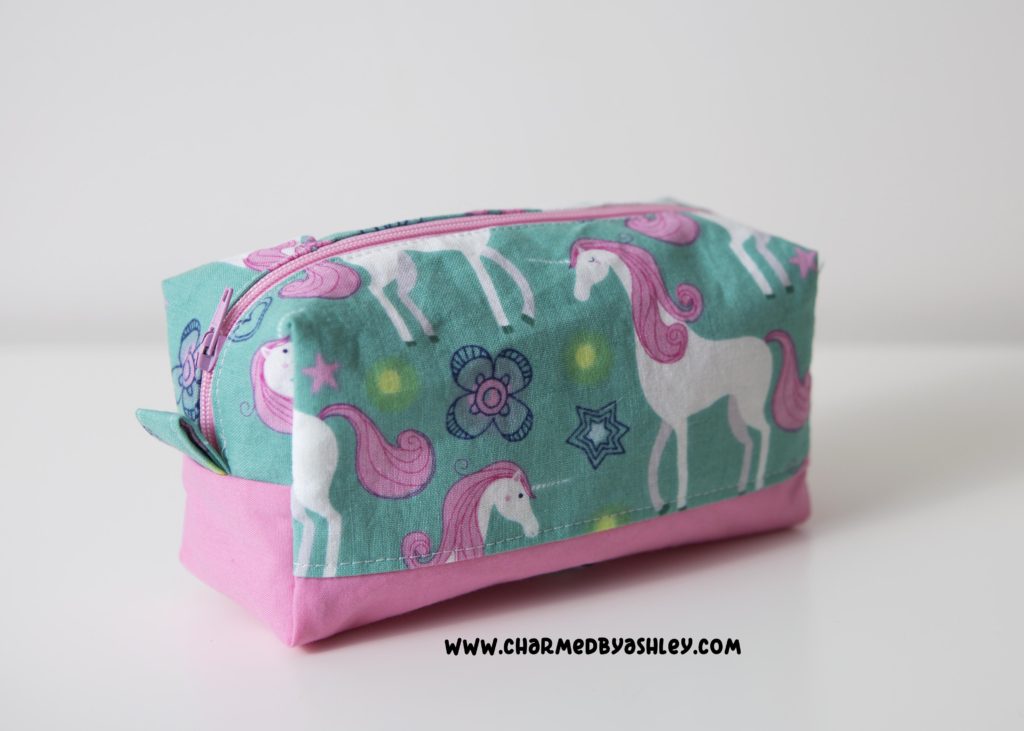
Another box pouch!! yes! your right!
But there is something special about this Box pouch <3 it has ZERO raw edges
I’ve made a box pouch in the past but this version has no raw edges which was a big complainted with my first tutorial!
Materials
Cotton Fabric
Interfacing – Medium weight interfacing or Fusible Fleece interfacing
(To omit the interfacing use a thicker fabric for the outer such as a canvas or duck fabric)
Keep Ashley’s Patterns and tutorials free! Donate to say Thanks!

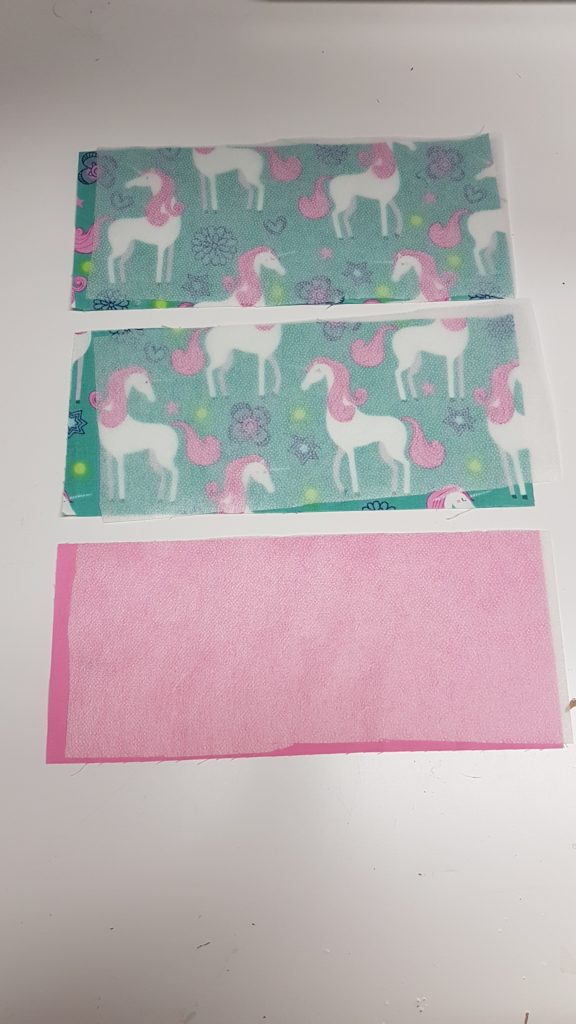
I chose to make the outer fabric out of 3 pieces so i will provide measurements for 3 pieces or just 1 piece down below!
Lining Tab piece and Zipper
Measurements
(1 piece) Outer fabric 11 1/4″ x 9″
(3 pieces) Outer Fabric 3 x 4″ x 9″
Lining Fabric 11 1/4″ x 9″
Medium interfacing or Fusible Fleece backed on all pieces
Tab piece – 3″ x 8″
Nylon Zipper – 9″ +
Step 1 – If you are making your outer fabric out of 3 pieces assemble the three pieces in the order you please, place the fabrics right sides together sewing along the edge with a 1/4″ seam allowance
I press my seams towards the fabric i want to top stitch and top stitch with a longer seam allowance 1/8th of an inch away from the edge, this gives your bag a more polished look!
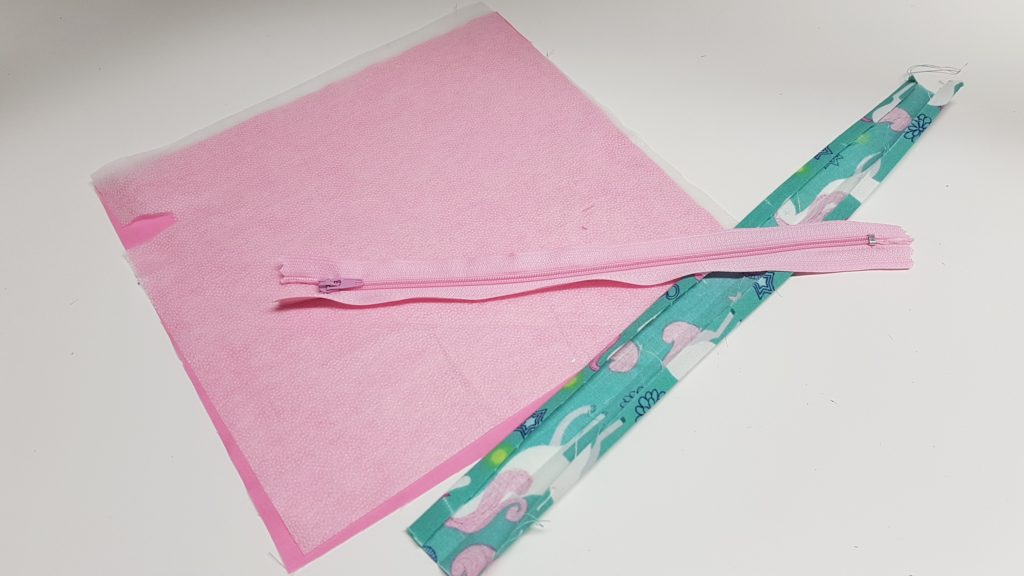
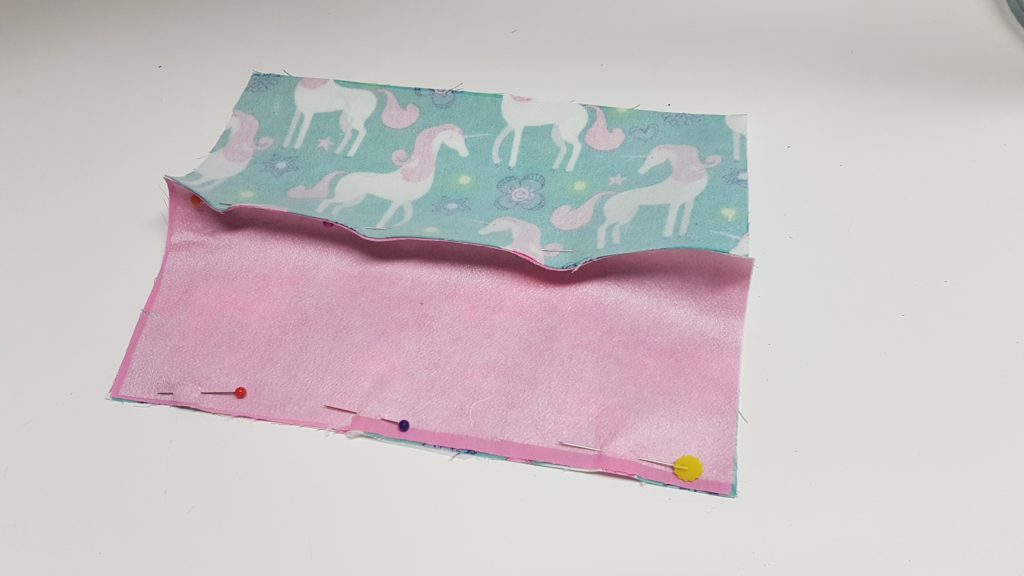
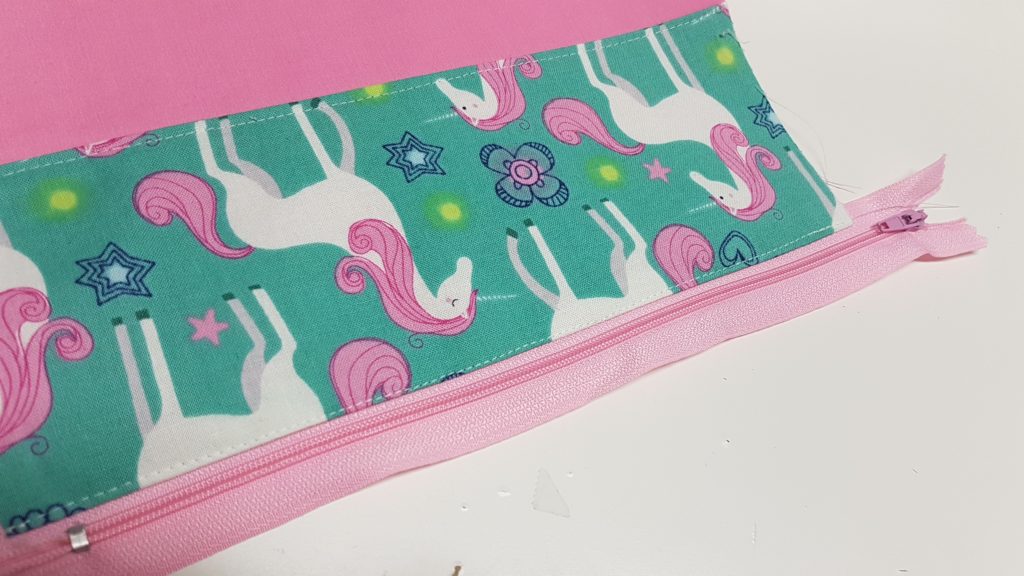
Step 2 – begin instaling the zipper, Place the zipper Zip side down onto the outter fabric along the 9″ edge, place your lining uptop with the right sides together, line up the raw edges with the edge of the zipper
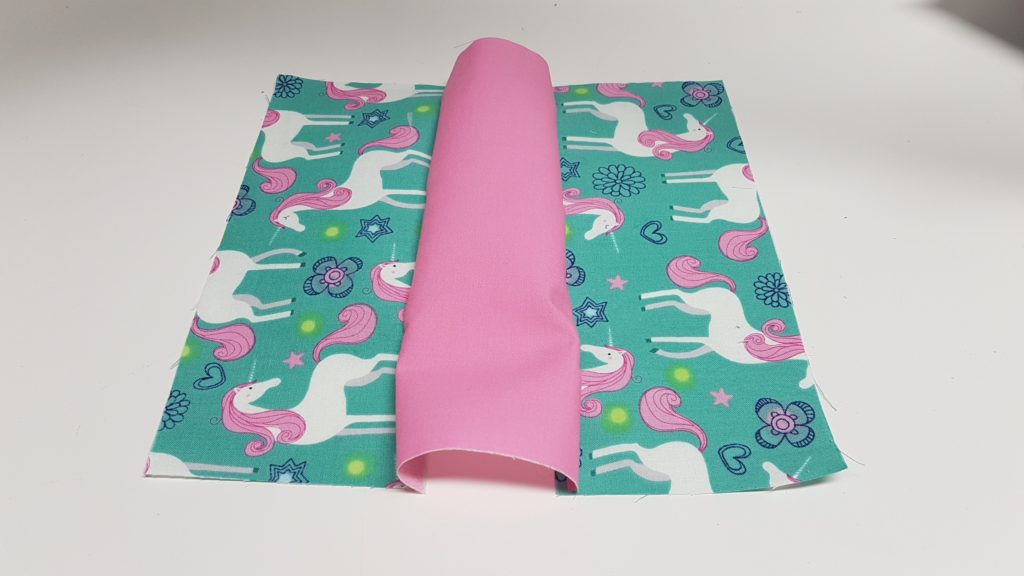
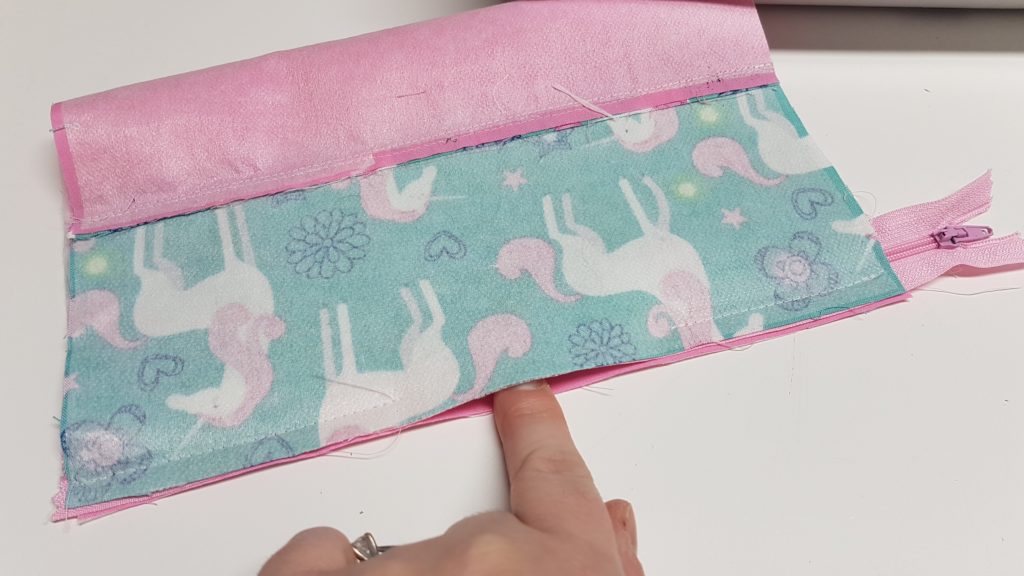
Step 3, Turn the fabric right sides out and top stitch that seam
Step 4: flip up the fabric to the otherside of the zipper to sandwich the zipper between the outer and the lining, we will sew this one a little different, leave a 4″ gap in the centre of this seam.
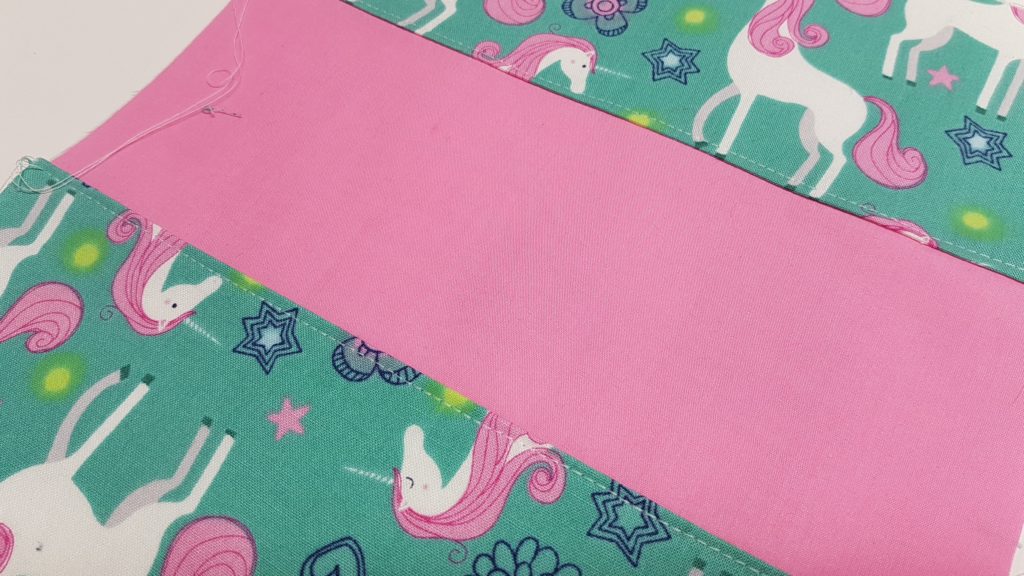
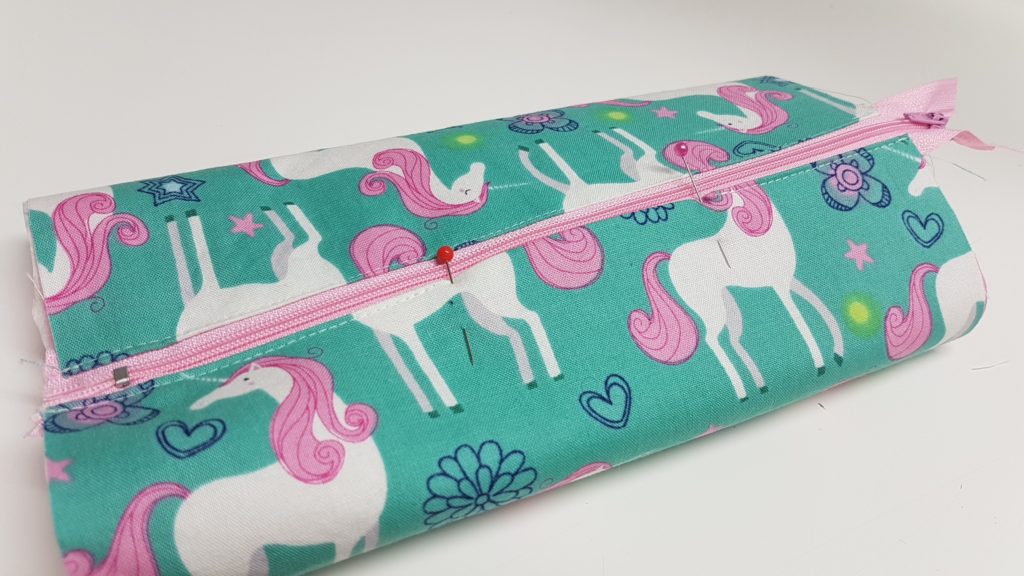
Step 5: – Flip the piece right sides outo and top stitch along the seam we made, again leaving that gap open (use pins as guides so you dont end up closing up the hole
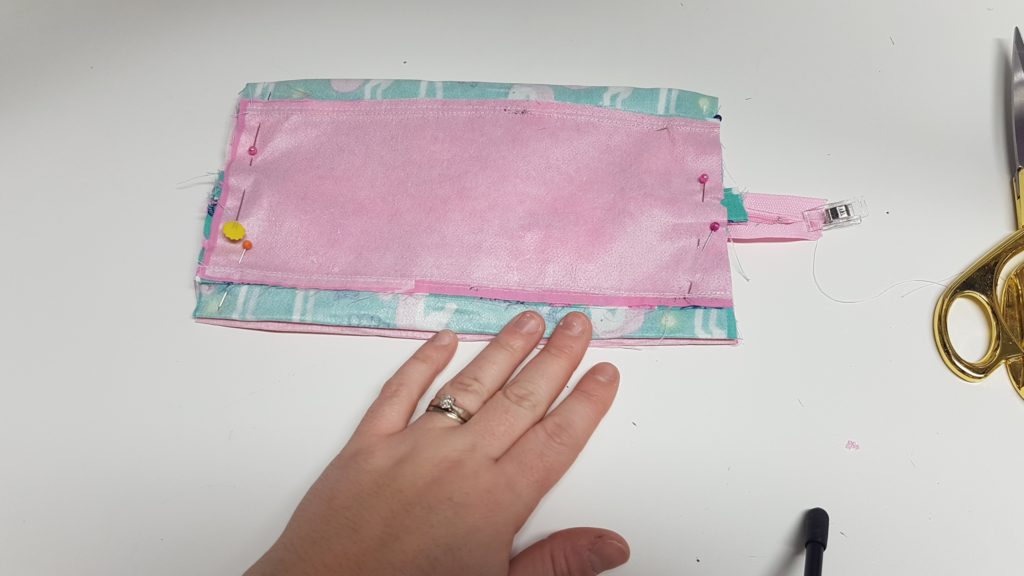
Step 6: Turn the piece inside out, you will then flatten the piece, flatten the outter fabric to line up the centre of the fabric with the zipper, and then flatting the lining up the bag with the centre lined up with the zipper on the other side, this is where you will slip in your tab pieces centred with the zipper, make sure the raw edges are sticking out and its folded in half,
**Pro tip – you can also use ribbon for the tabs
**Caution – Make sure you put the zipper Pull inside so you dont cut it off!
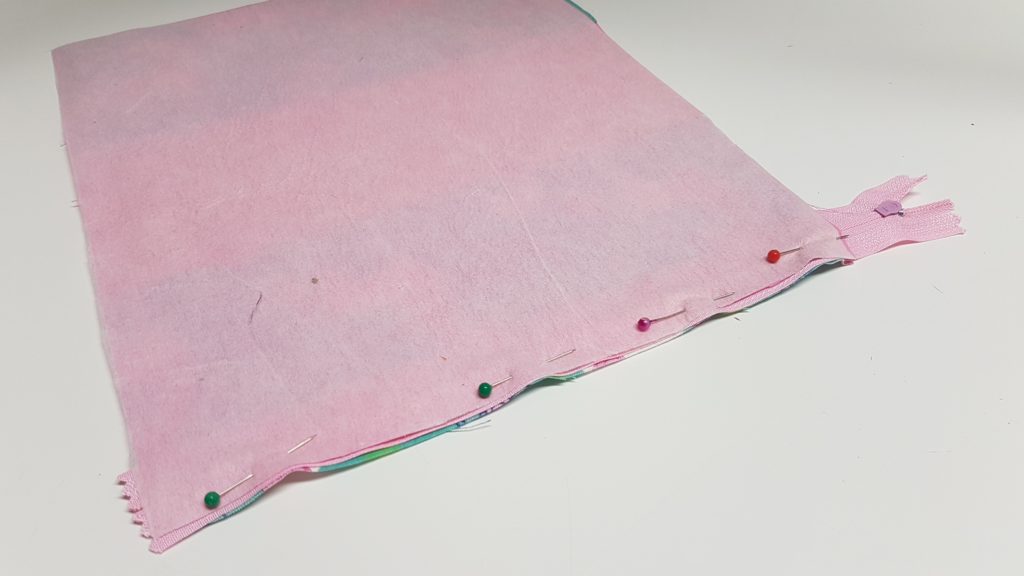
Sew along each side
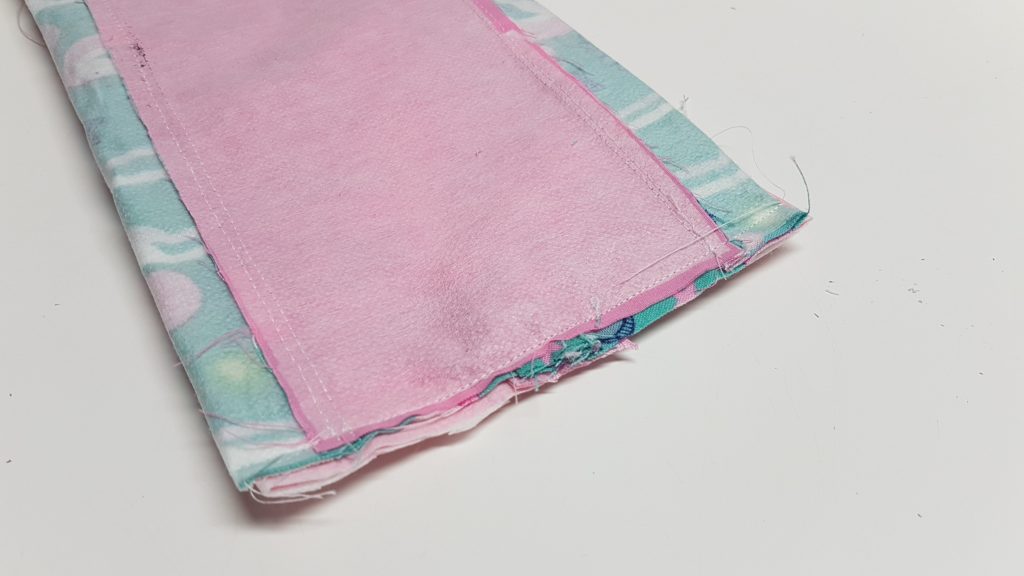
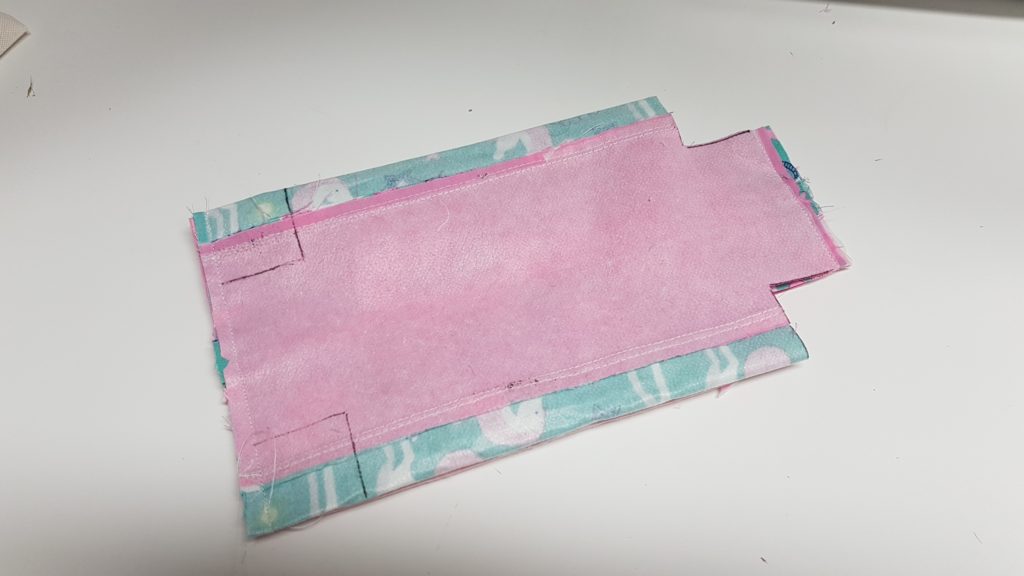
Step 7: Measure in 1″ square on each corner, draw with a marker or pen and cut each square out
Step 8 – Now this is where it can get tricky and hard to explain through photos, if you have difficulty I urge your to please check out the video tutorial!
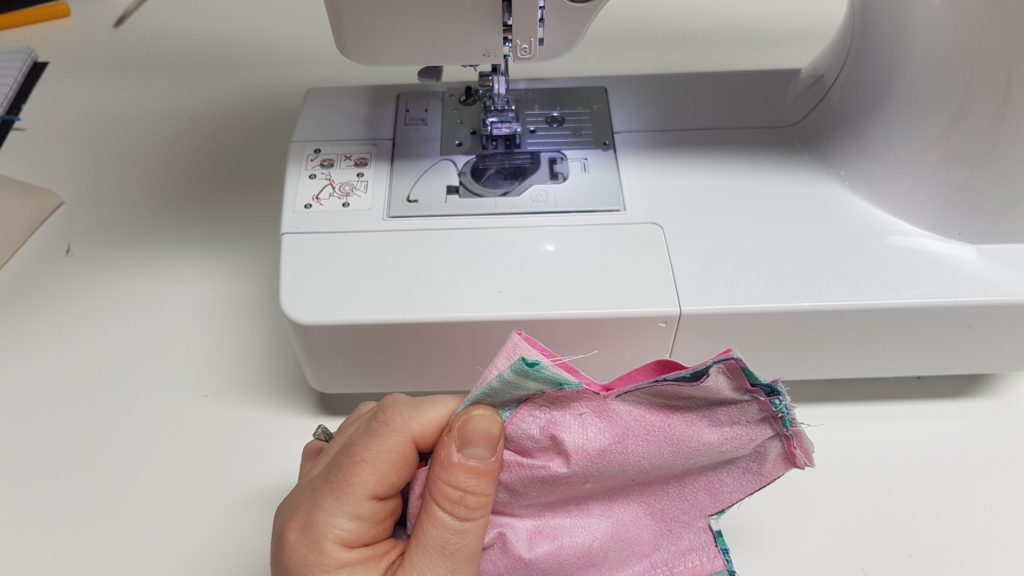
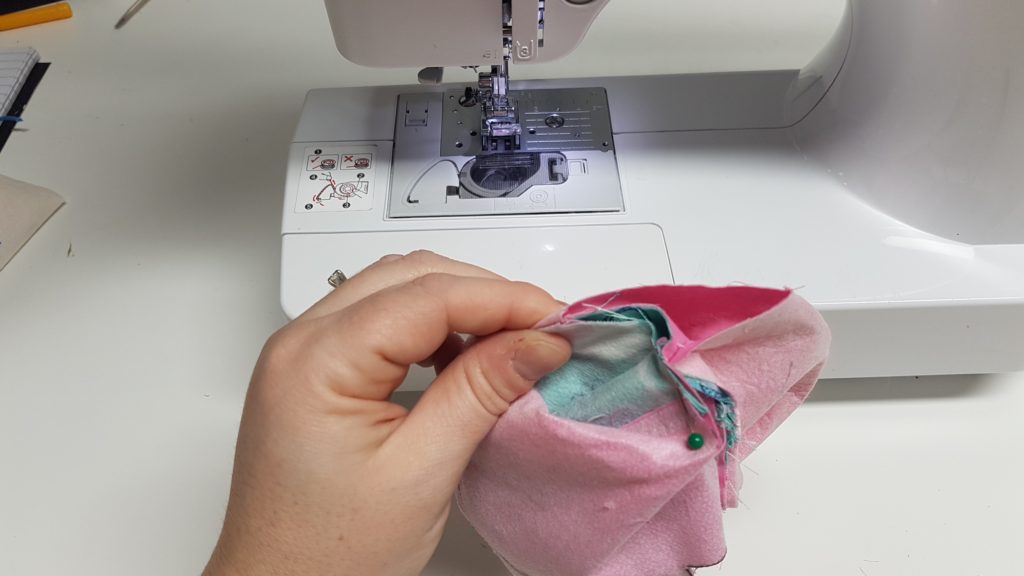
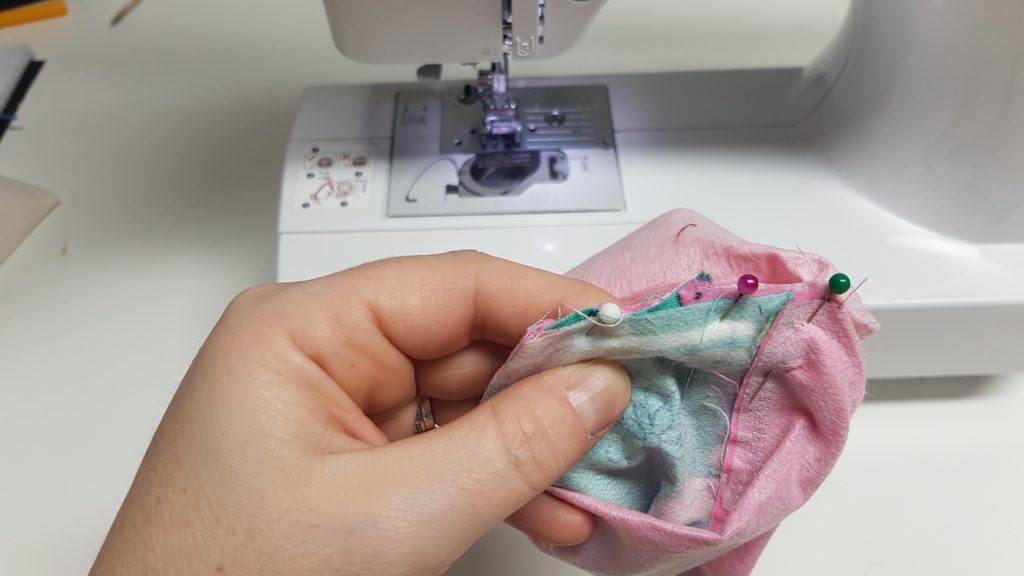
with each corner pull the opening and line up the seam with the centre of the fabric, then you will do thesame with the lining fabric cut out. line up the outer fabric and the lining fabric so the raw edges are lined up and sew a 1/4″ seam allowance.
this will feel unatural and undoable but i assure you it is possible and it just takes some working with your fabric to get all the fabric to go where you want it to go.
do this for all four corners
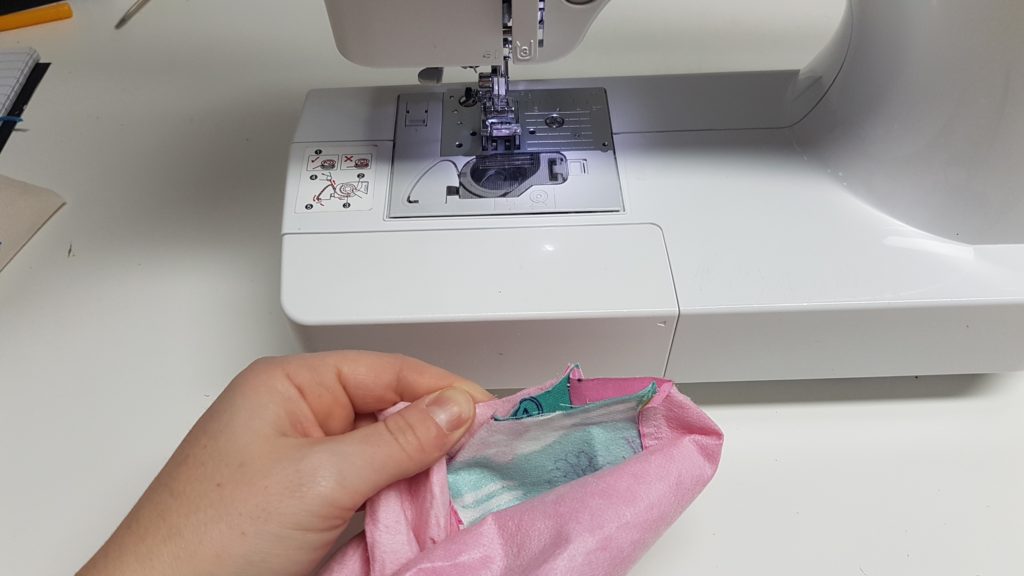
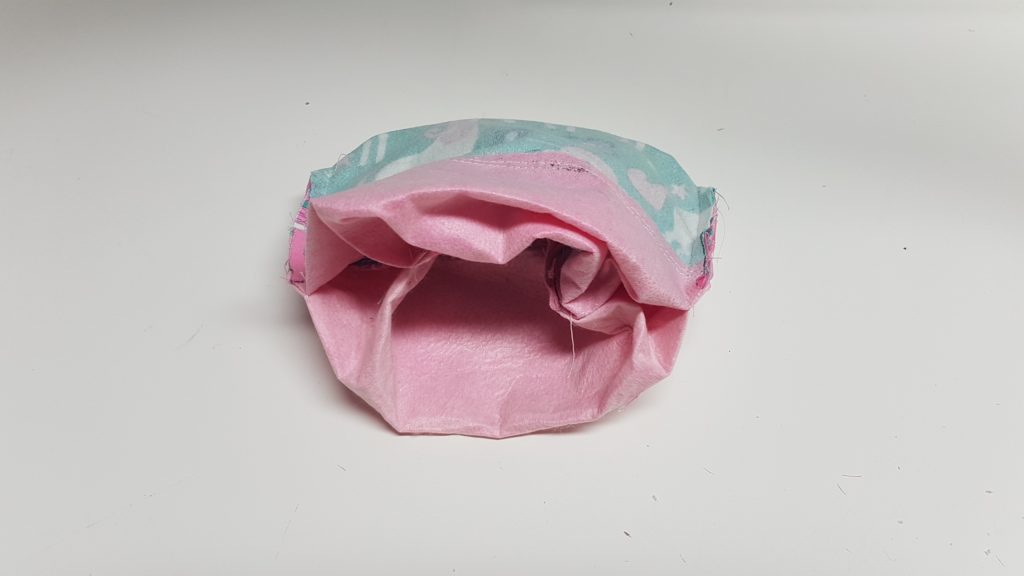
Step 9 – this is how it will look when its all done and ready to be flipped right sides out.
using that hole you left next to your zipper flip it right sides out, you might need to open your zipper more to help you accomplish that but again it is doable! haha
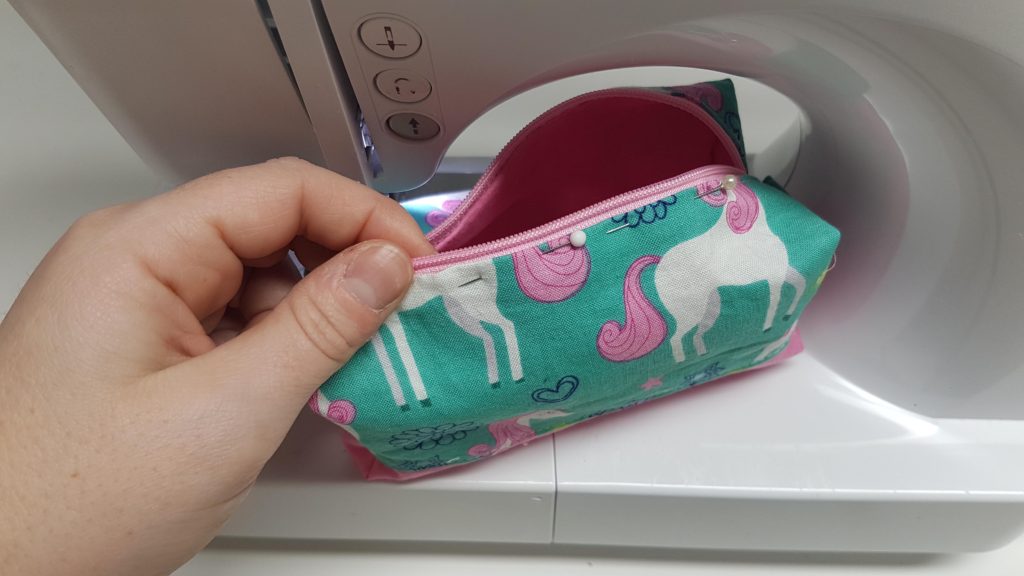
Step 10 – top stitch the opening left in the zipper, make sure you catch the lining fabric to close up the hole completely


I am going to try the project