
Help keep my tutorials free!
[wpedon id=3129]
Charmed By Ashley’s Tutorial for this adorable Double box pouch Caddy
Here you will find how to make the Caddy portion of the Box pouch, Follow the link to learn how to make the Box Pouch
[wpedon id=3129]
Materials
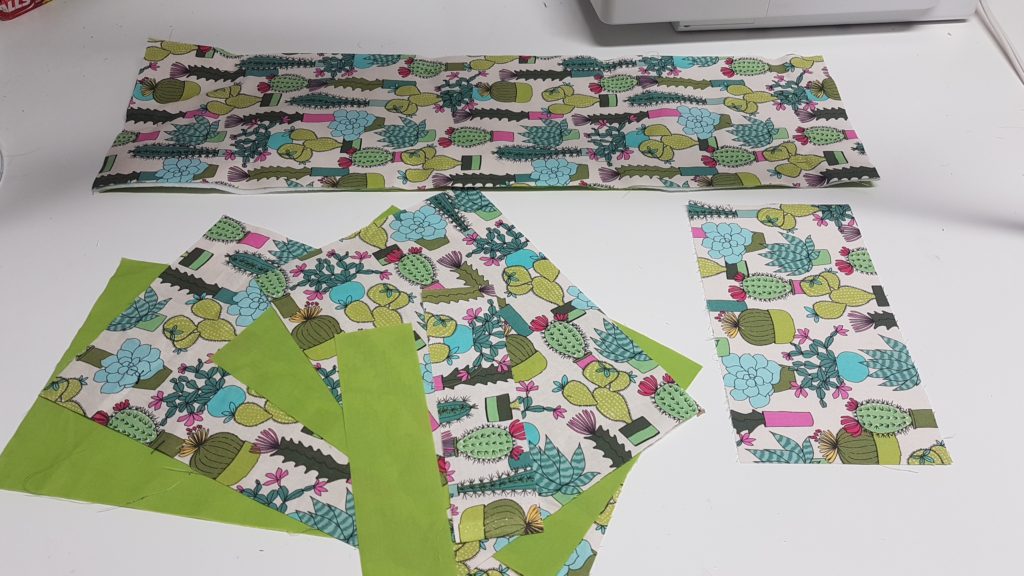
Cotton Fabric’s
Your choice of… Fusible Fleece, Medium weight interfacing OR quilt batting
Snaps, or Velcro for the Closure
Measurements
Main body Fabric – 24 1/2″ Long x 7″ wide (CUT 2)
(Cut 2) – 2″ x 7″
(Cut 2) – 14″ x 7″
(Cut 2) 10 1/2″ x 7″
Strap piece – 4″ x 9″
iron on interfacing to the back of your outer main piece only (if using quilt batting, sandwich between outer fabric and lining fabric
**At this time if you wish to Quilt your outer fabric do this now
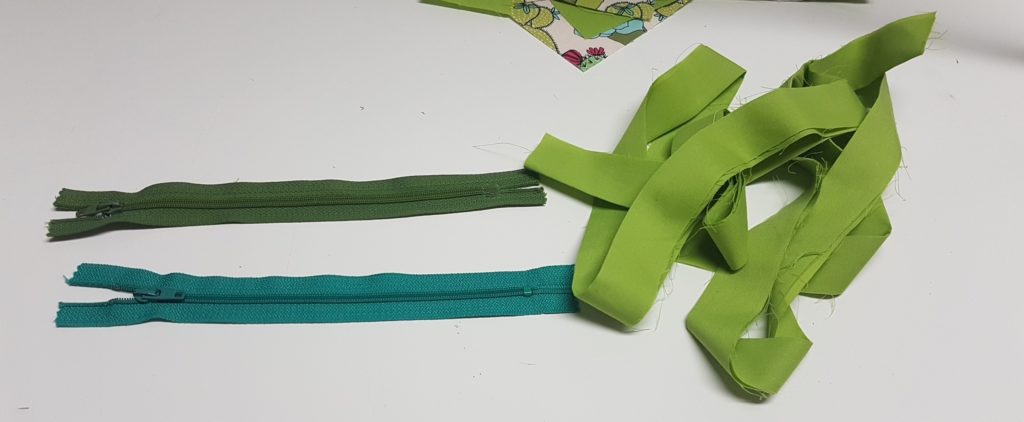
2 – Atleast 7″ Zipper
68″ Bias Tape (to create your own cut straip 2″ wide 68″ long, fold in half and press
Before we begin refer to the Box pouch tutorial
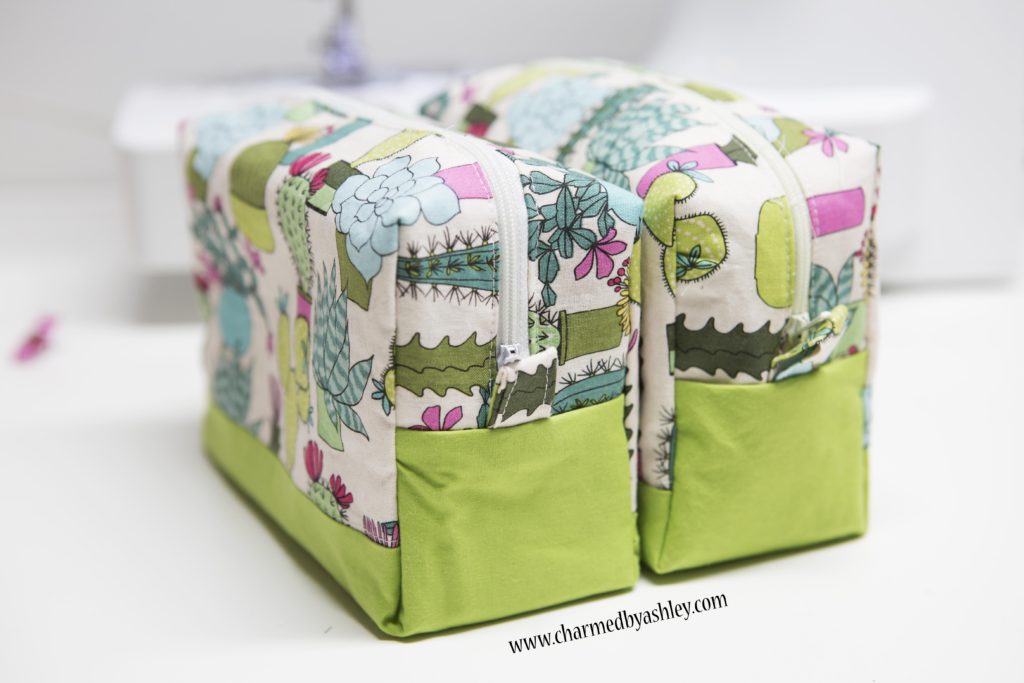
Follow the Tutorial to create the Box pouch but read these steps to make the correct size for this tutorial!
Box Pouch Measurements – TAKE ME TO THE TUTORIAL
cut 2 – 15″ x 12″
interfacing with fusible fleece or medium weight interfacing
15″ or longer Zipper
(Make two of these box pouches for the project)
**Important to note – For the Notches of this box pouch cut A 2″ Square
**I Recommend making your Box pouches first before beginning to help with sizing your Caddy better
Step 1 (Making the Caddy)
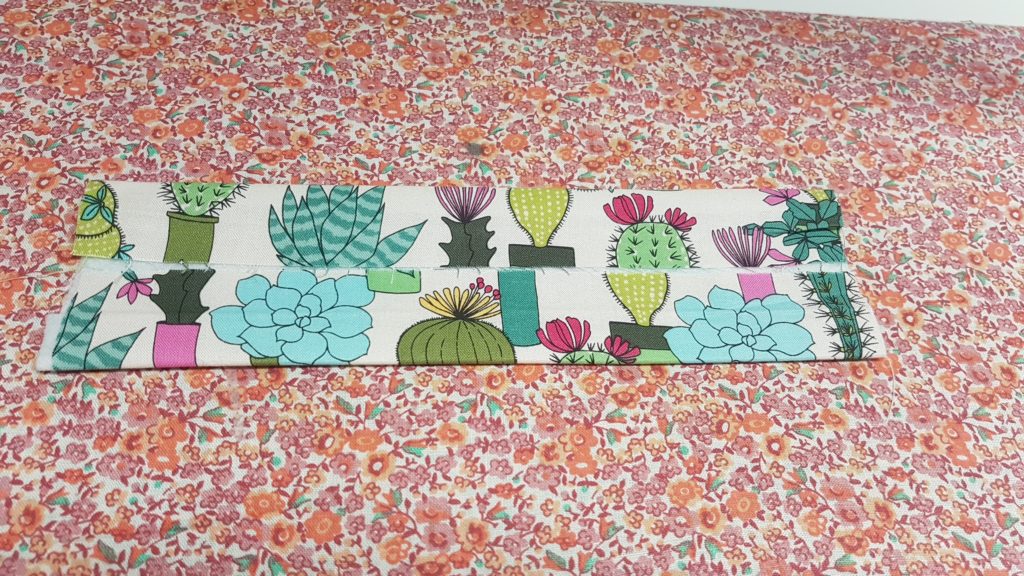
Create your handle, optional iron on interfacing, fold in the raw edges to the centre. Fold again and press
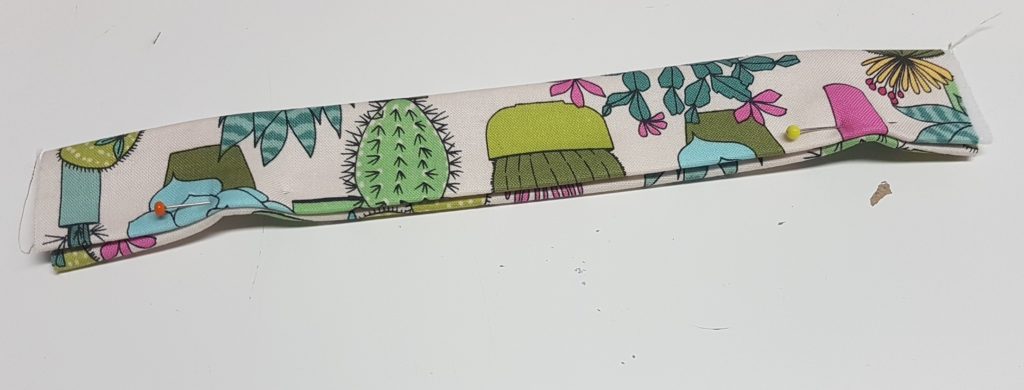
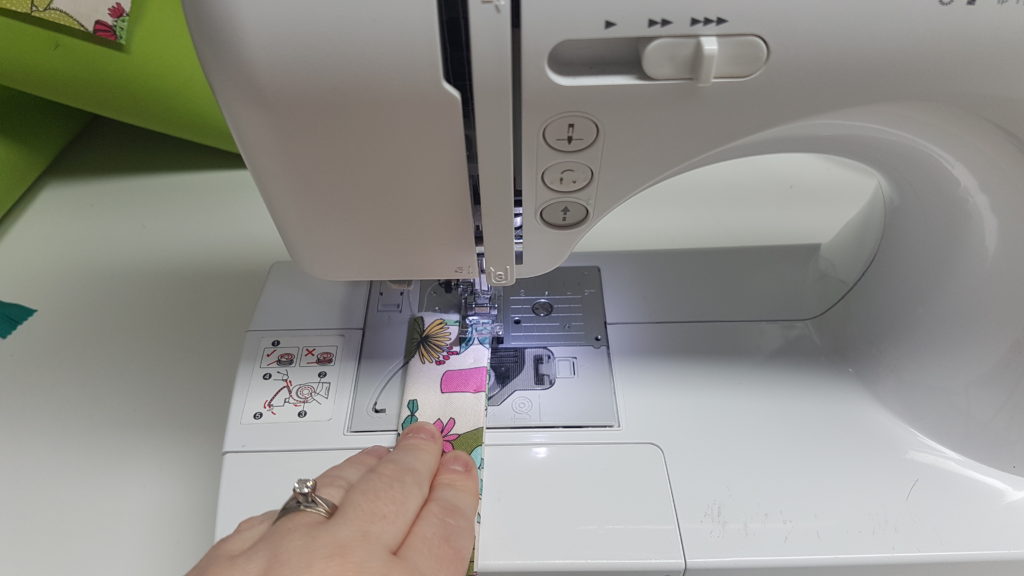
sew along each side to create your Strap
Step 2: Sandwich your outer fabric, the lining with your interfacing or batting. **Quilt at this time if you wish.
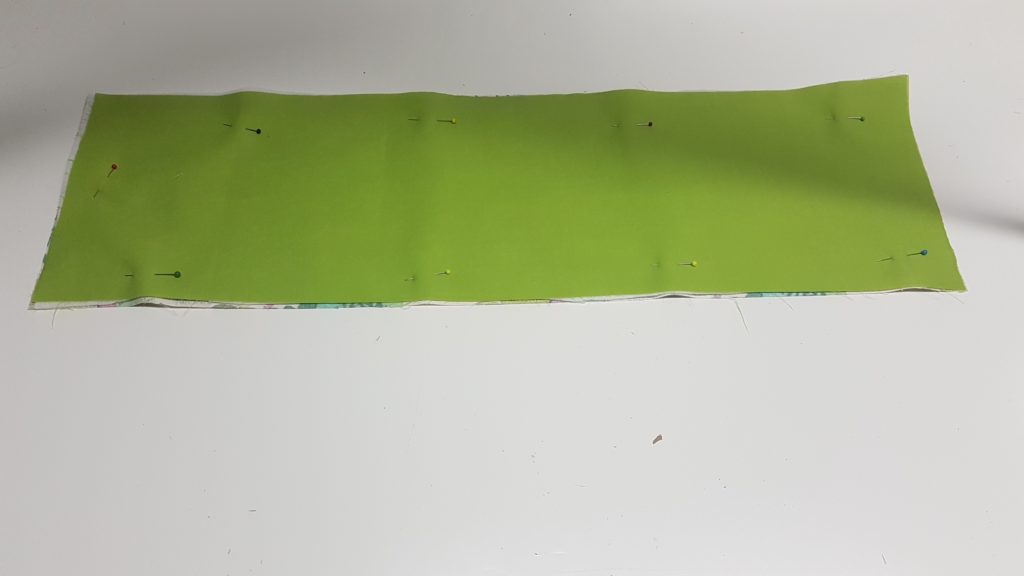
Step 3: Installing the zippers, Install a zipper between the 2″ piece and the 14″ piece, and then again between the 14″ piece and the 10 1/2″ piece
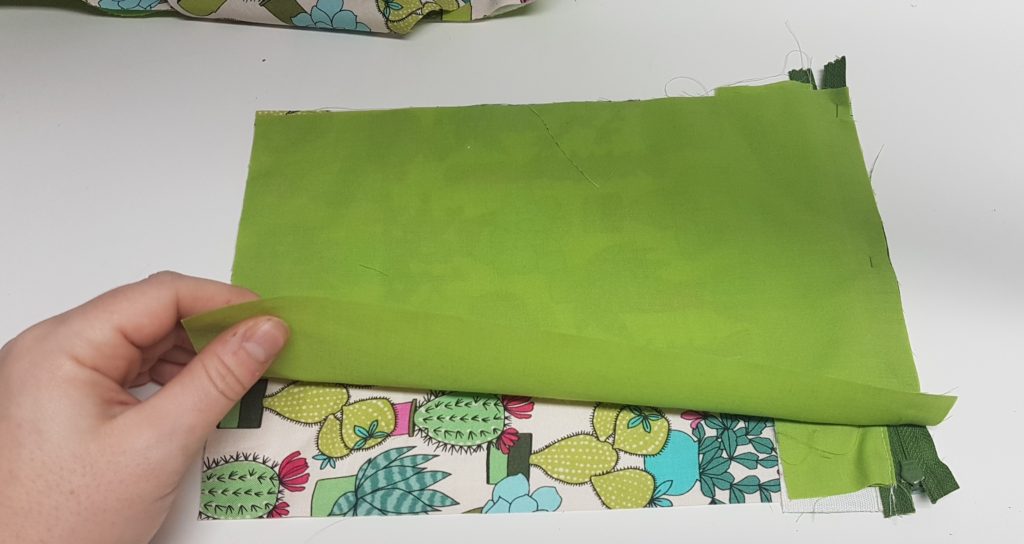
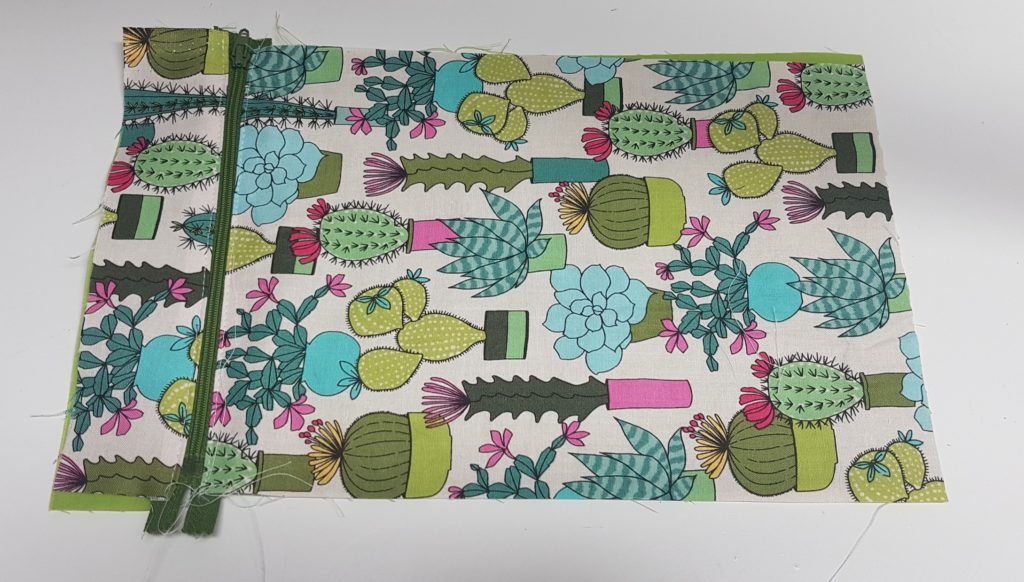
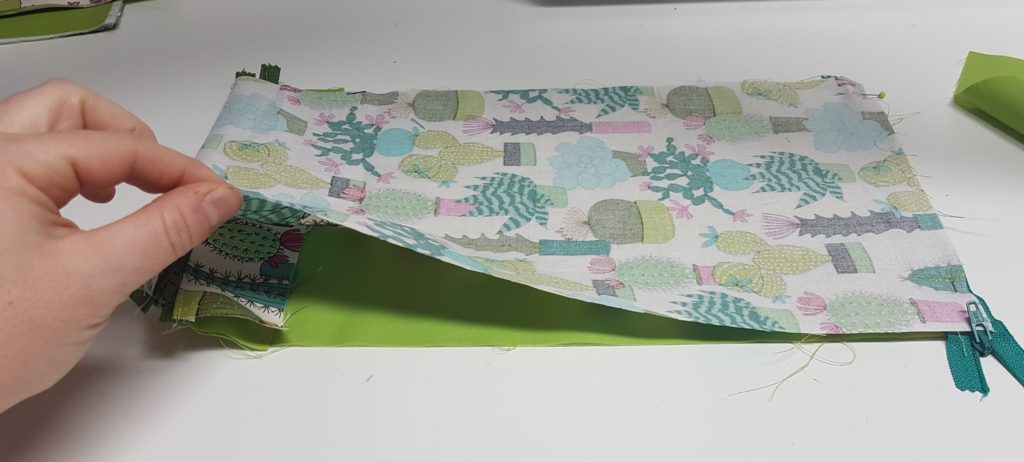
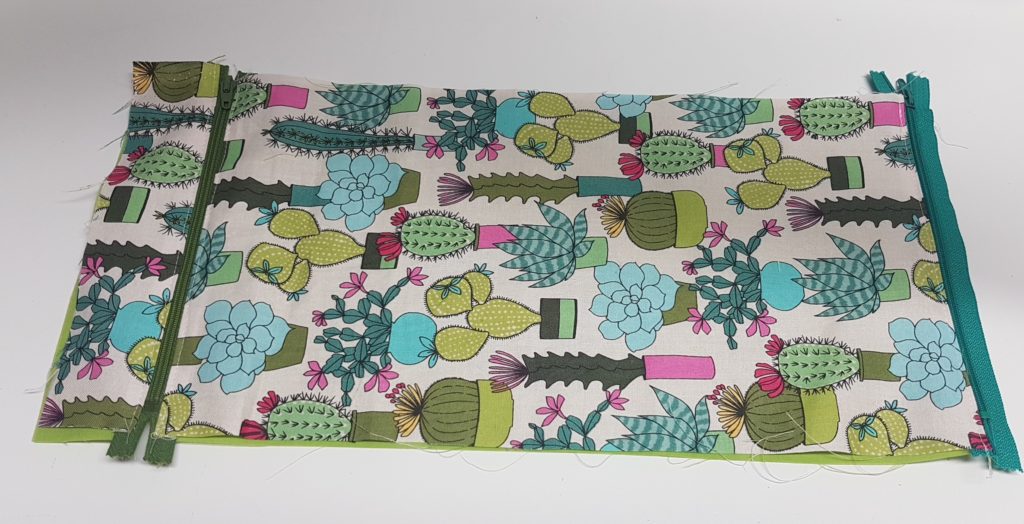
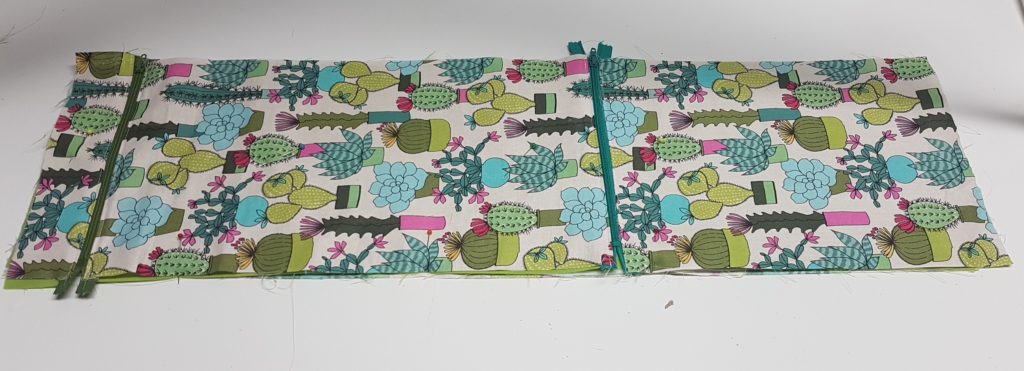
Mark 2″ down from the first zipper, and then 6″ past that marking, This is where your zipper pockets will end so your items wont fall beneat your box pouches
using those markings sew across
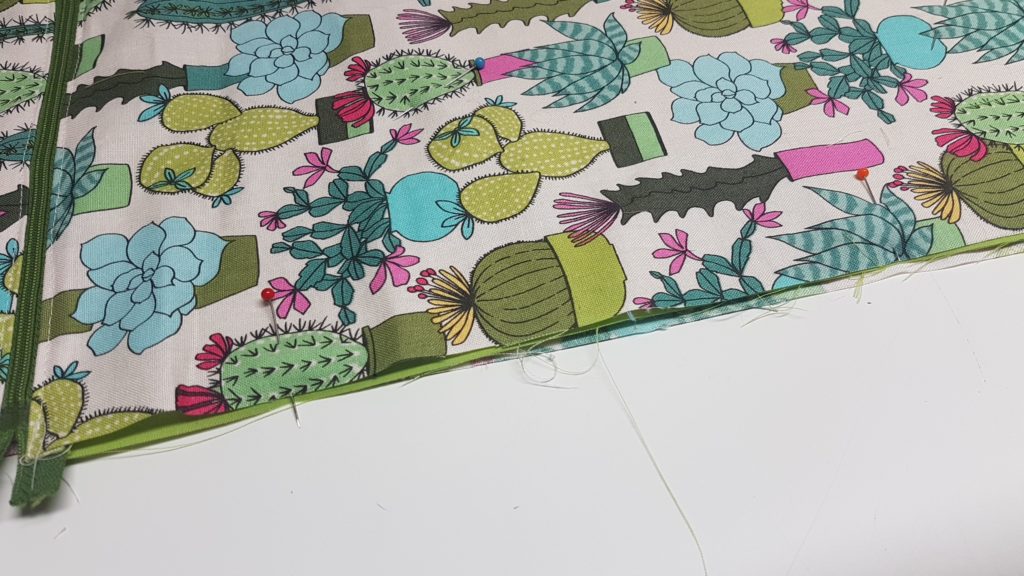
Look closely so you can see the stitch liness
Step 4: Place your handle on your outter fabric, 6″ away from the edge, clip this into place. (This is an approx measurement, place your box pouches between the stitched lines and wrap the fabric around them to see where the best placement of your handle should go.

Step 5: lay your zipper portion ontop of your outer and lining fabric.
you can choose to keep your corners straight or round them.
now we will sew on your bias tape lining up the raw edges with the raw edges of the caddy.
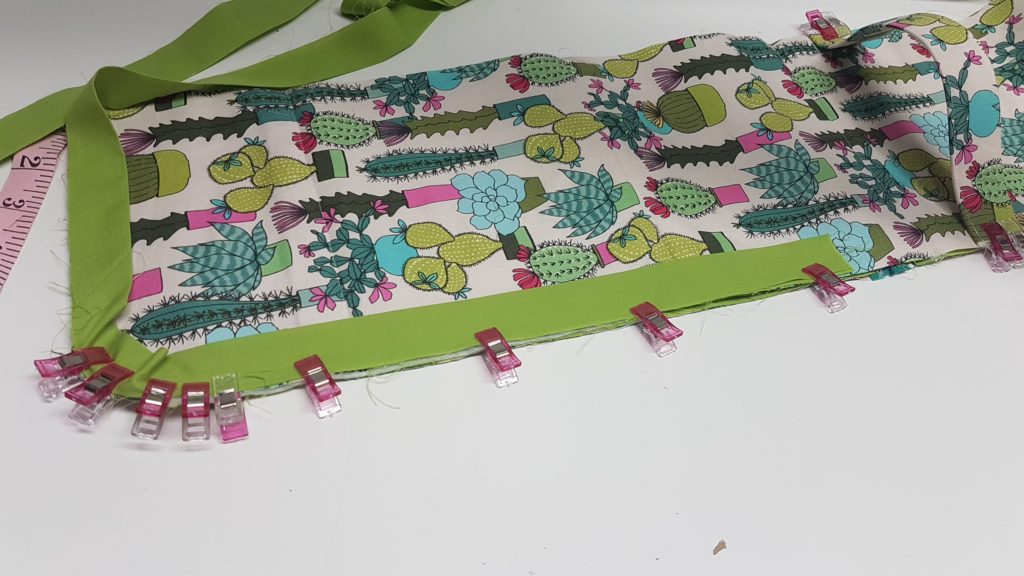
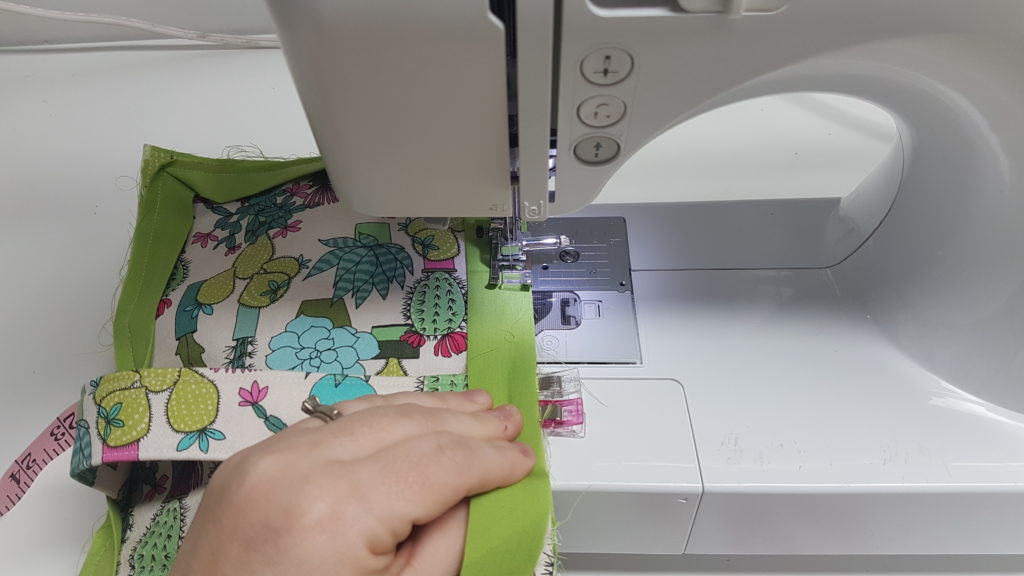
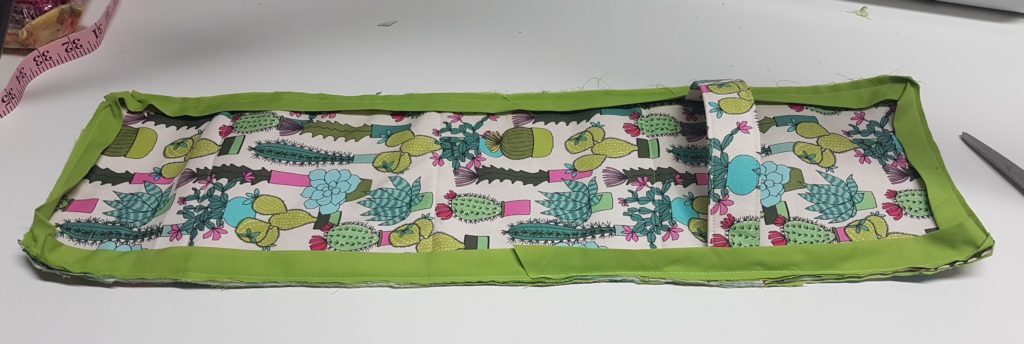
Sew all the way around.
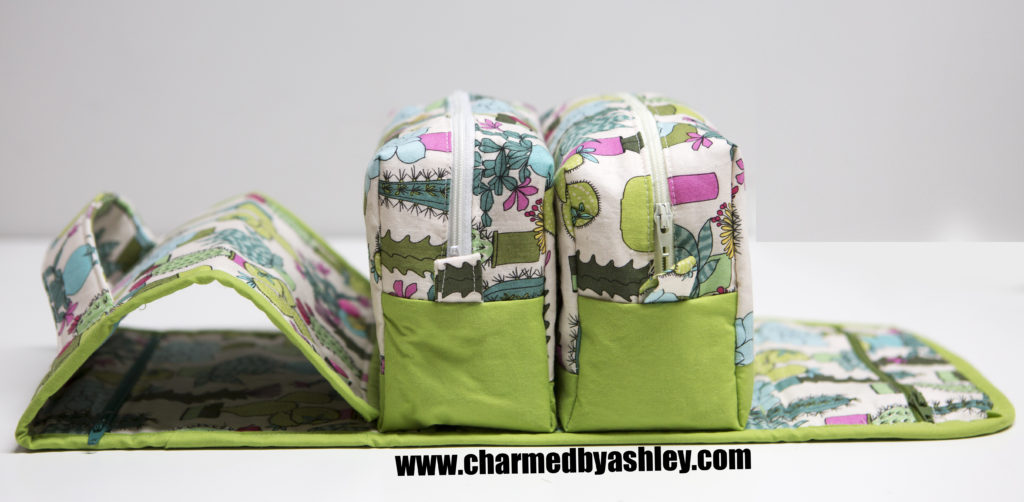
Flip the bias tape over the raw ege and sew a top stitch, you may need to trim excess fabric to make the bias tape fit over nicely especially where the handle is placed
Step 6: place your caddy over your box pouches and judge where you want your snaps to go, or you can place a piece of Velcro
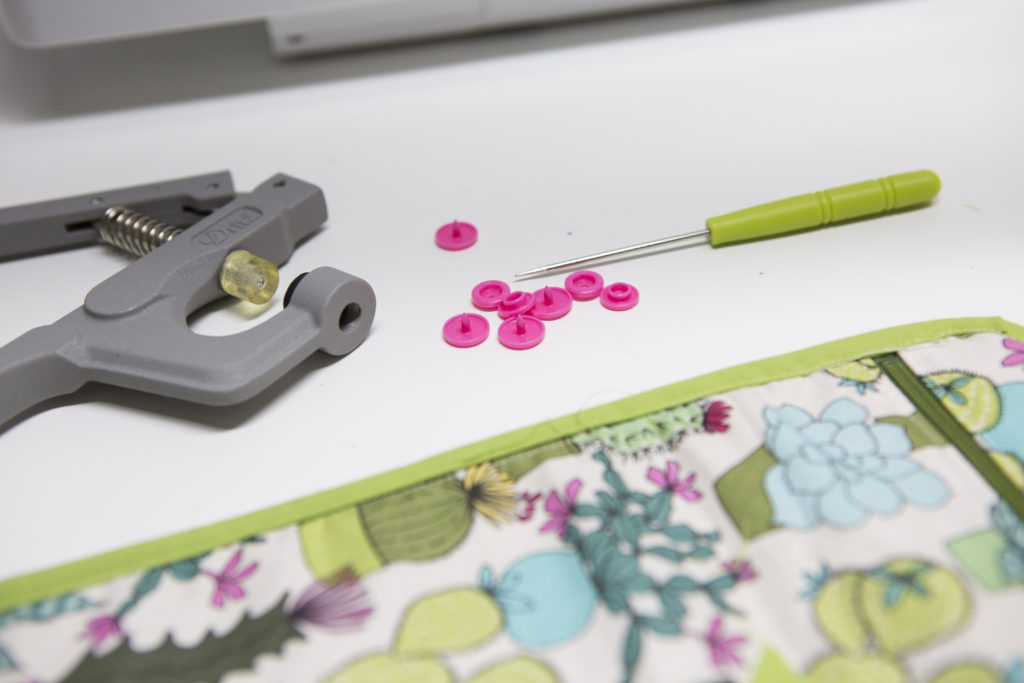
I used Plastic Snaps by Dritz
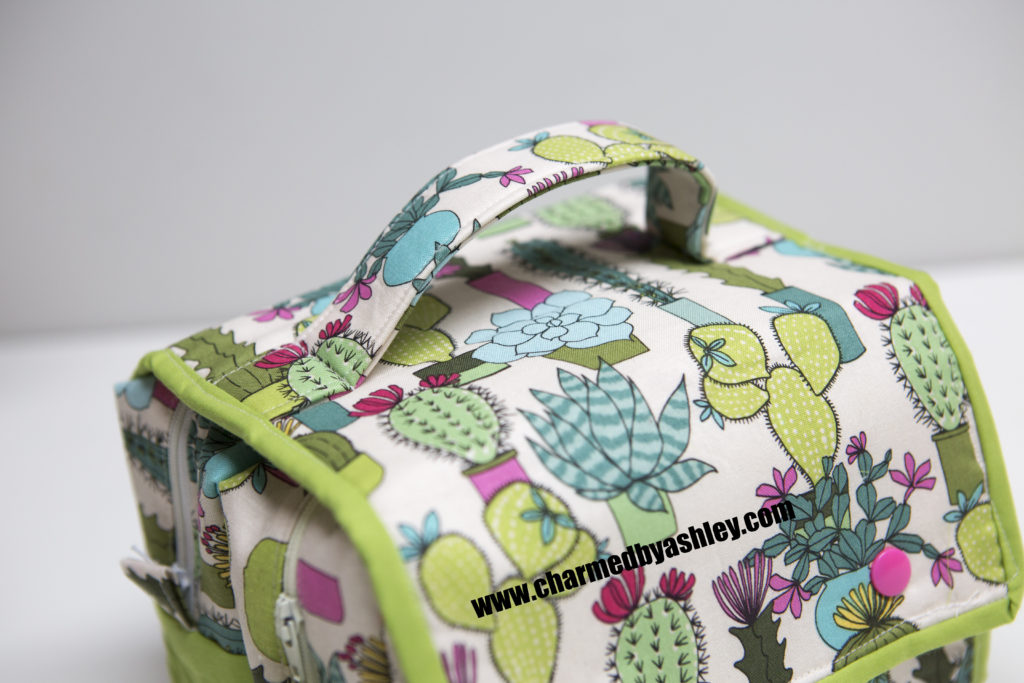
Last step is to measure 1″ from the side of each handle and sew a line of stitching to make the handle more secure


0 Comments