
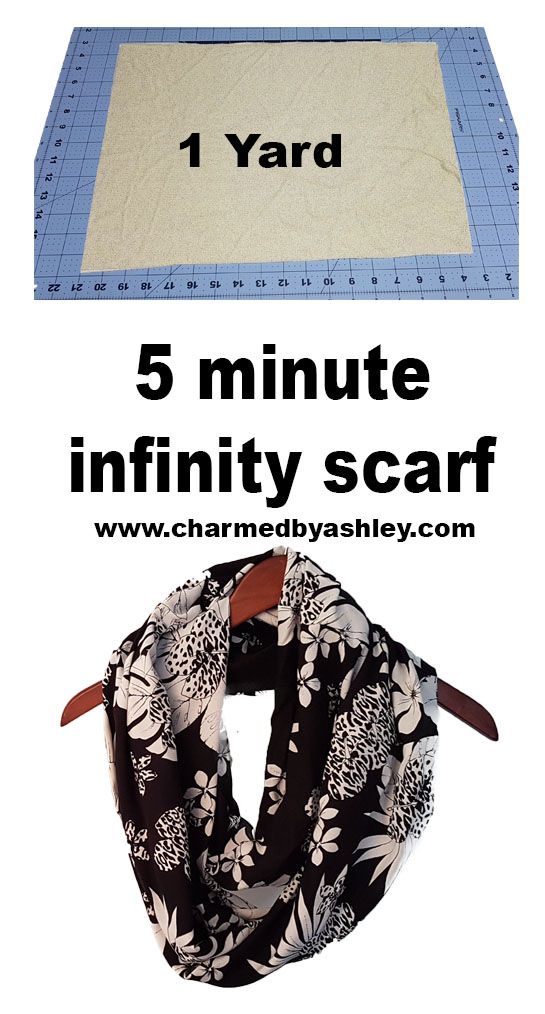
5 Minute Infinity Scarf
For this project you will need 1 Yard of fabric
Please Follow the video instructions so you can full grasp how to make this Scarf 😀
Ideal Fabrics to use for an Infinity Scarf
Lightweight to midweight linen, Cotton and Chambray work well for woven fabrics
Double Knits, Ponte and Jersey for Knits
For a warm scarf Flannel, Lightweight wool or heavy weight jersey
Breezier scarf – Rayon, cotton lawn, cotton voile or double gauze fabric
**Please note i made this project in a smaller scale for tutorial purposes
Adults
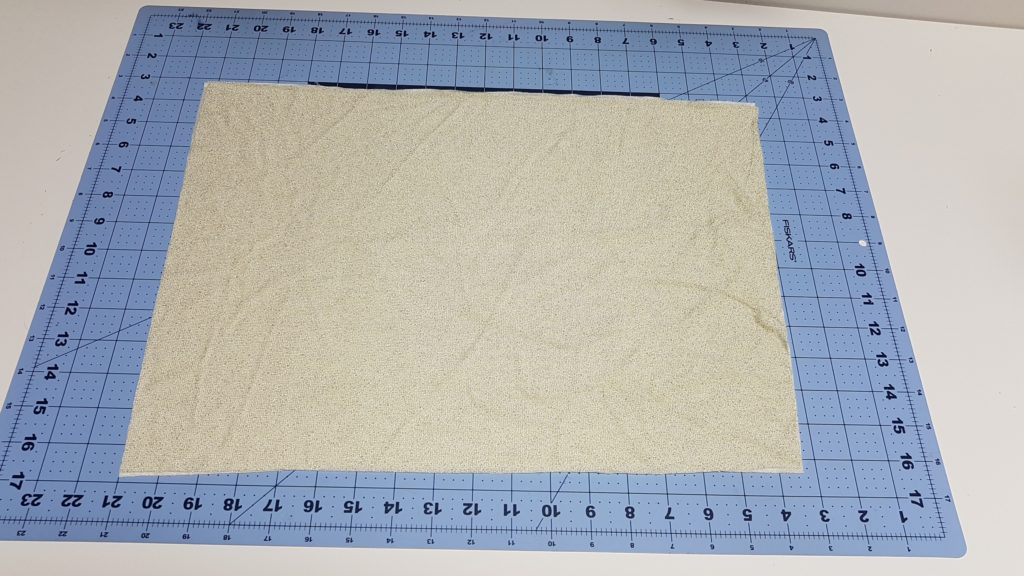
Measurements for a Double Length Scarf Cut 2 pieces at 36″ x 22″
To achieve these measurements with one yard of fabric place the yard of fabric onto your table as it was folded from the fabric store and cut down the folded edge
If you have a print that you dont want to cut into then you can cut one long piece which would measure at 72″ Long by 22″ (you would need 2 yards of fabric for this method)
If you dont want to loop your fabric around your neck and have just on loop your fabric should measure Cut 1 – 36″ x 22″ (This would be one half of the yard)
For a Child you will cut 1 piece 44″ x 8″ or cut 2 pieces 22″ x 8″
After you cut the piece in half at the fold, lay the pieces right sides together and sew down one of the short sides
Lay the fabric out with the right sides facing up and fold right sides together length ways
Sew down the long raw edge
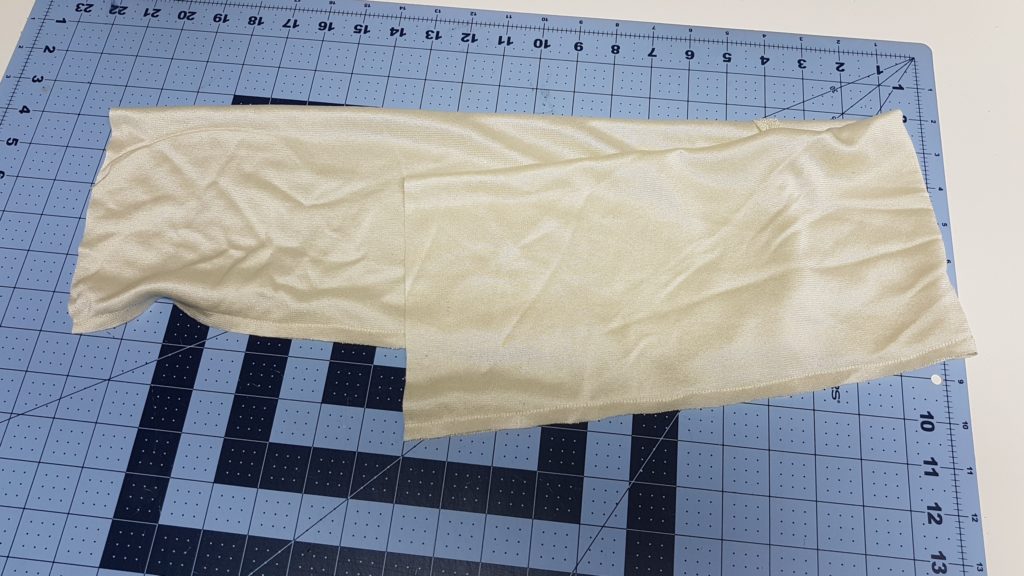
Flip the piece right sides out
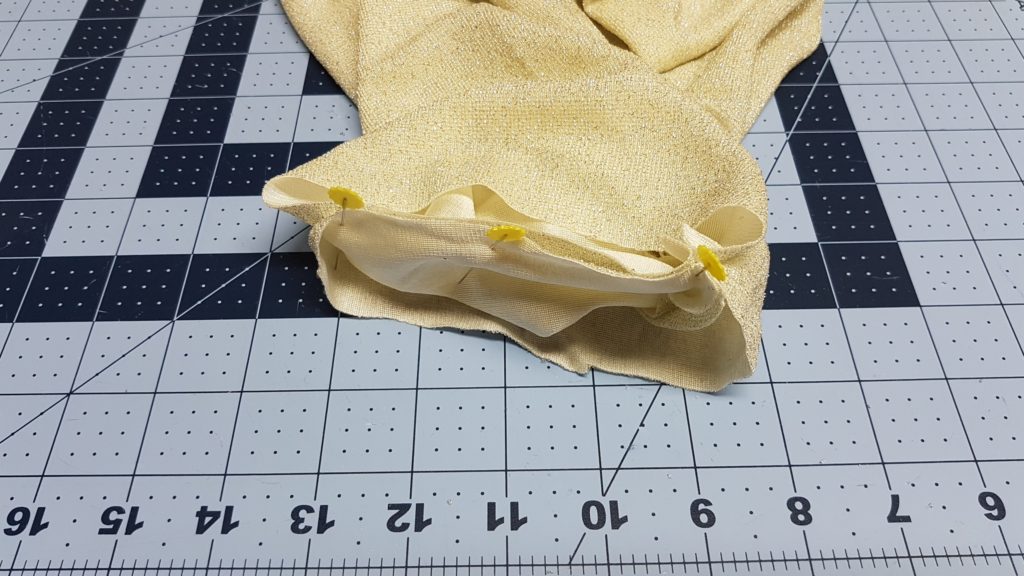
Bring the two ends together and place them right sides together in one spot, ling up the seam so that you are sure you did not twist the scarf
you will place it into the machine and carefully sew the raw edges lined up together, you will be sewing on the wrong side, for greater understanding for this step i highly recommend watching the video tutorial as it is hard to explain how to do this next step
you will sew these edges together as far as you can go slowly adjusting the fabric under the presser foot so you can get the right sides together and the raw edges lining up, it will bunch up alot and will look wrong but when you have gone as far as you can go you will take it out of your machine and be left with a hole.
push those raw edges into the scarf and then making sure the raw edges are folded inwards close up the hole with your fingers, do a top stitch over this with a coordinating thread to finish off this hole and close it up
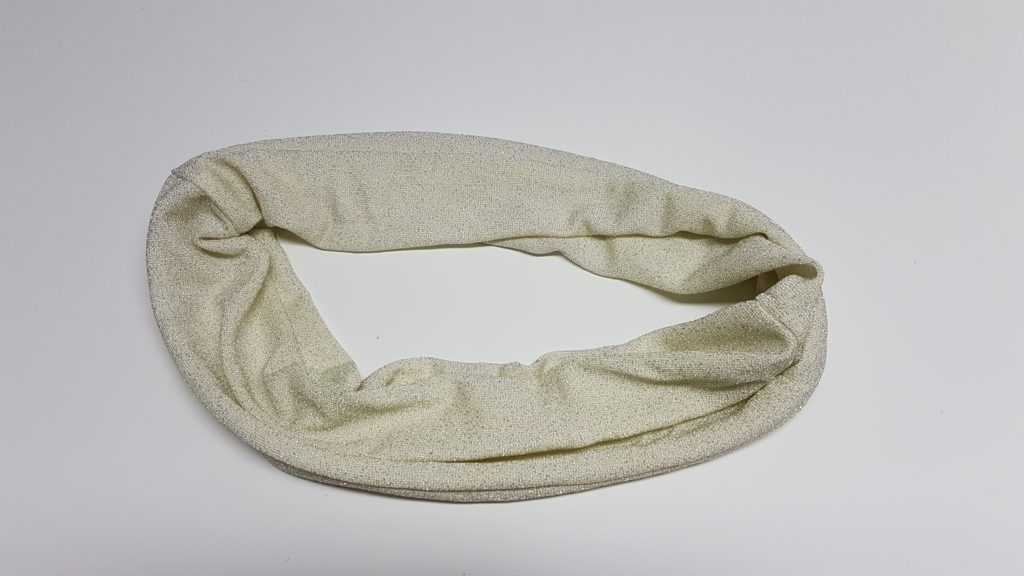
and then you are finished!


0 Comments